
How to turn the hat back on your MAYTAG dryer!
First, let me start by saying I am not a certified appliance fixer upper. Just a wife and mama learning how to turn the heat back on! Let’s do this together!
no matter what – unplug the appliance before you do anything. Please don’t make me explain why… COMMON SENSE!!!
Not sure about you but we do at least ONE load of laundry everyday in order to stay on track. So being down for multiple days is just not an option. This is our 2nd dryer in 6 years, they just do not make then the way they use to!
The first was a high end Samsung and I hated it with a PASSION!!! Fixing it was above my skillset and paying someone to do it was about the same as a new one. So a new one it was, but this time we went STANDARD! We made the choice to buy a new one and we decided to go with NO FRILLS and simpler because honestly all we needed it to do was DRY the damn clothes. We figured when it shit the bed… it would be cheaper to fix a one that didn’t have all the bells and whistles.
So, here we are… a couple years later and like we predicted – it shit the bed. This time I felt comfortable… doing some research and fixing it myself. Honestly, making the choice to do it myself took longer than fixing it. So if you are trying to decide what to do let me help… FUCKING DO IT!!
RESEARCH and STEPS – how to turn the heat back on
First thing I did was open the dryer and find the model number. Researched the cost of the heating element and fuses. I found a kit online that had a bunch of parts standard for replacement and that was less expensive than purchasing the parts on their own. So we went with that. Now, I am not sure what was wrong with the dryer but it wasn’t getting hot. So I thought maybe the fuse was tripping? Heating element maybe went to shit? I had no clue – this is not my cup of tea. The fuse came with the kit and was the easiest to replace so even though I did not think this was the issue – I did the easiest thing first, replaced the fuse.
click on the image below for more information
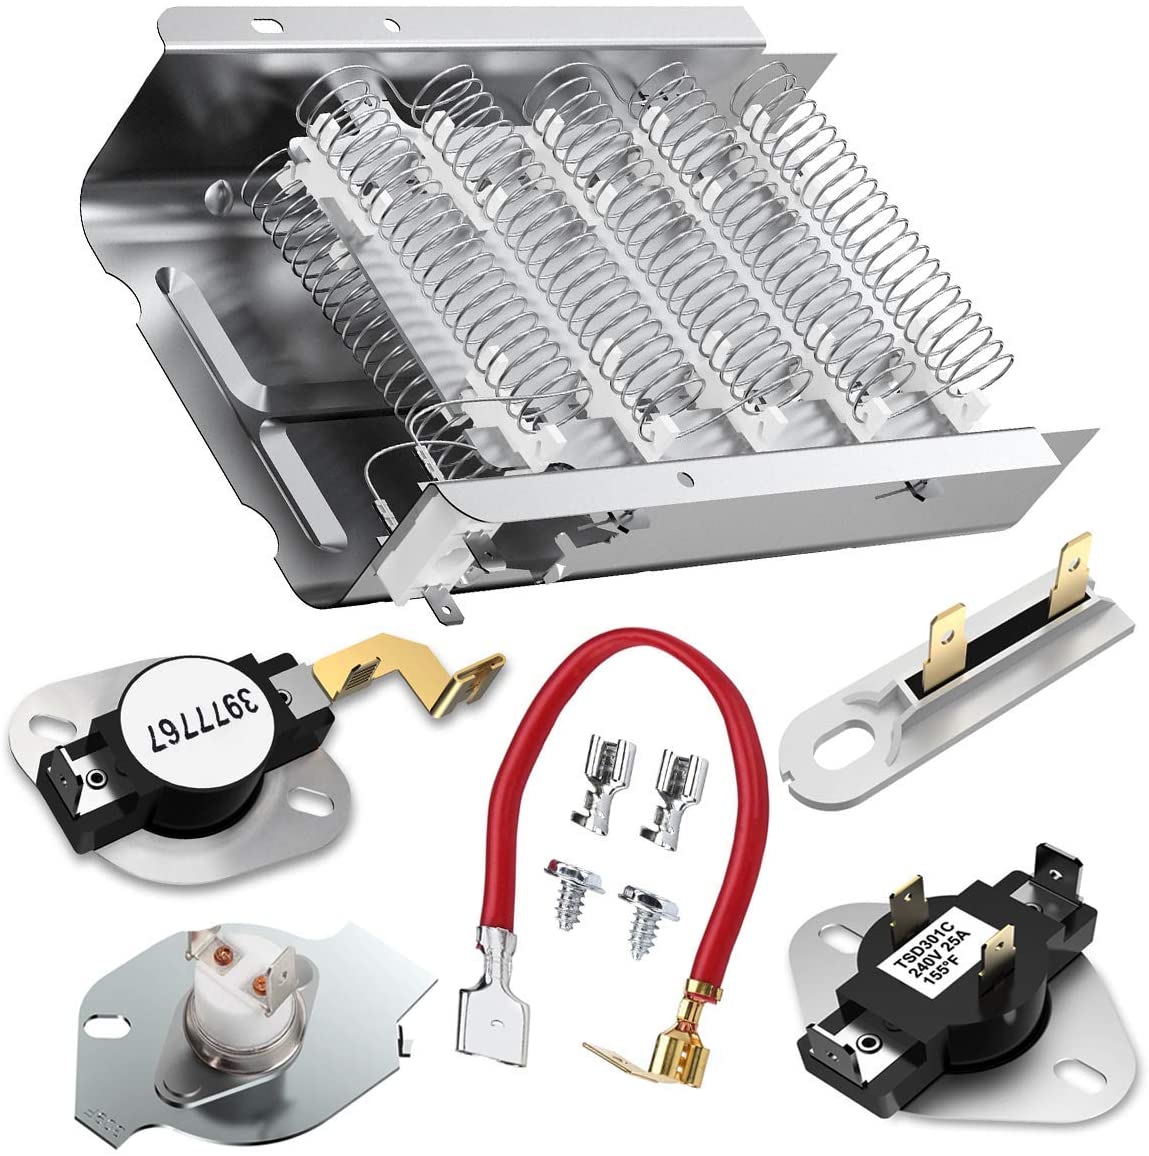

IMPORTANT – how to turn the heat back on
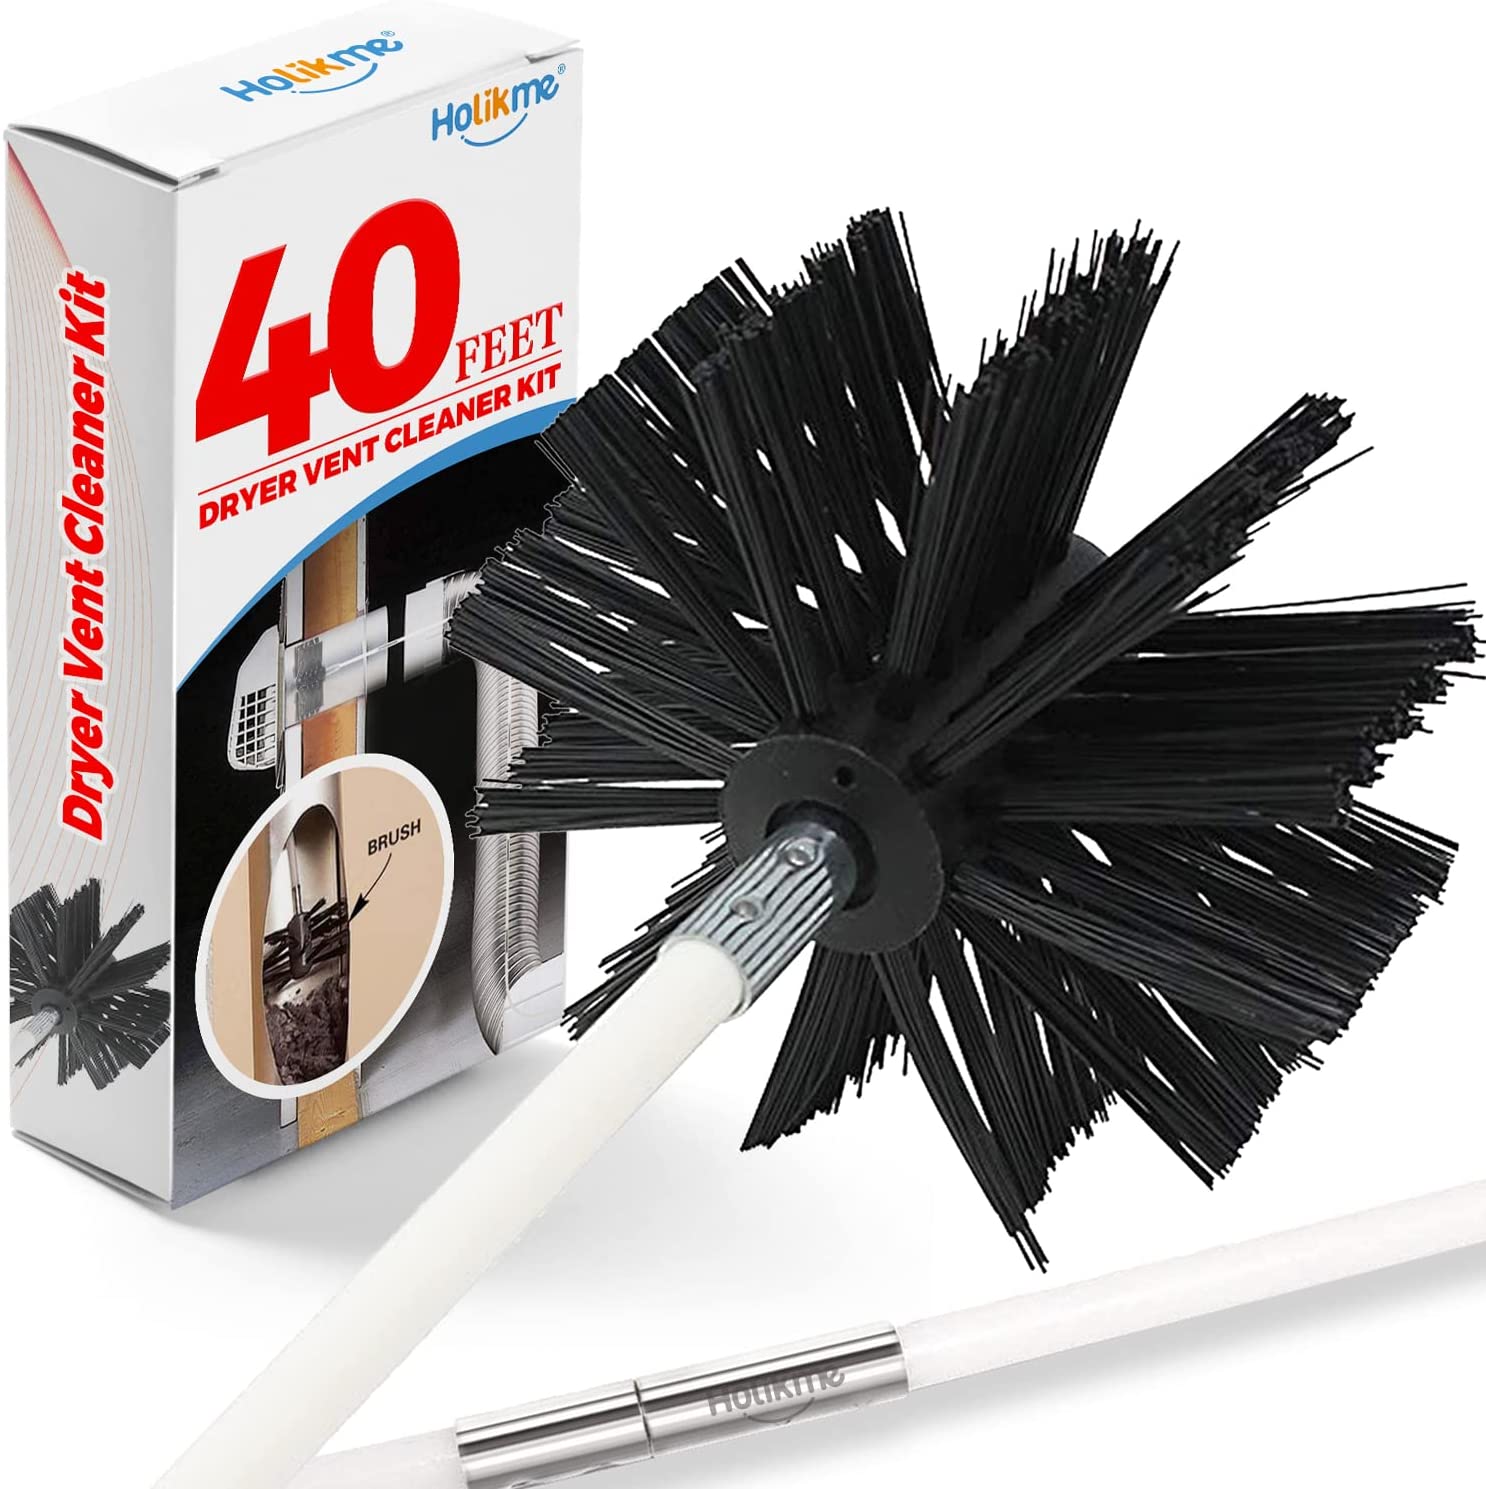
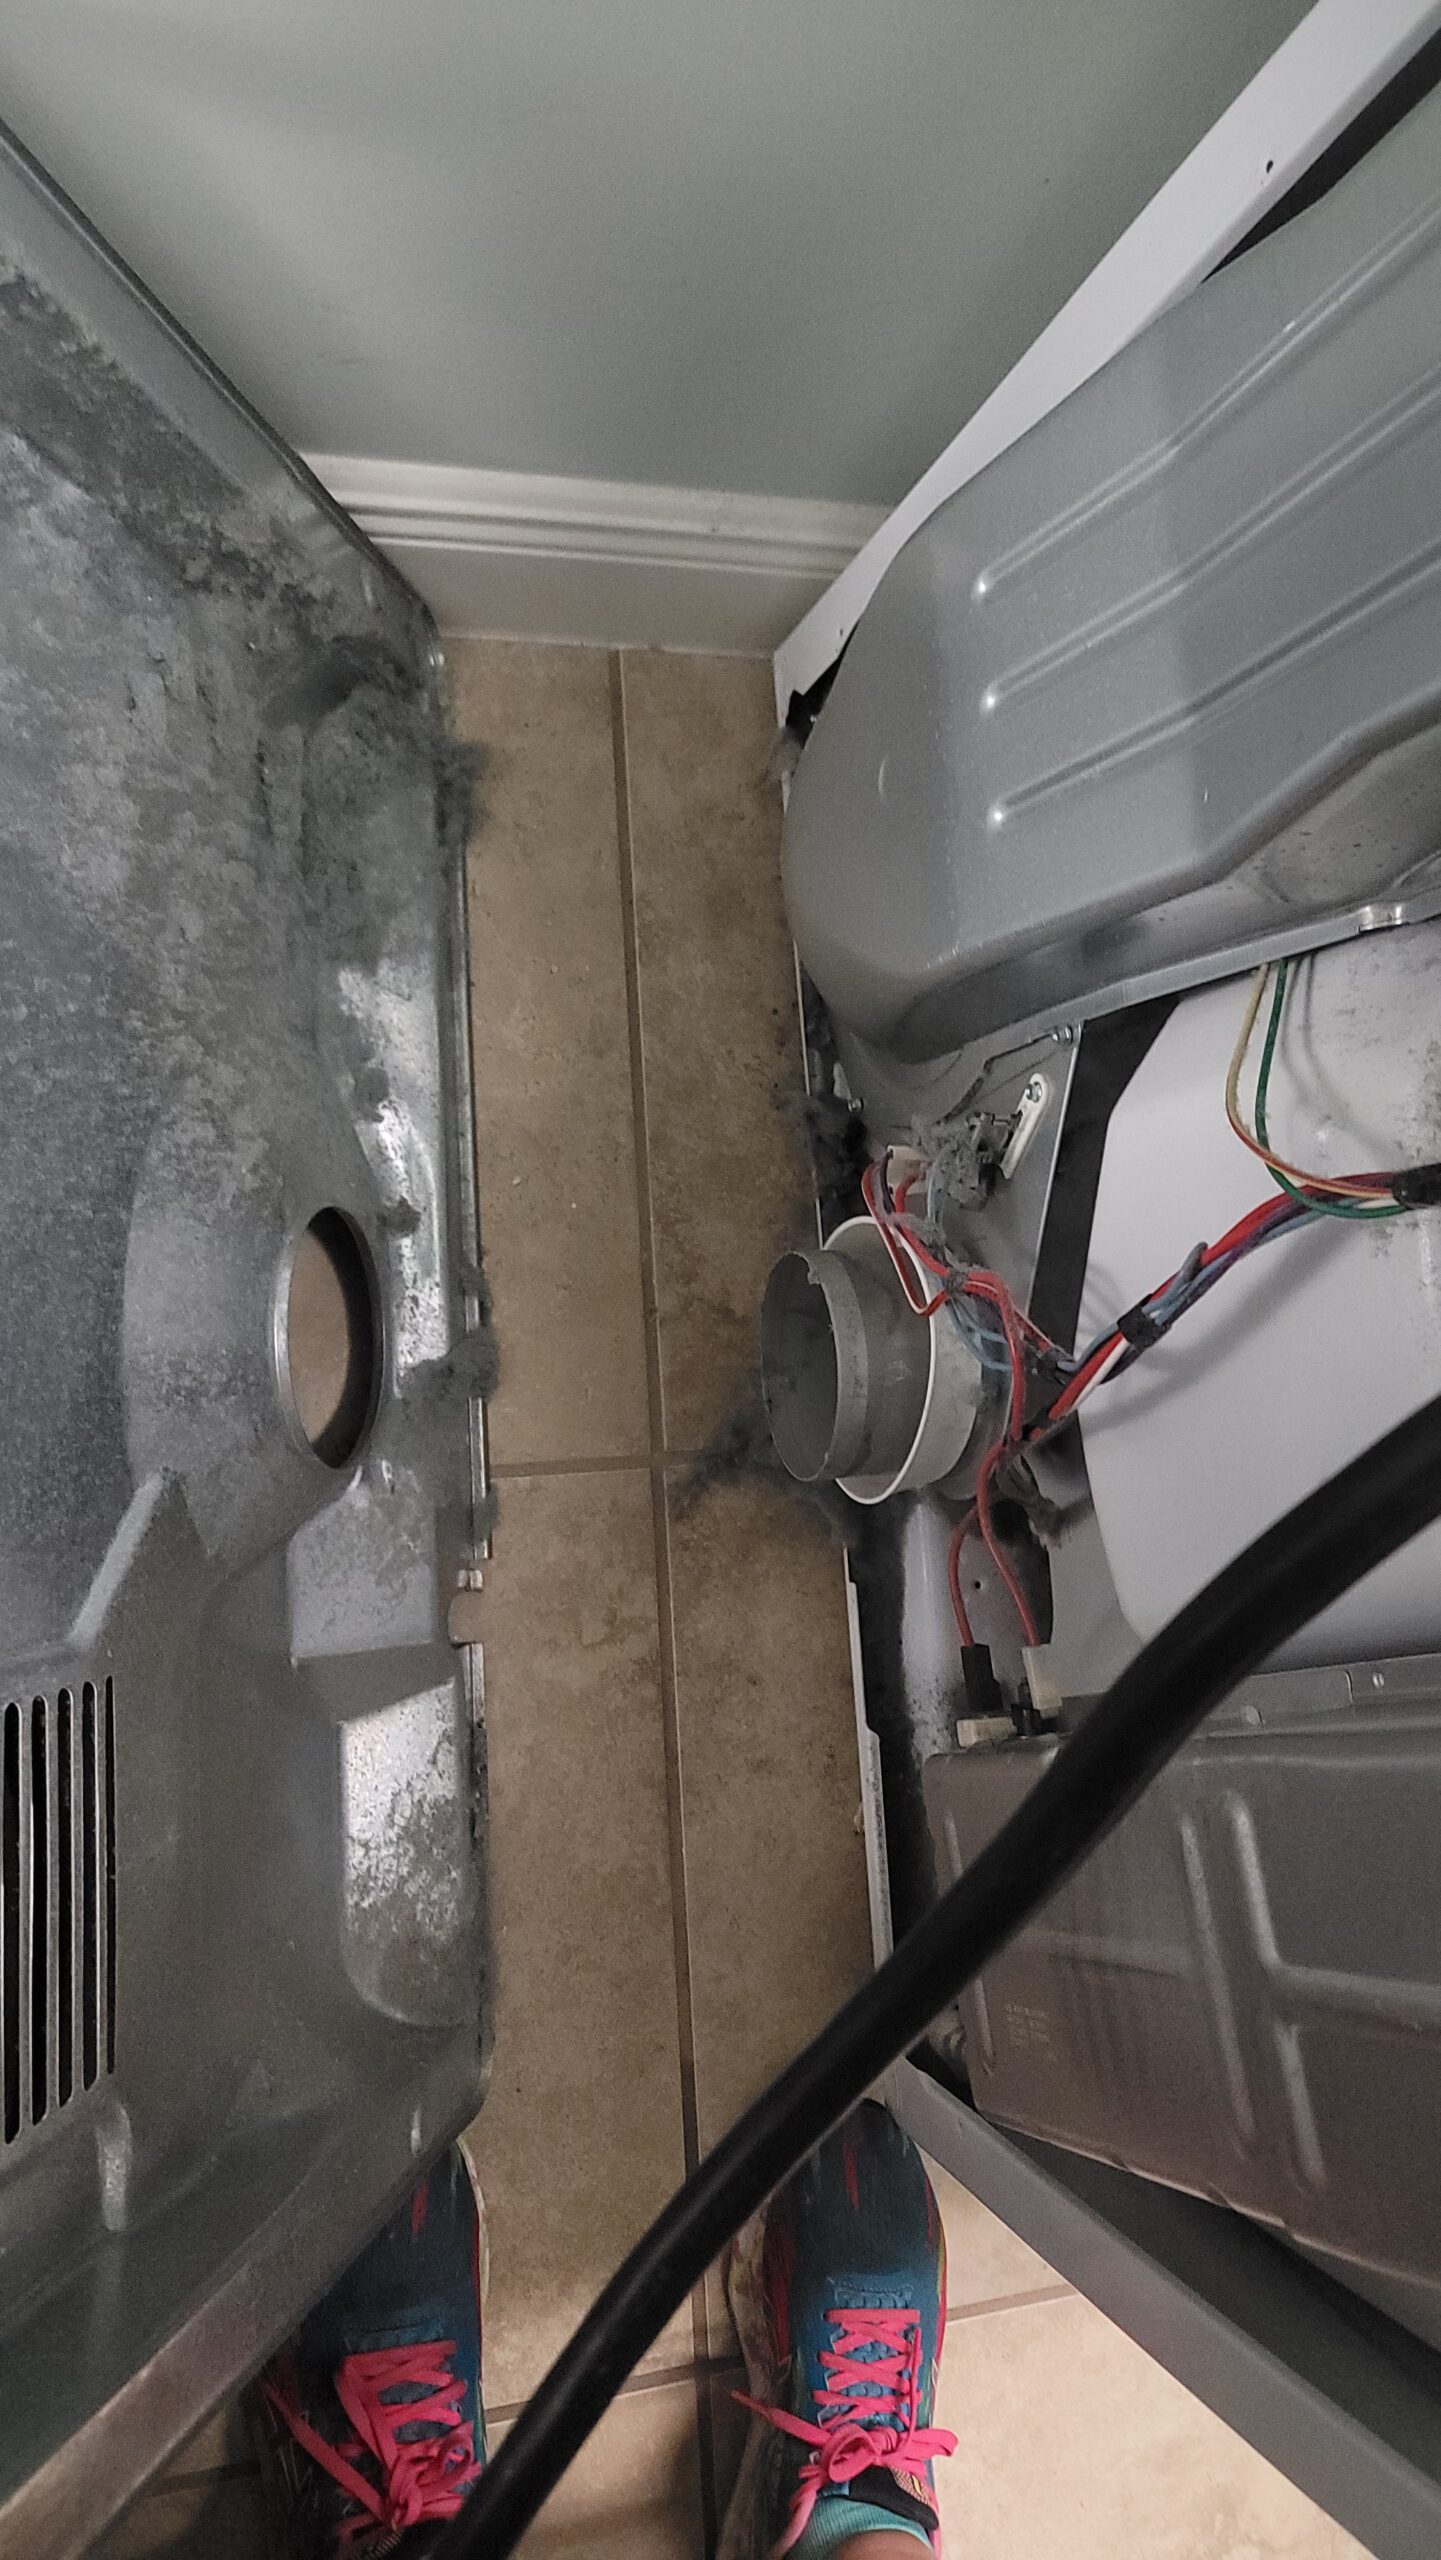
Grab the vacuum! No matter how clean you think you are… when you take the back off the dryer you are going to want to suck all that lint up right away. Also, use this time to clean INSIDE the vent that goes to the wall and inside the wall. We ordered a cleaning kit – get it here! Pretty cool how it attaches to your drill and goes up to 40 feet!
FUSE – how to turn the heat back on
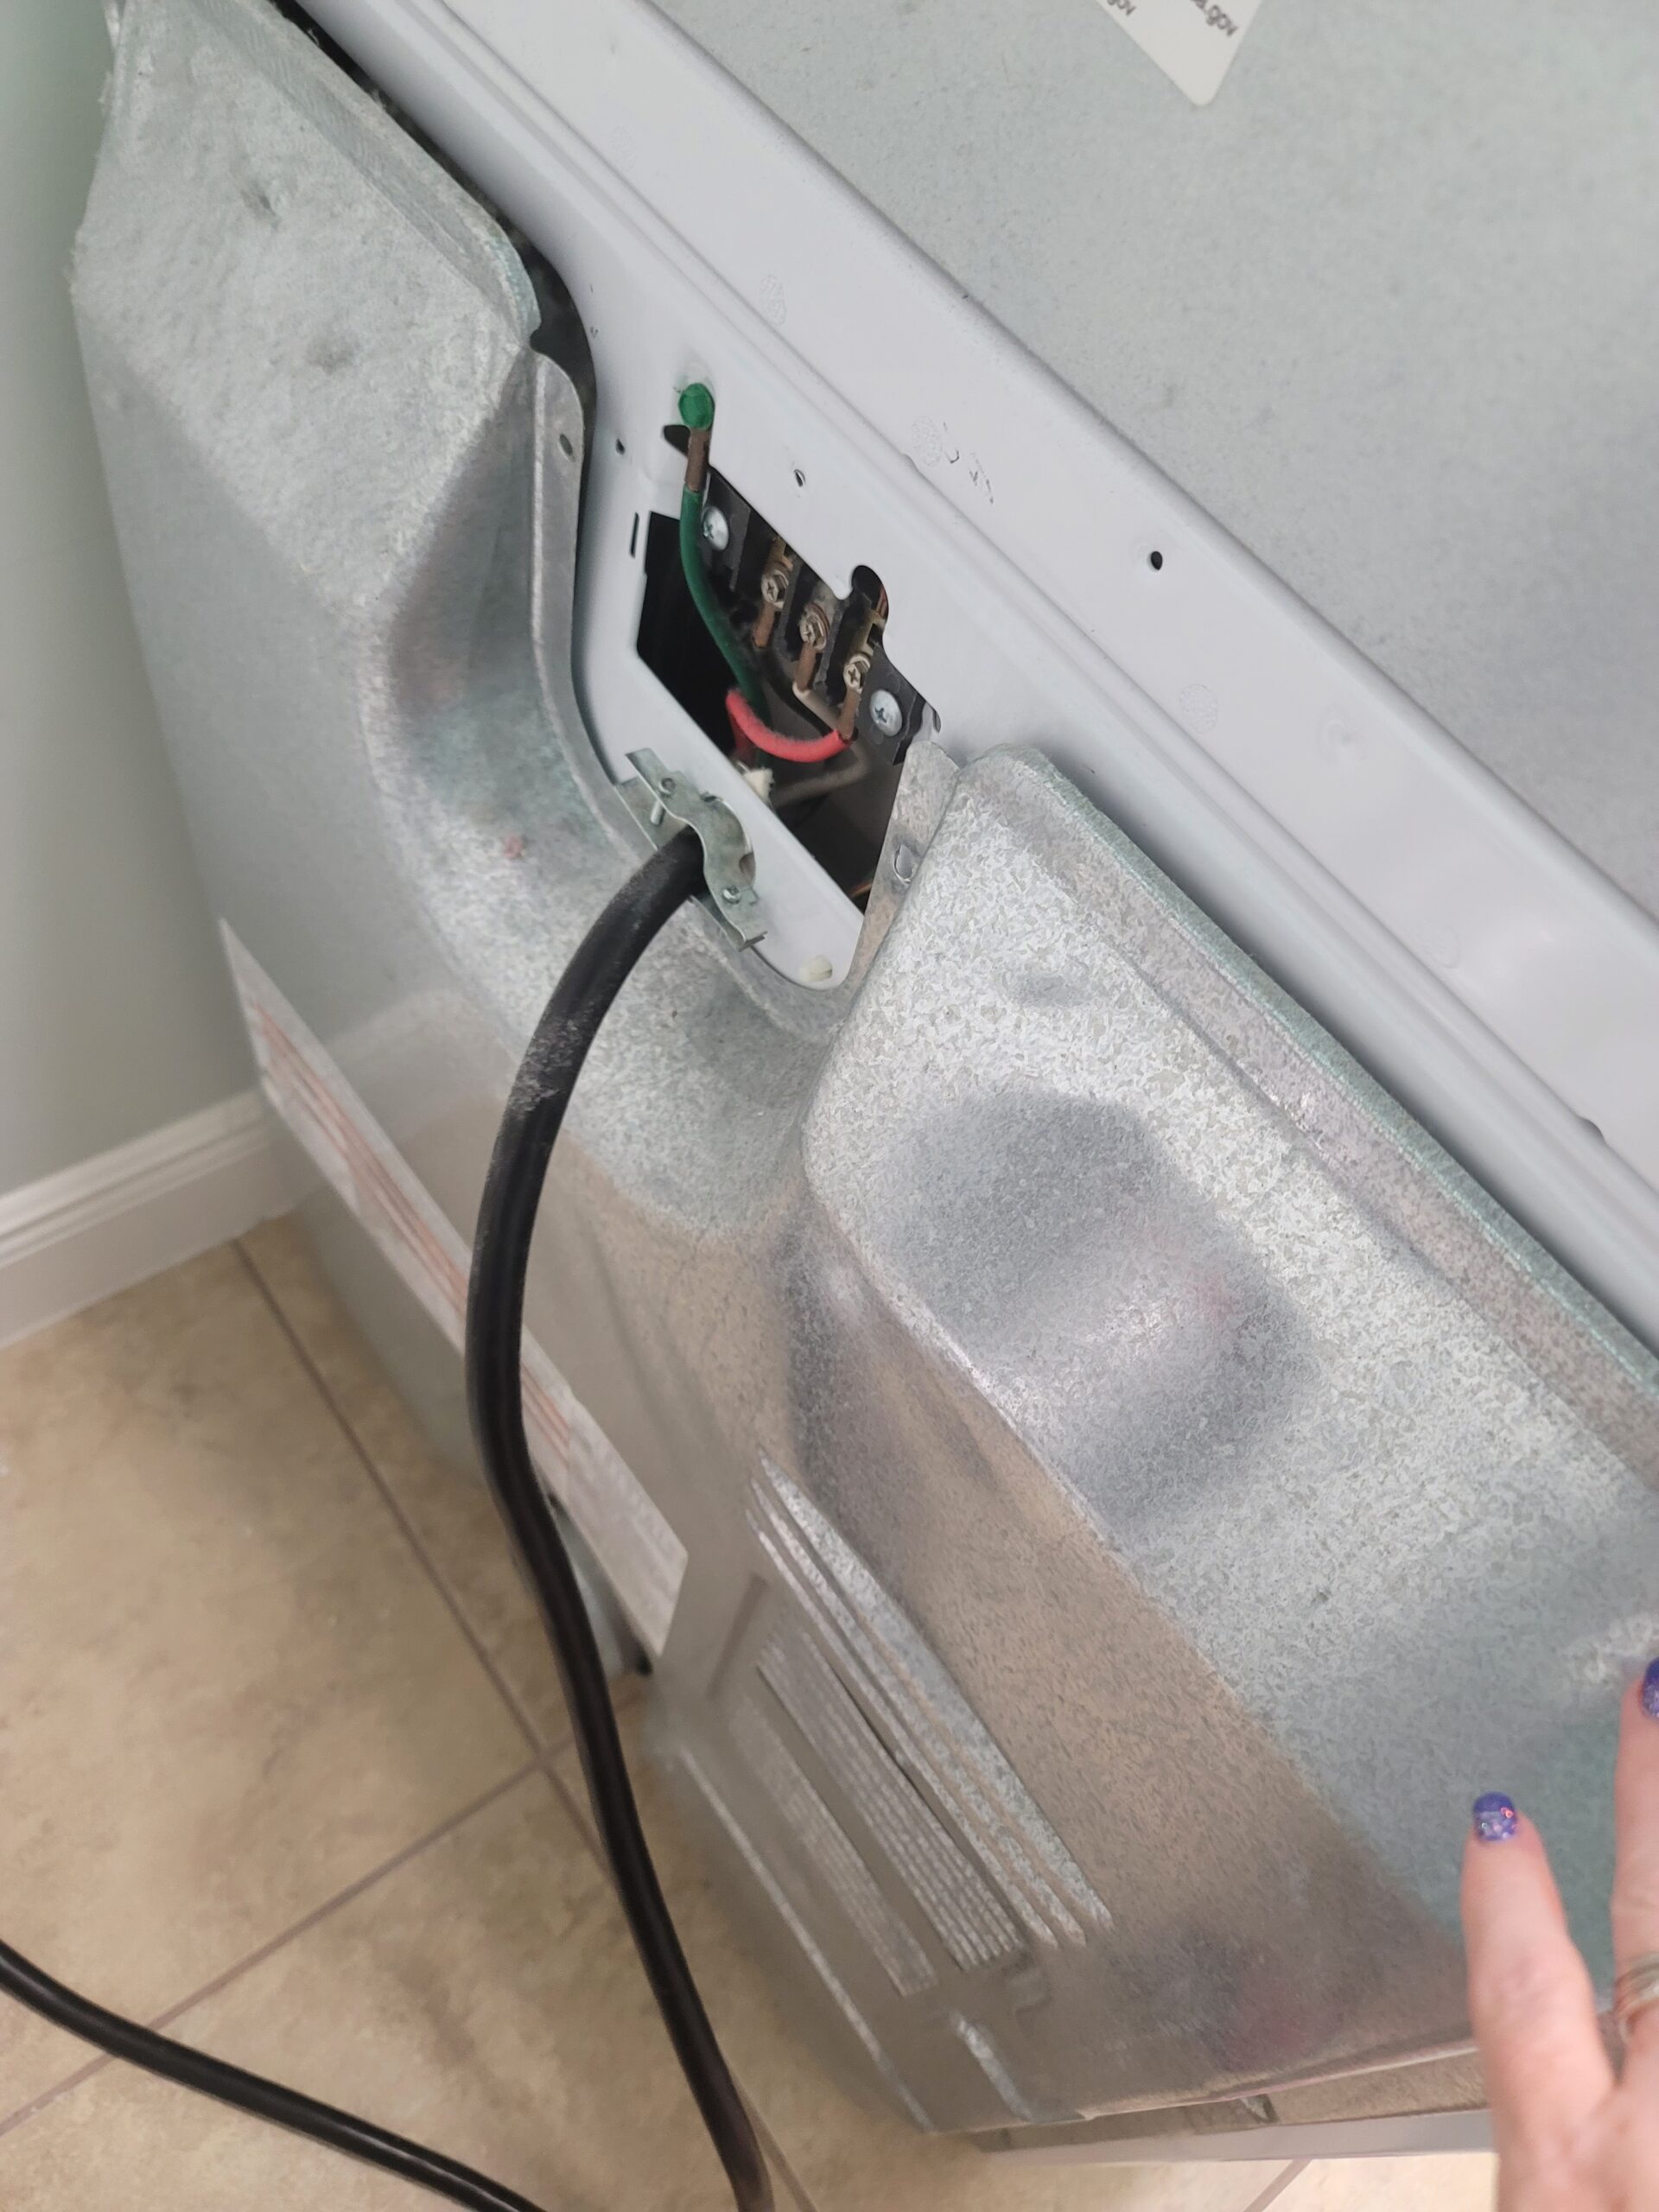
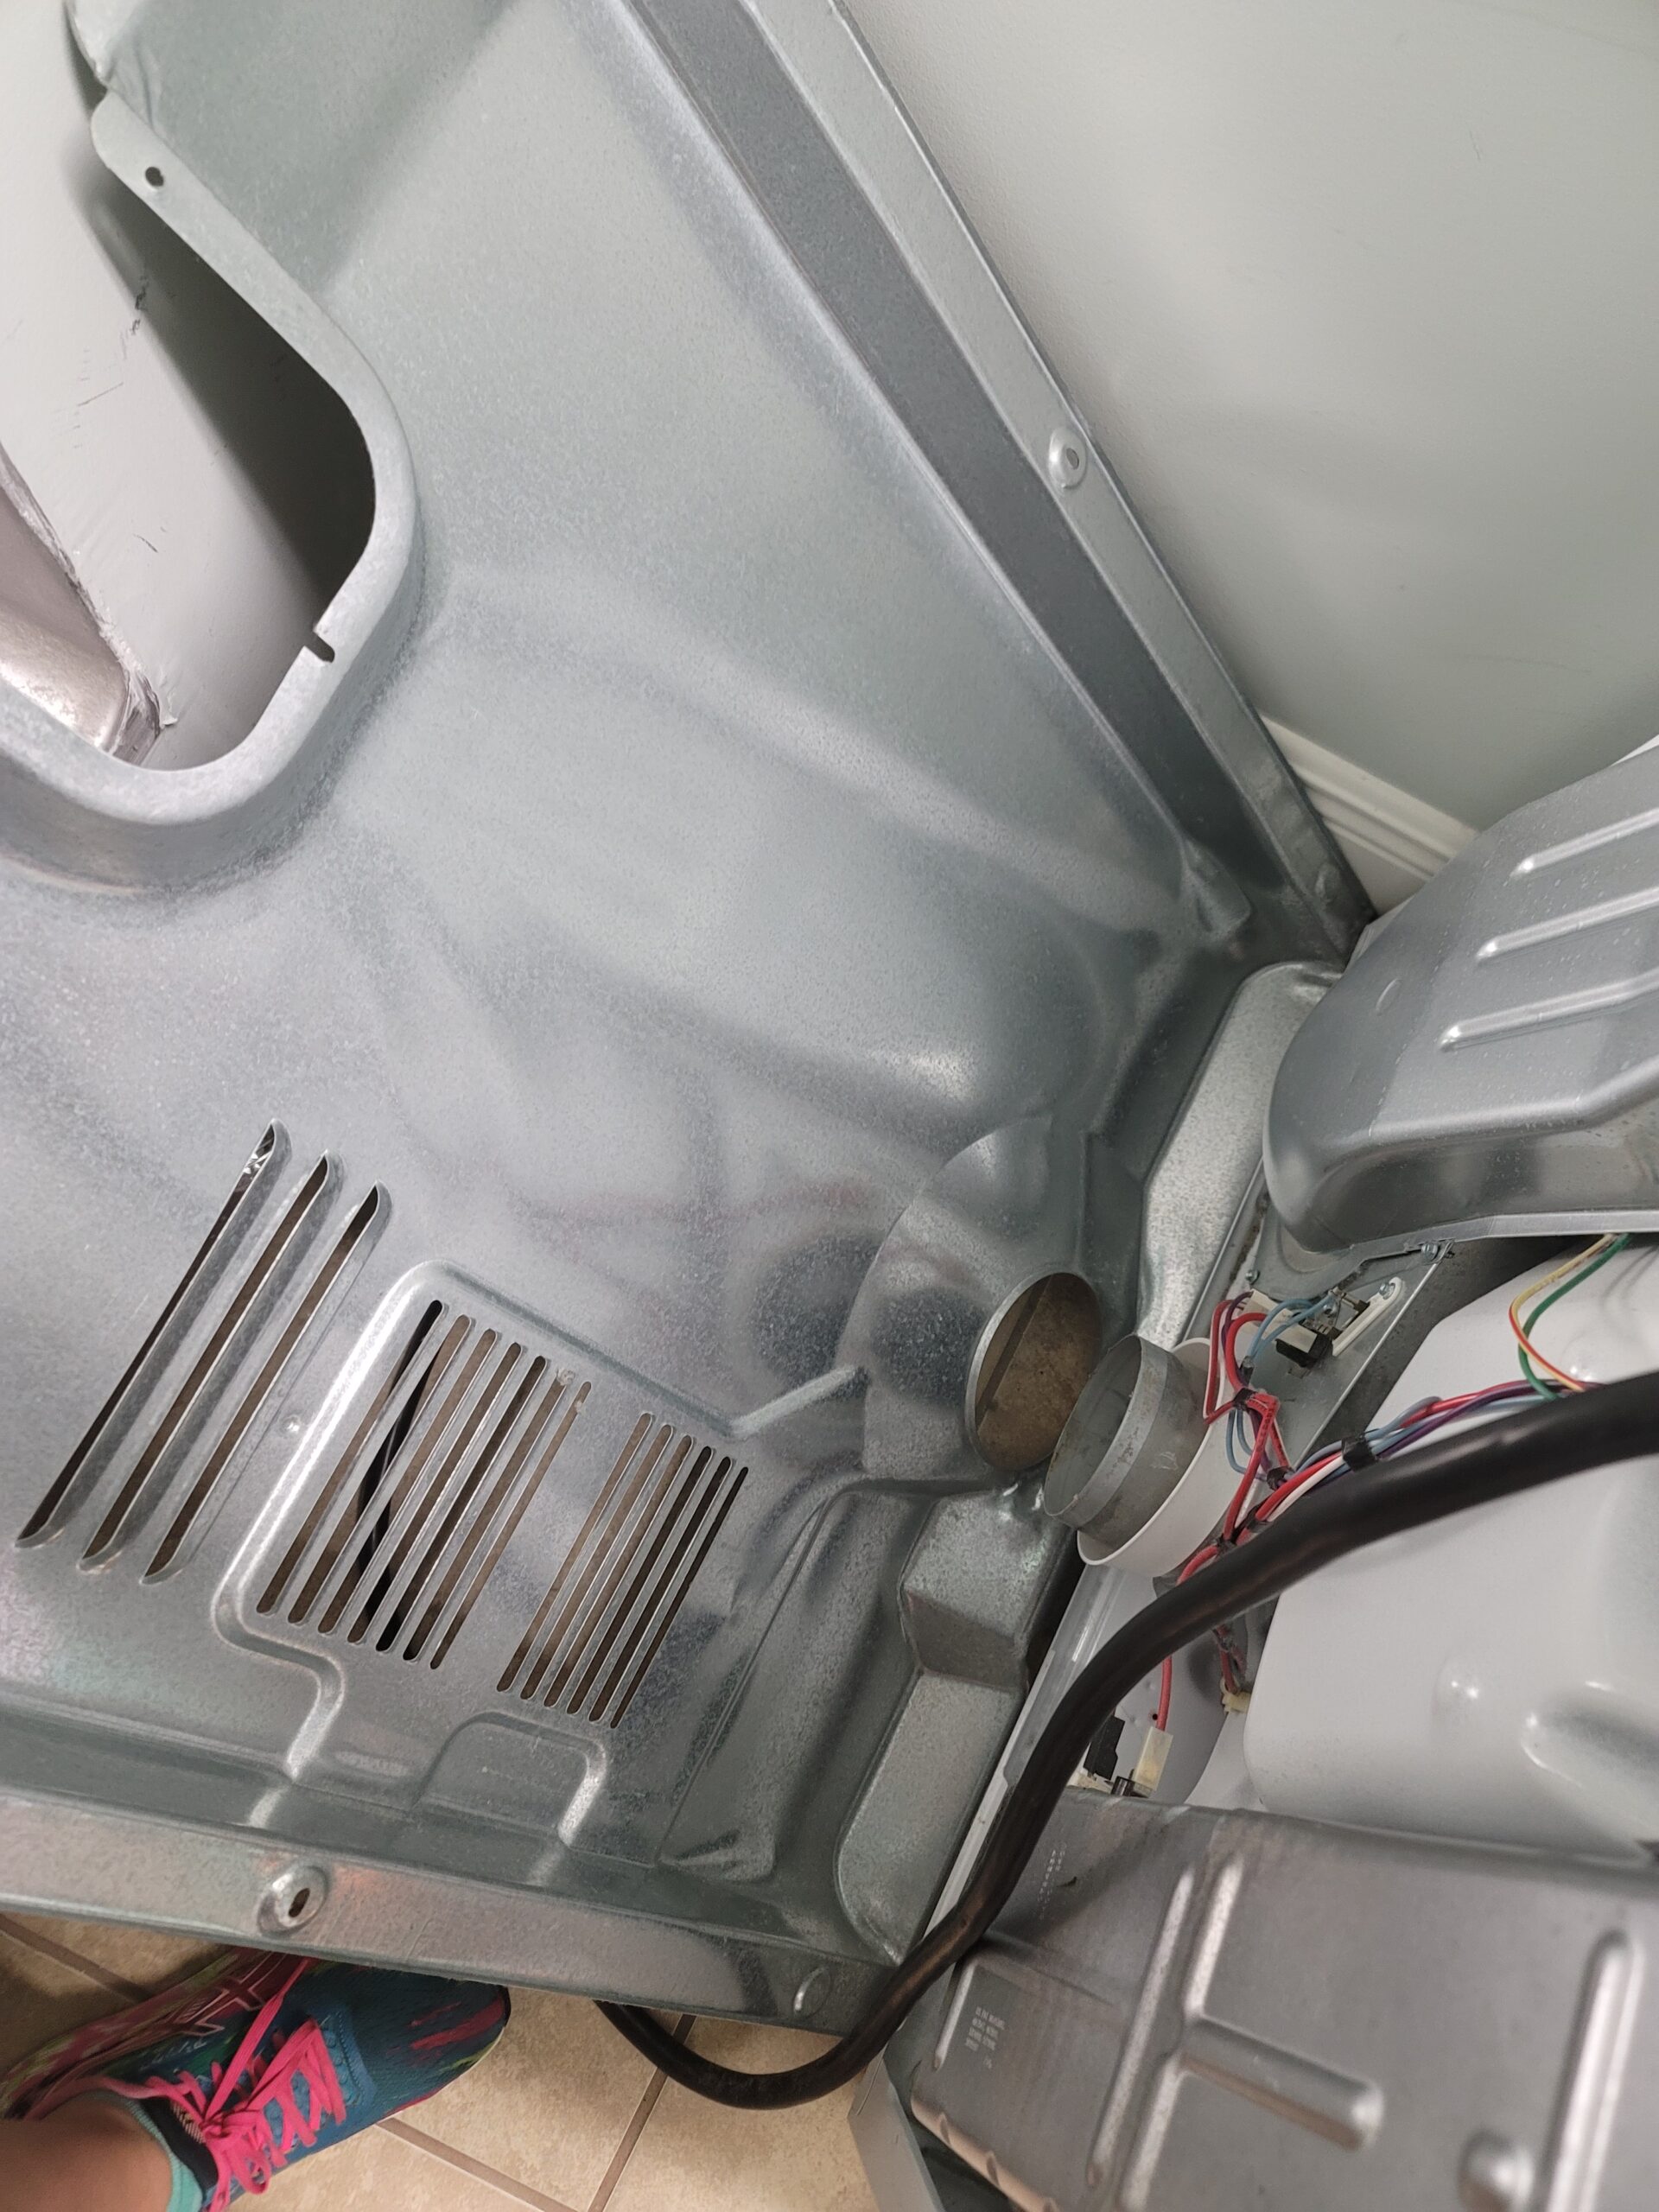
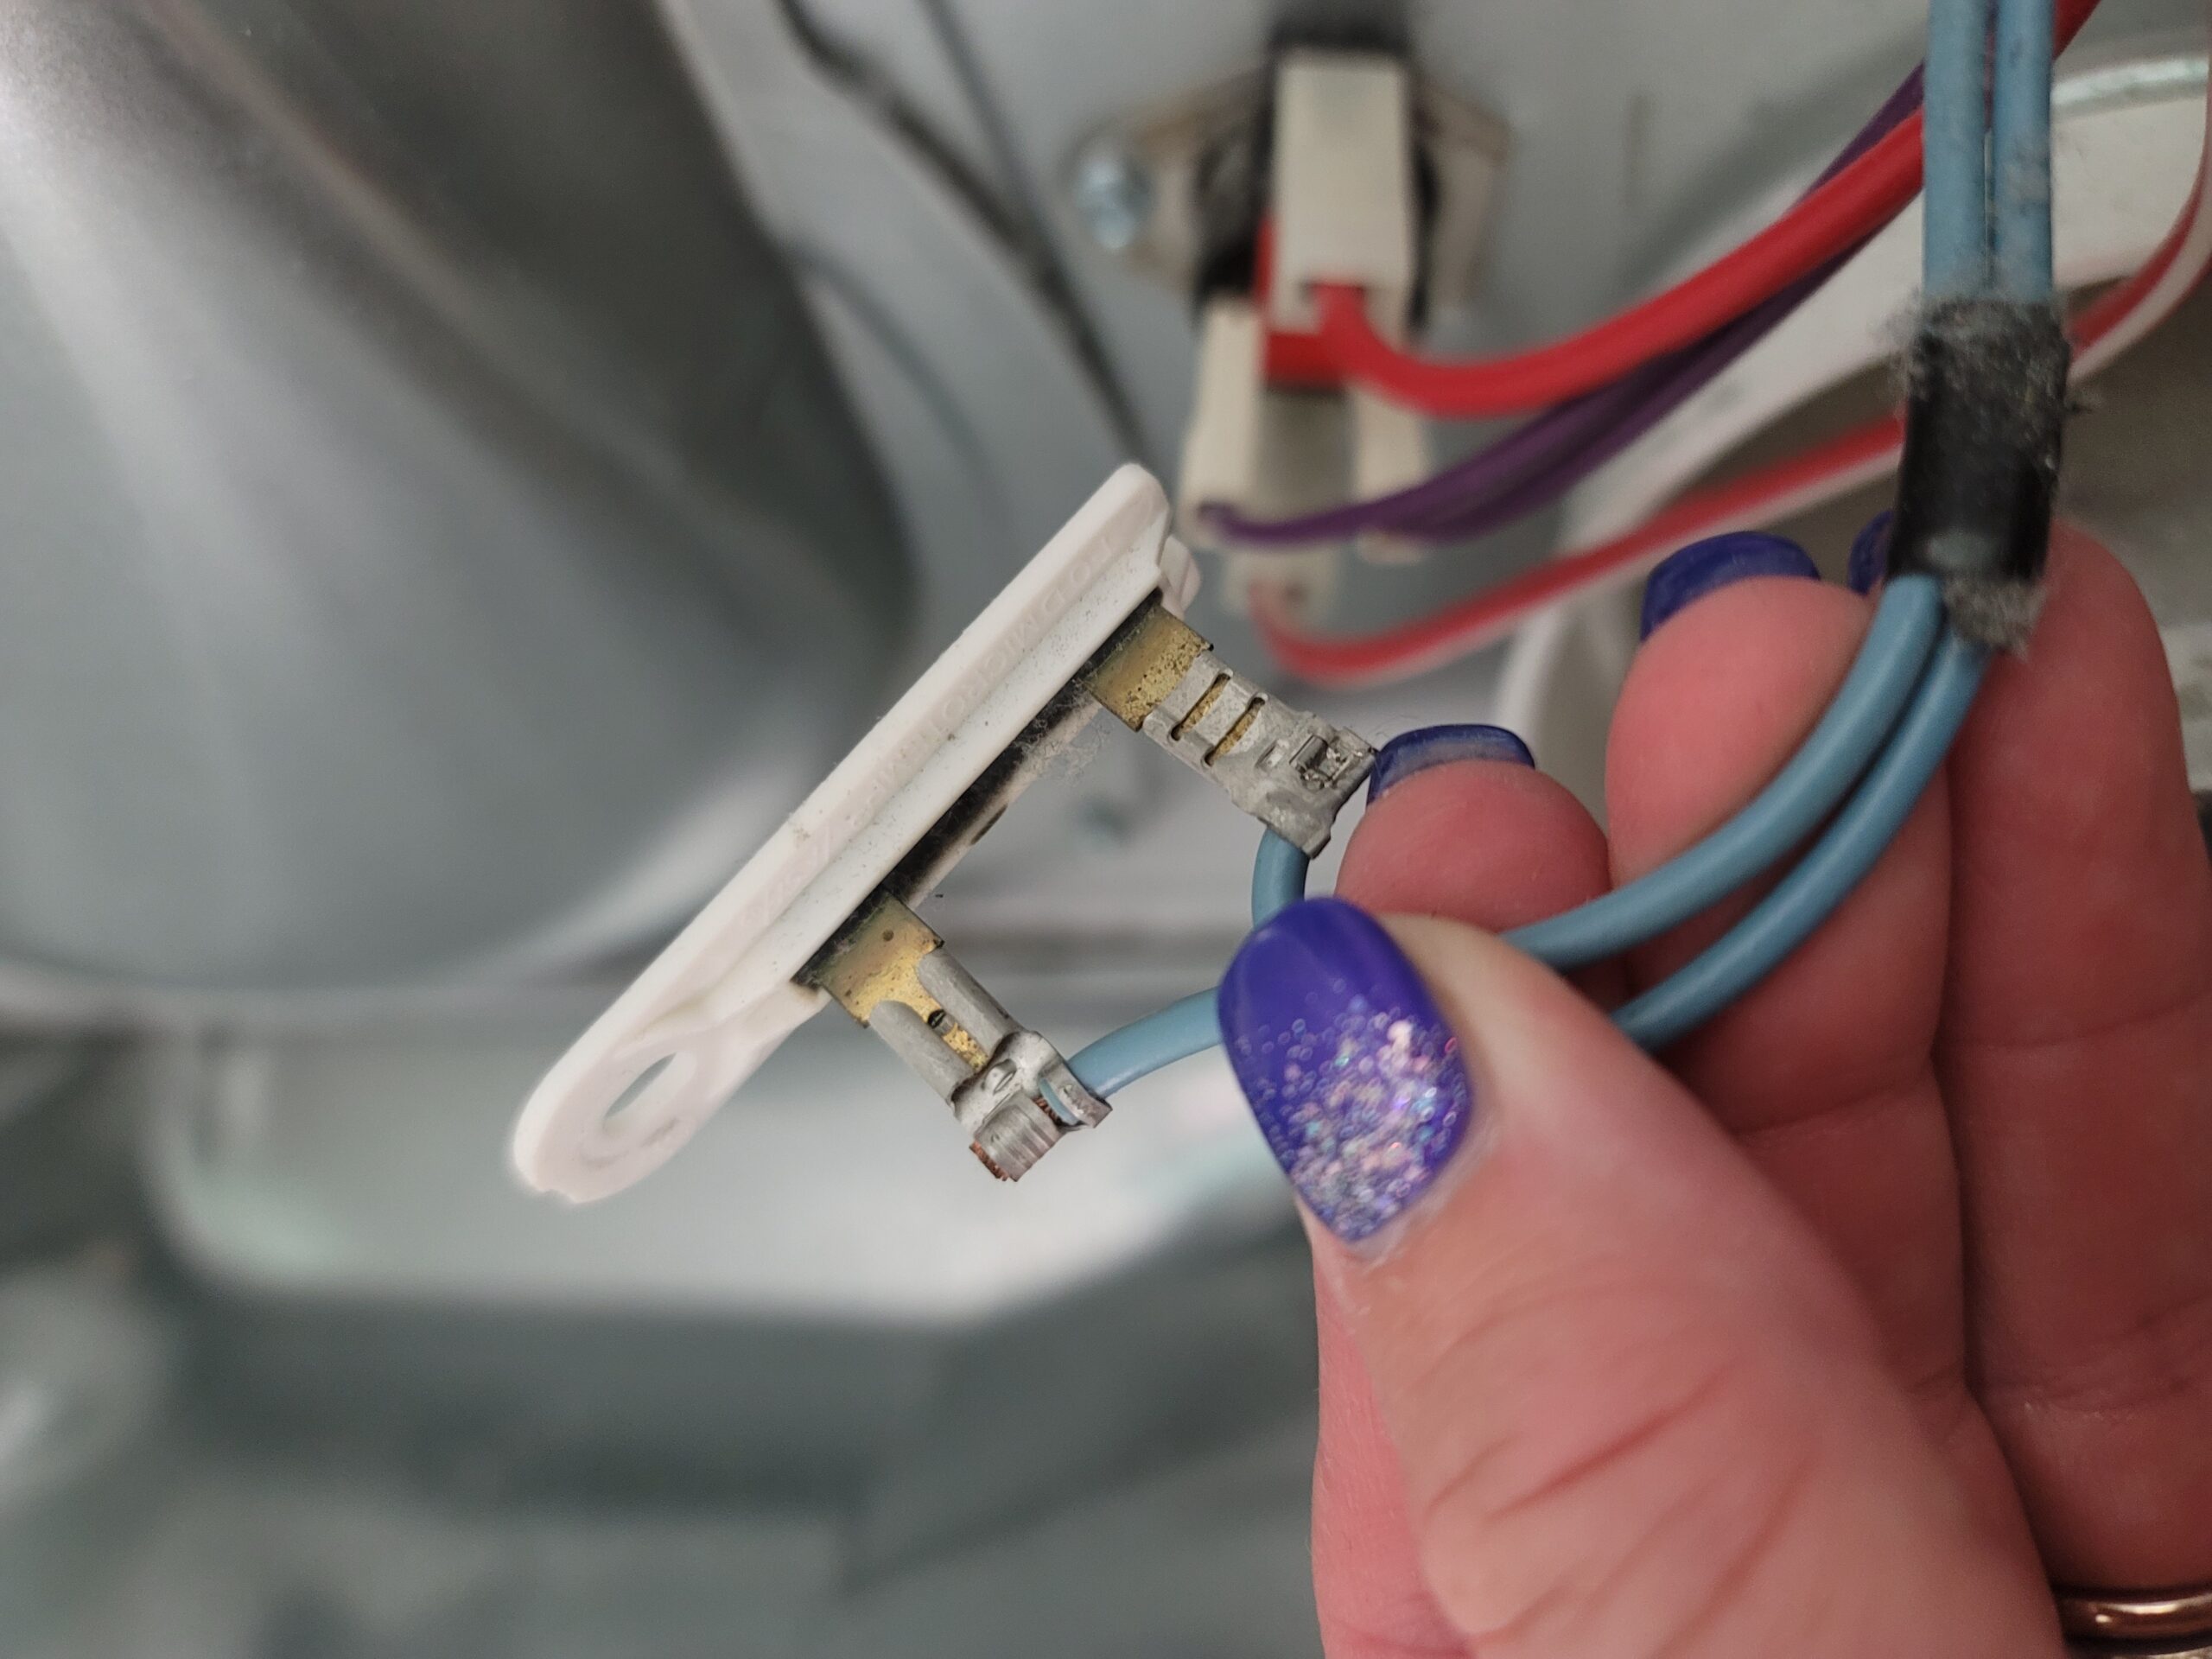
First, we moved the dryer and vacuumed. Second, we took the back panel off and vacuumed again. Then we got down on the floor and used the lint tube and vacuumed INSIDE the dryer on the bottom. We used the cellphone camera with the flash and recorded a video to see where and how much we really needed to get out of there.
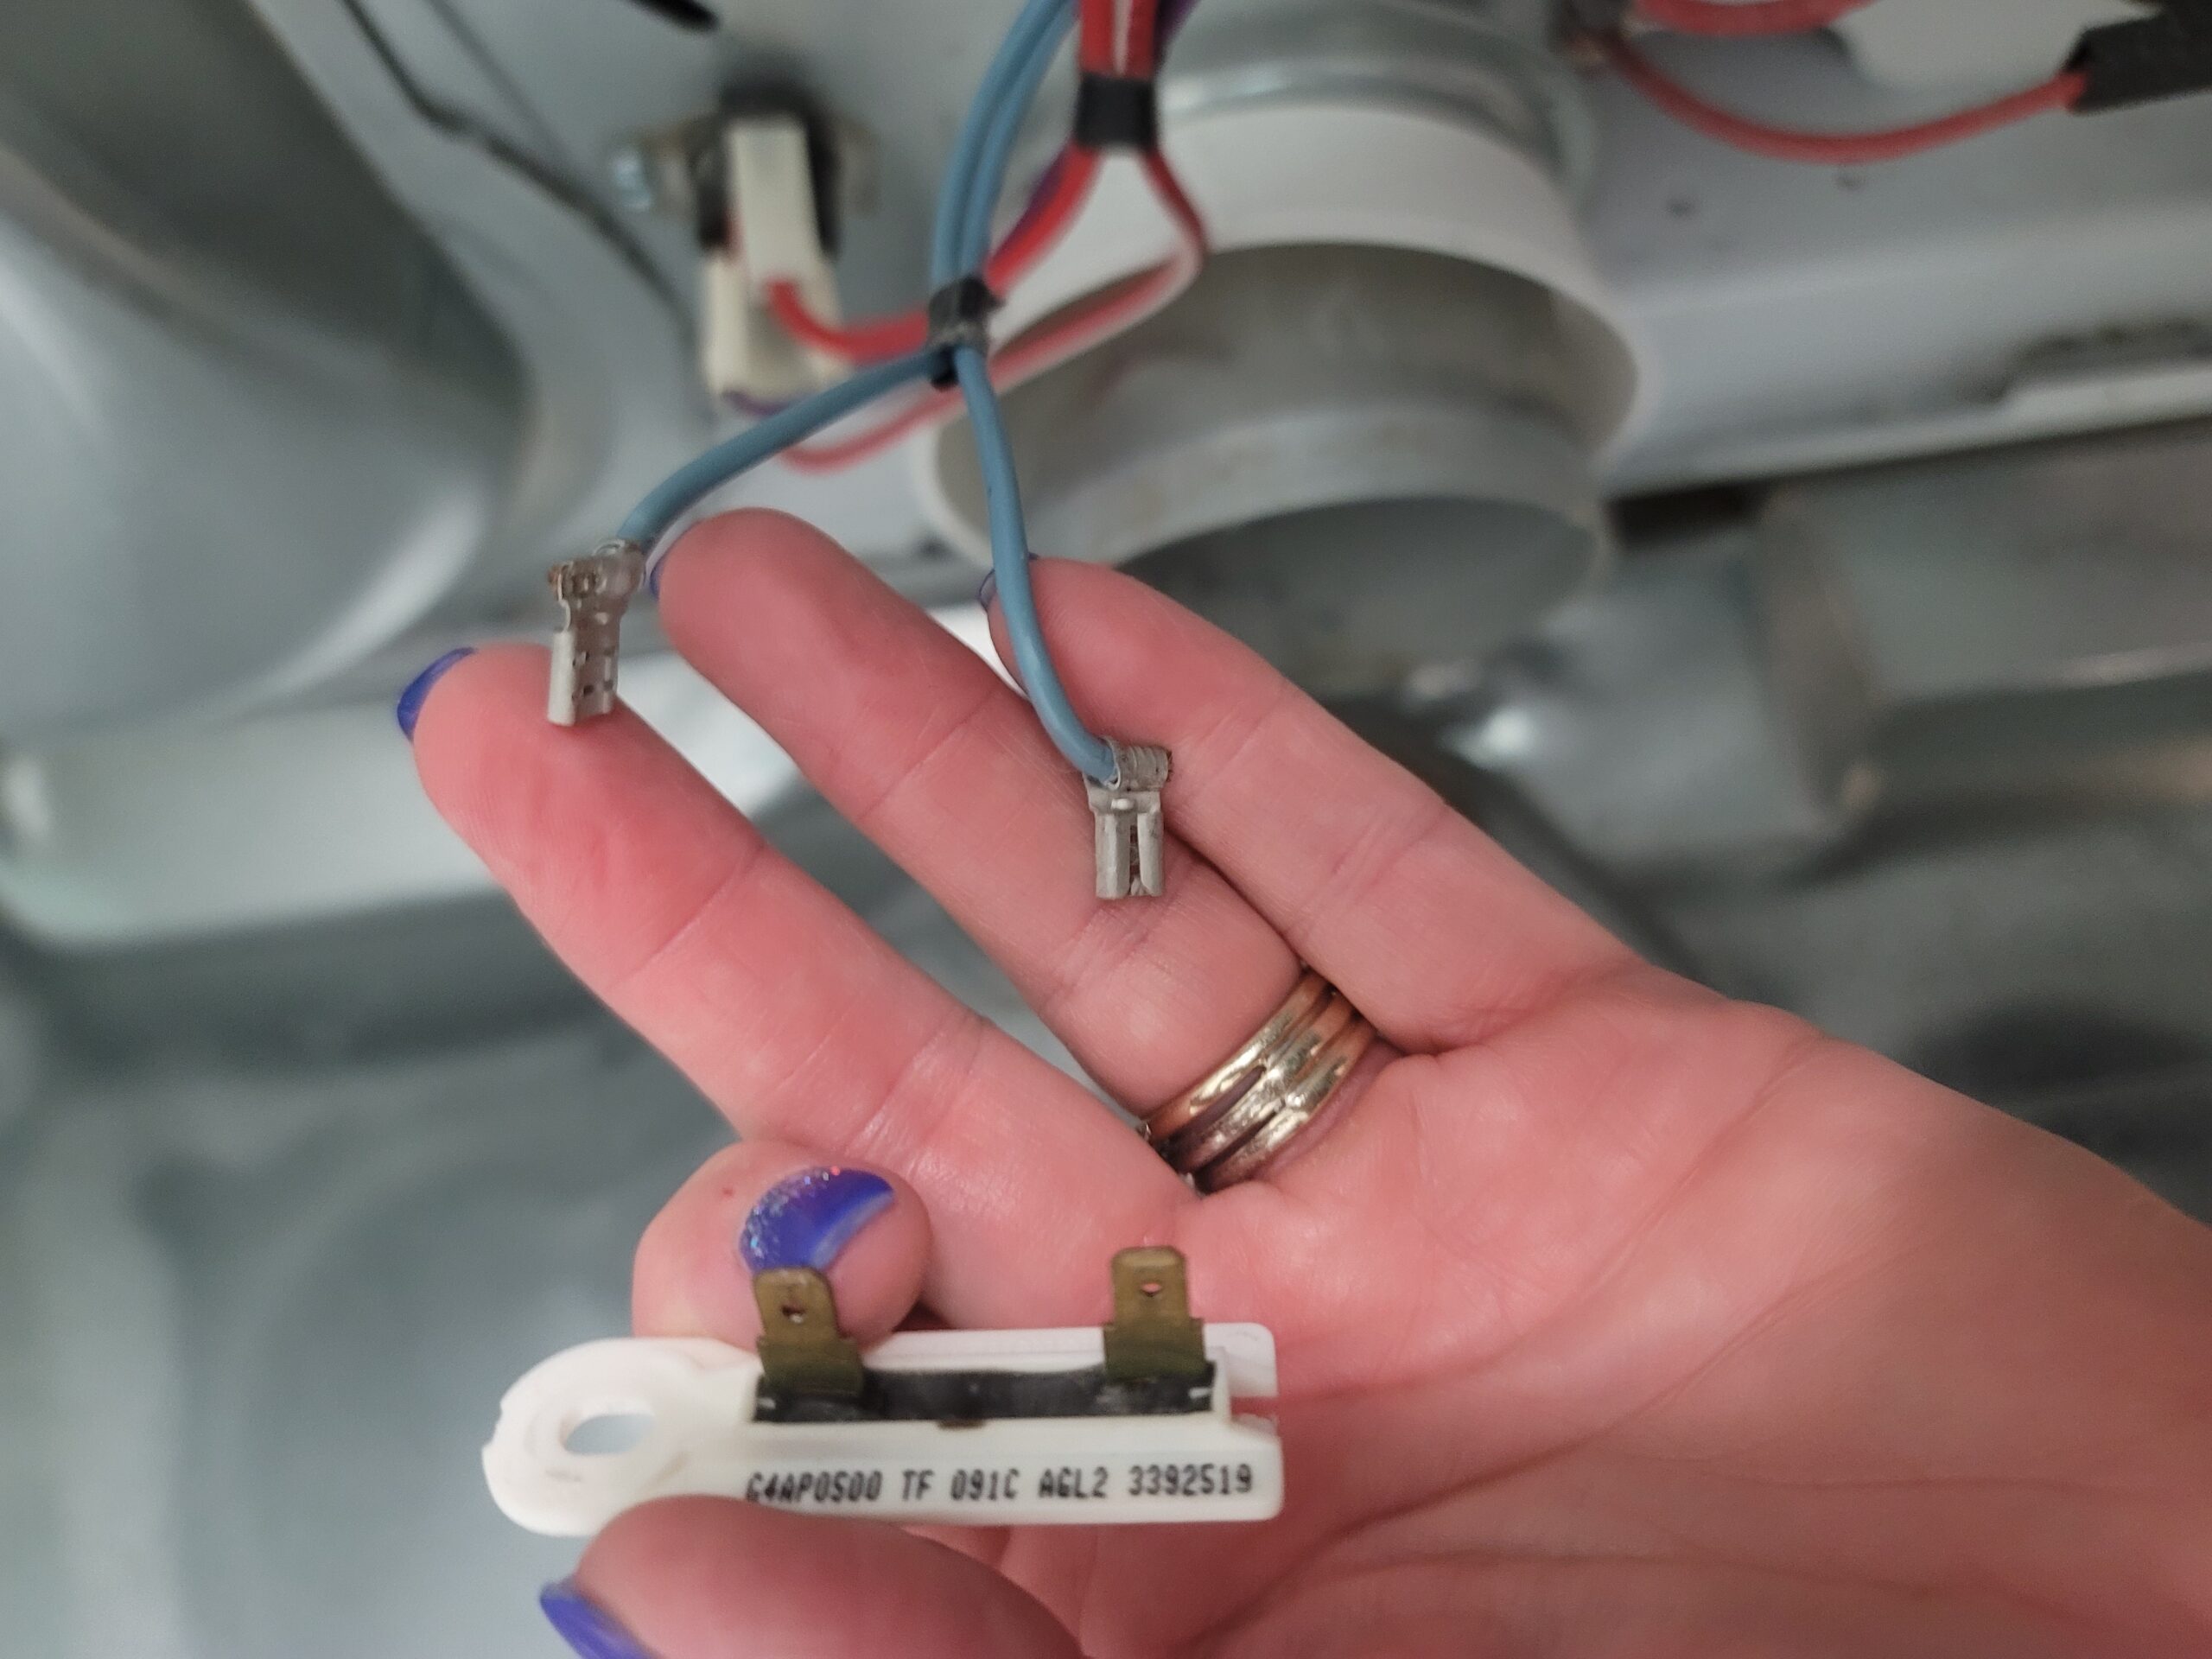
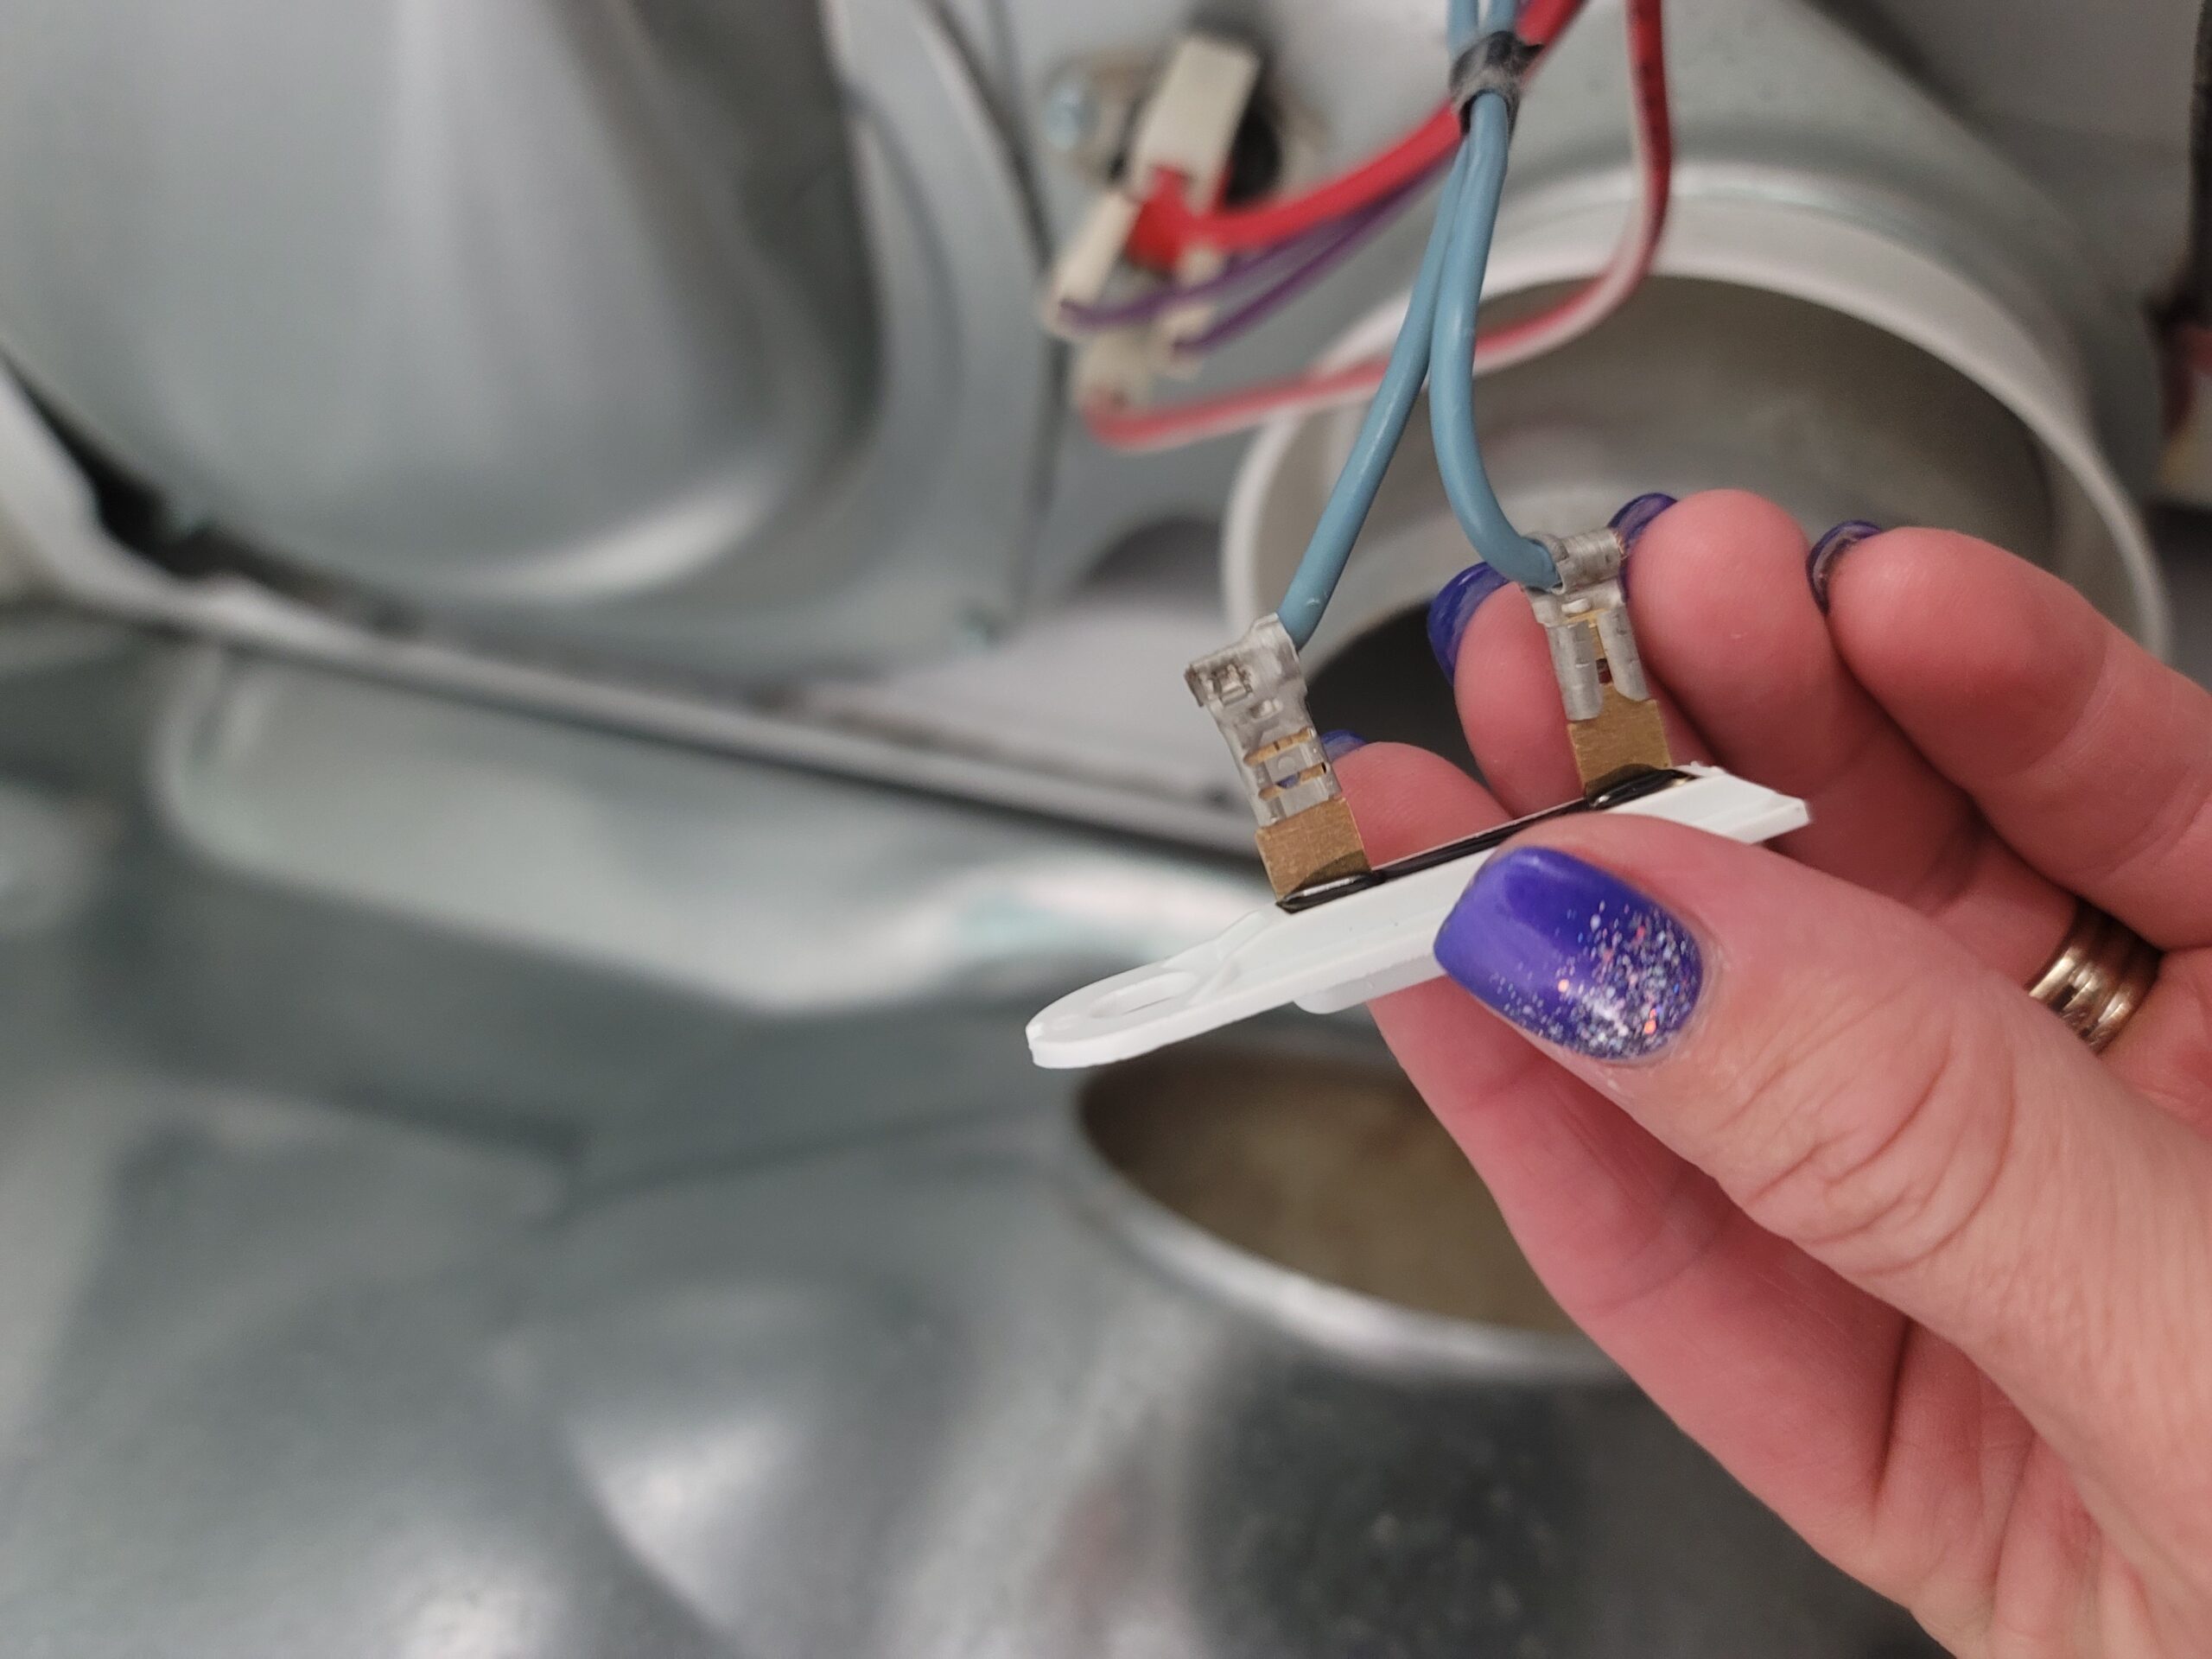
When we were all done vacuuming we went ahead and replaced the fuse.
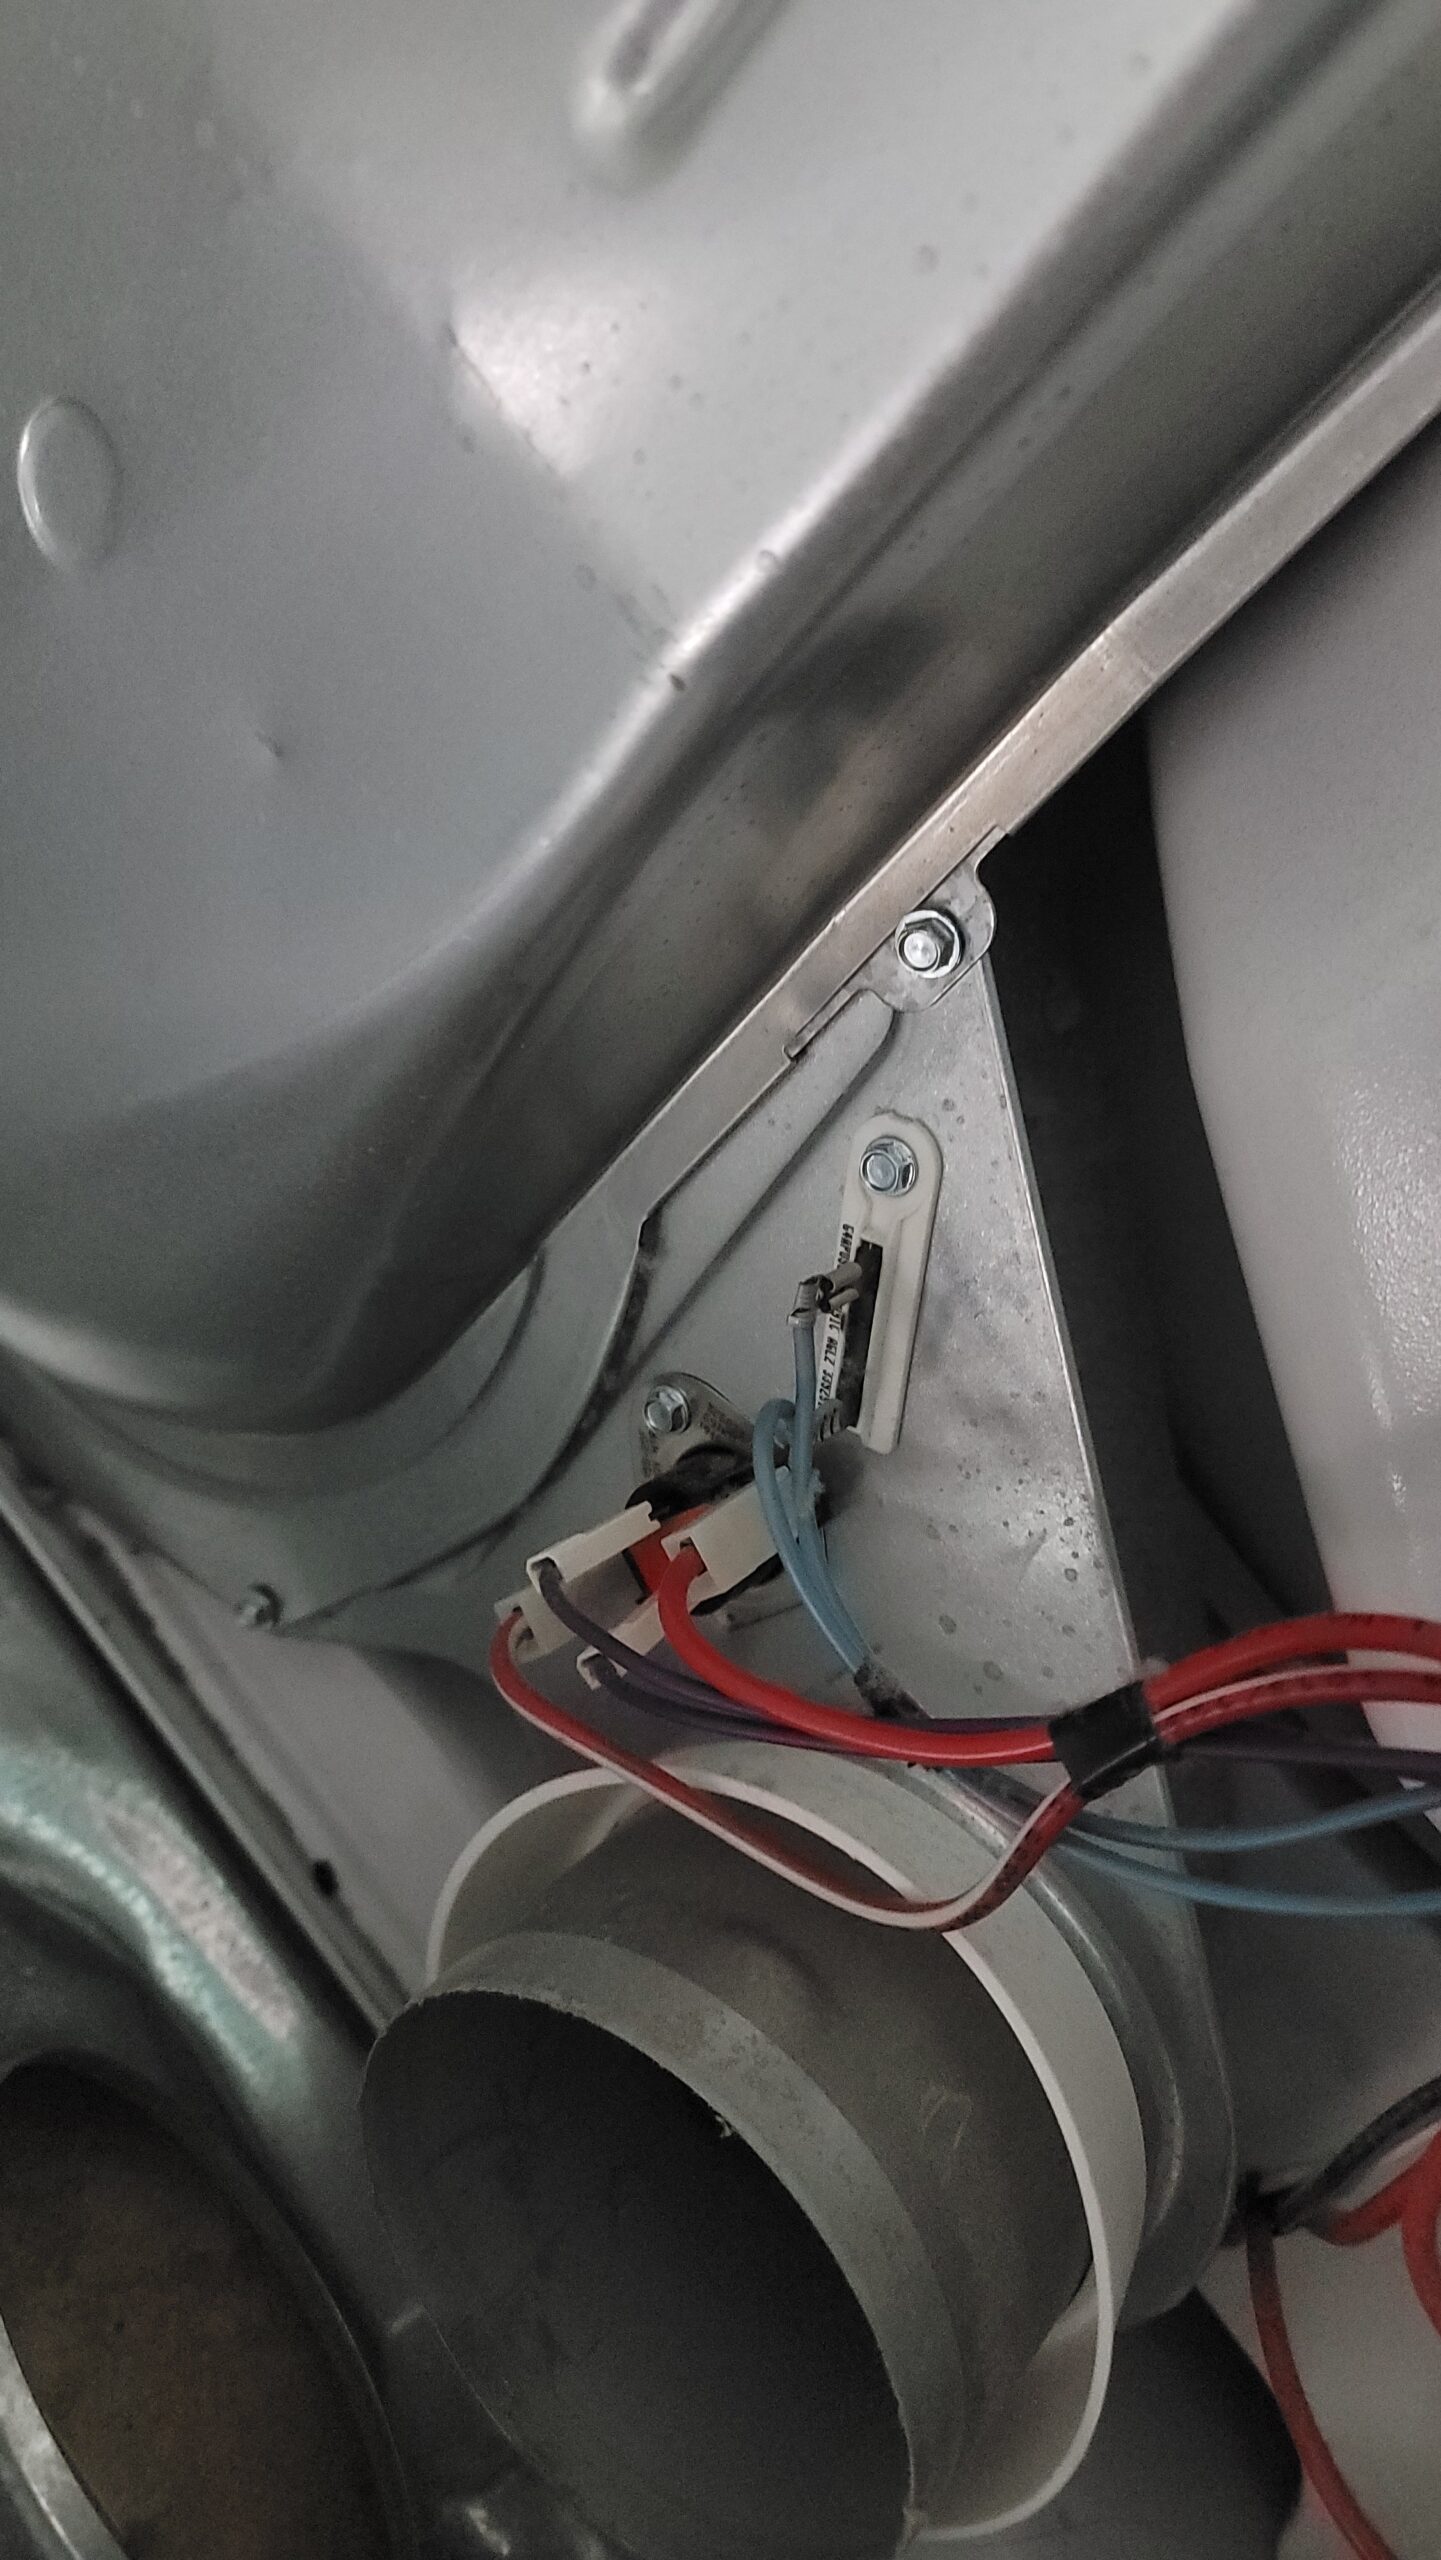
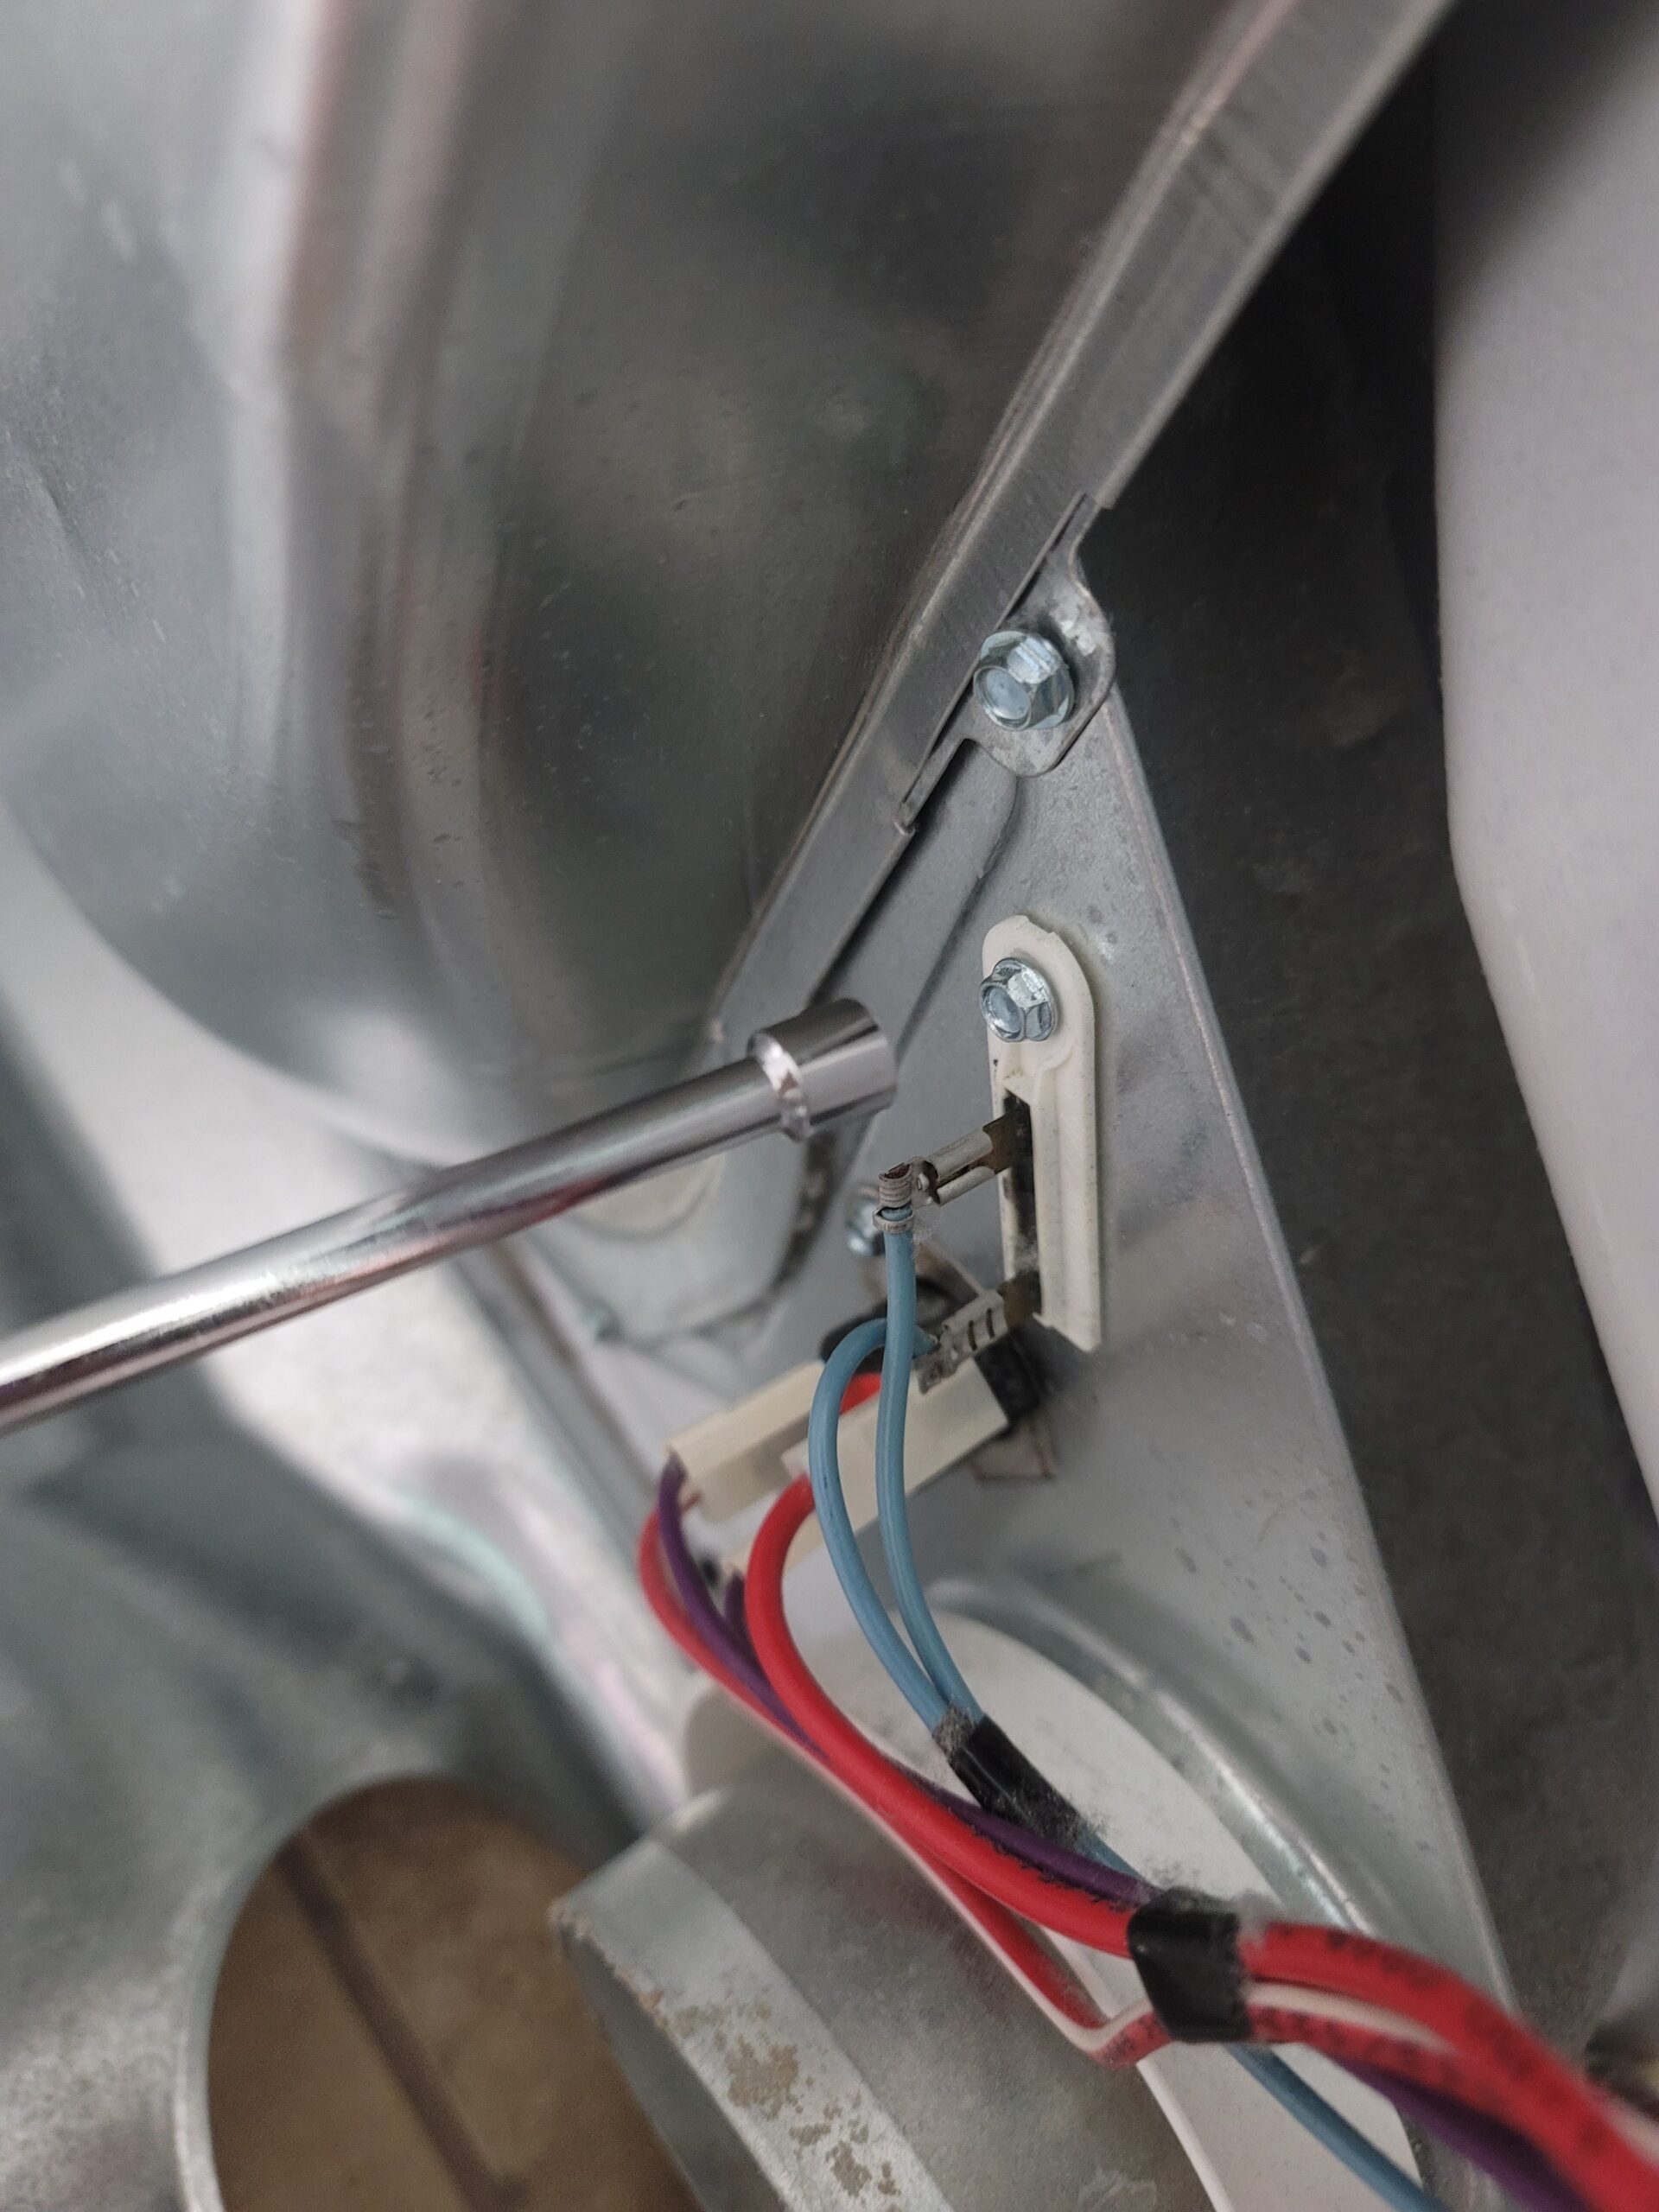
- located the fuse
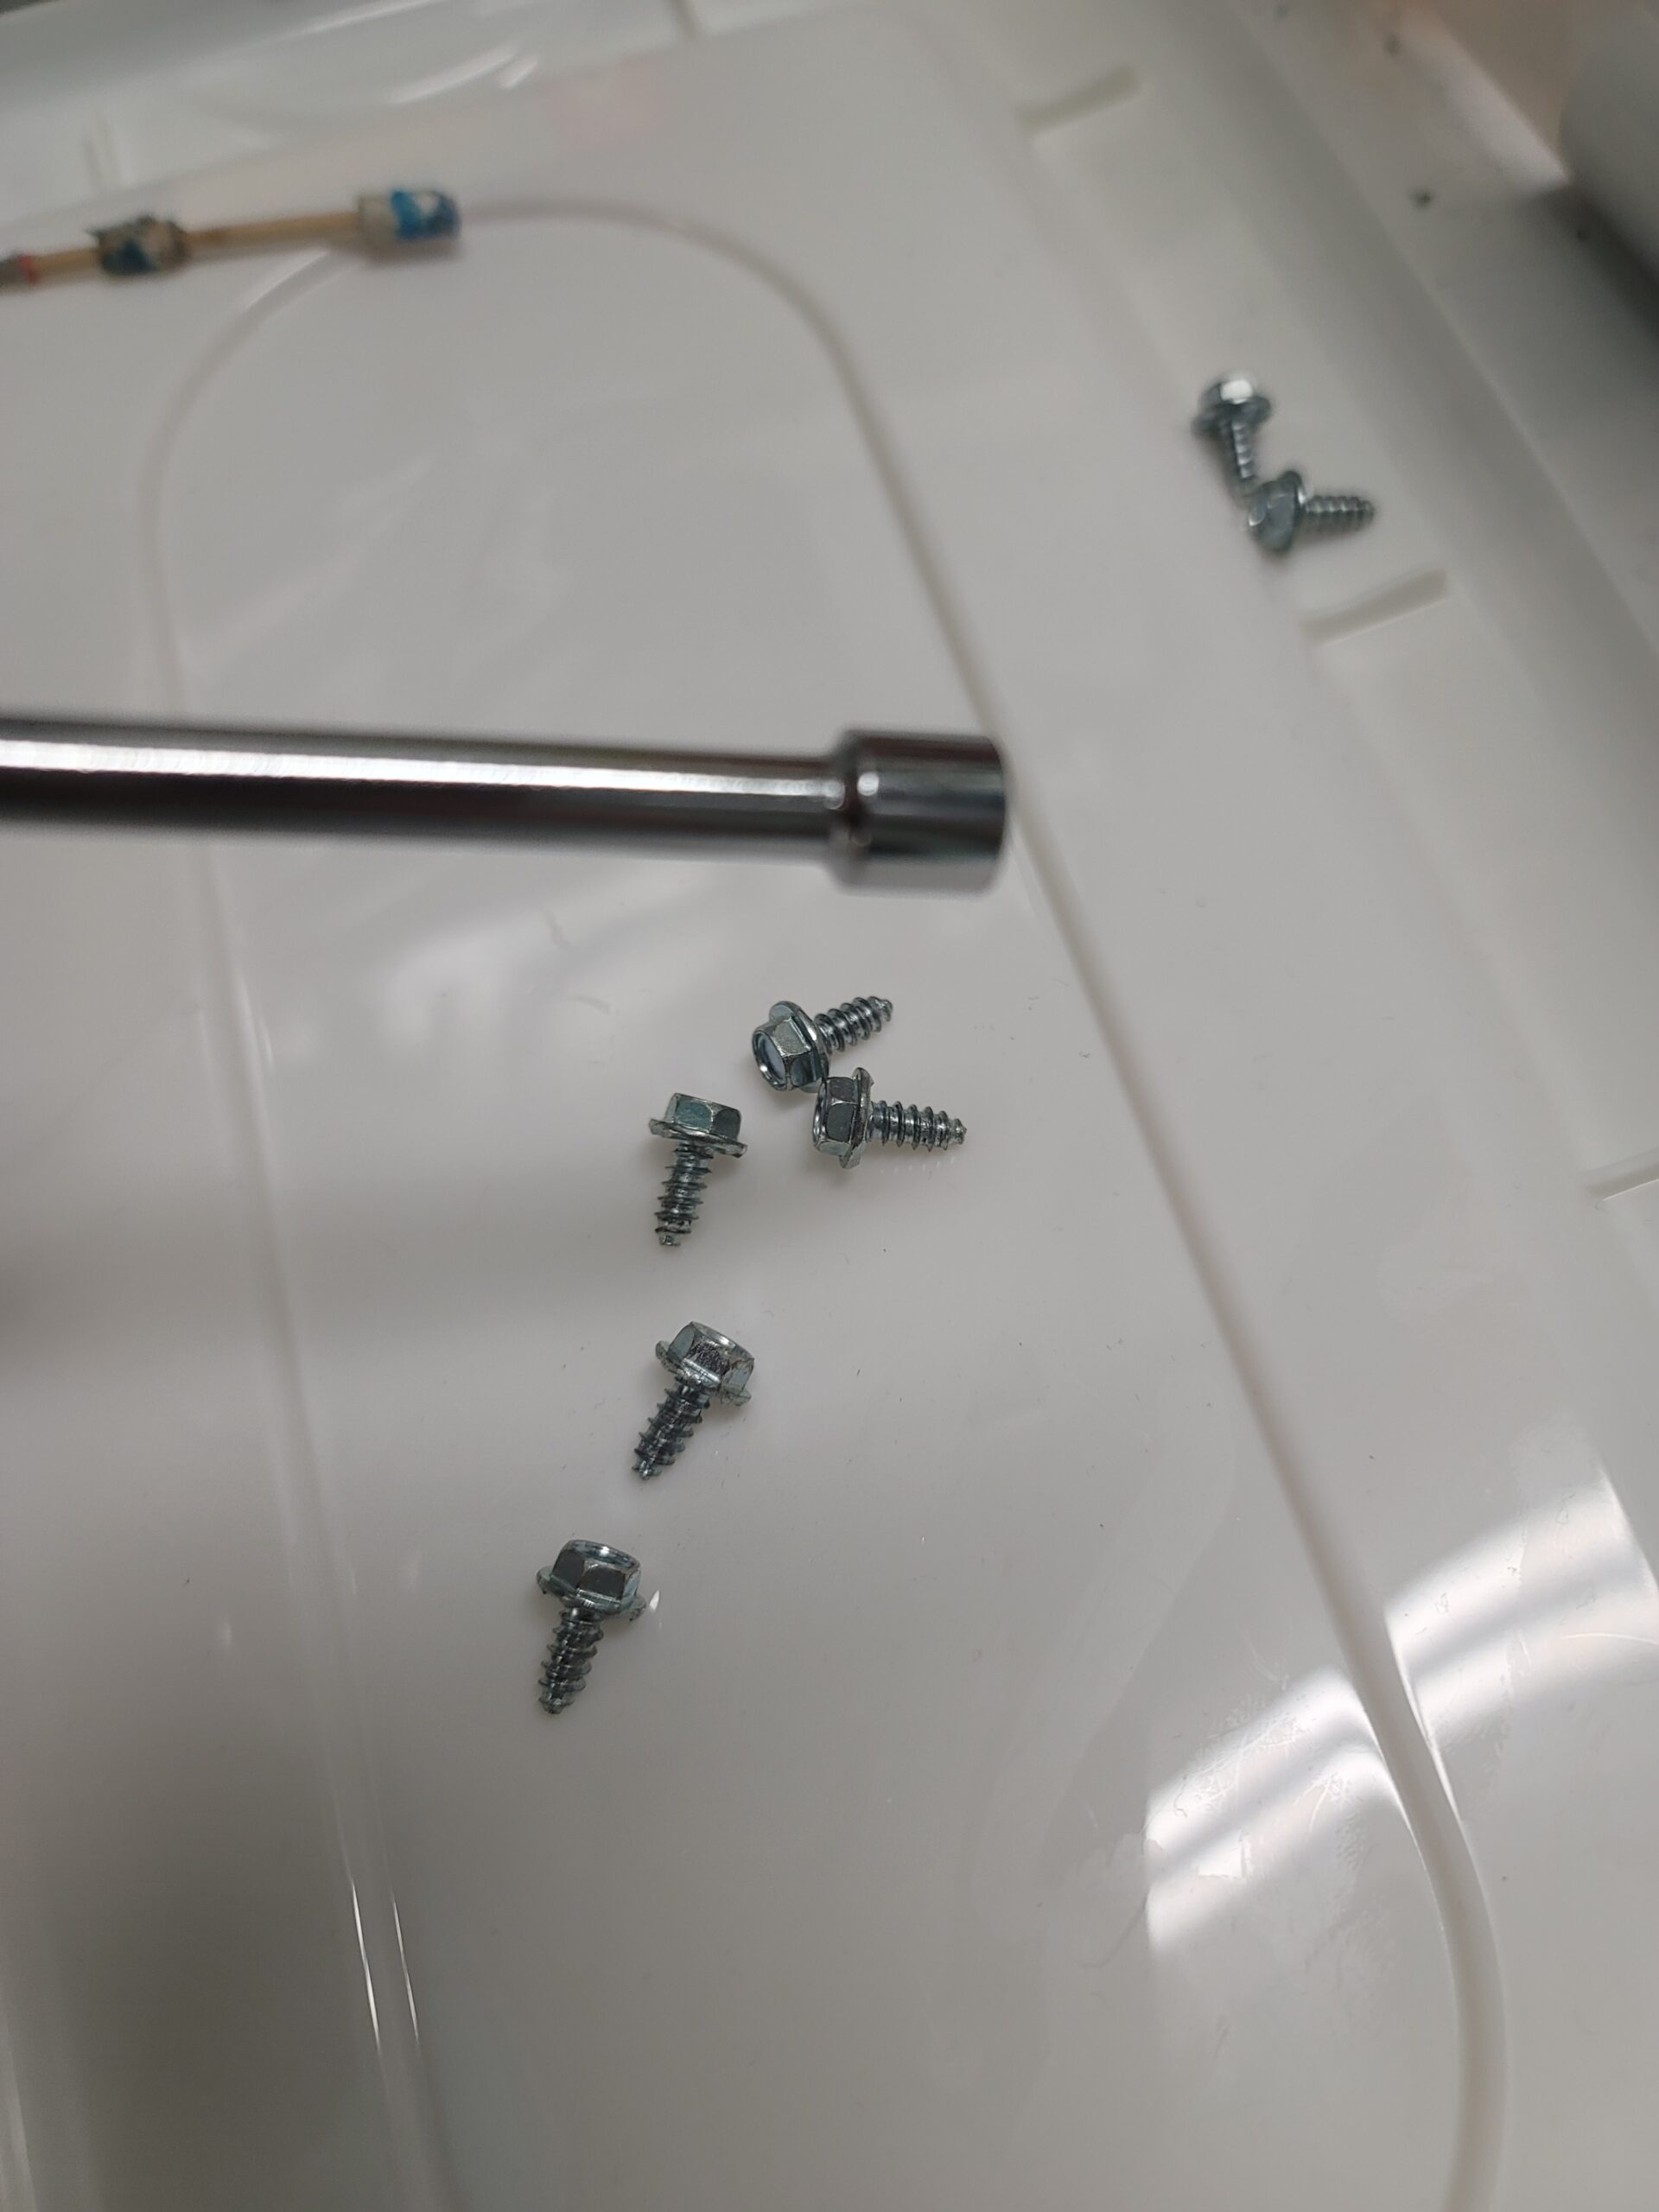
- unscrew the fuse
- pull the wires off – we needed to use pliers and wiggle
- attach the new fuse
- screw the fuse back on
- panel back on the dryer
- reattach the dryer vent (after cleaning)
- plug it in
- test it out
HEATING ELEMENT – how to turn the heat back on
So many video’s were watched about the heating element and how to replace, none were for my exact model. However, most had the heating element in the front under the drum. So I went for it! Guess what – it wasn’t there! It was in the back – which was easier. I learned how to open the dryer though – haha.
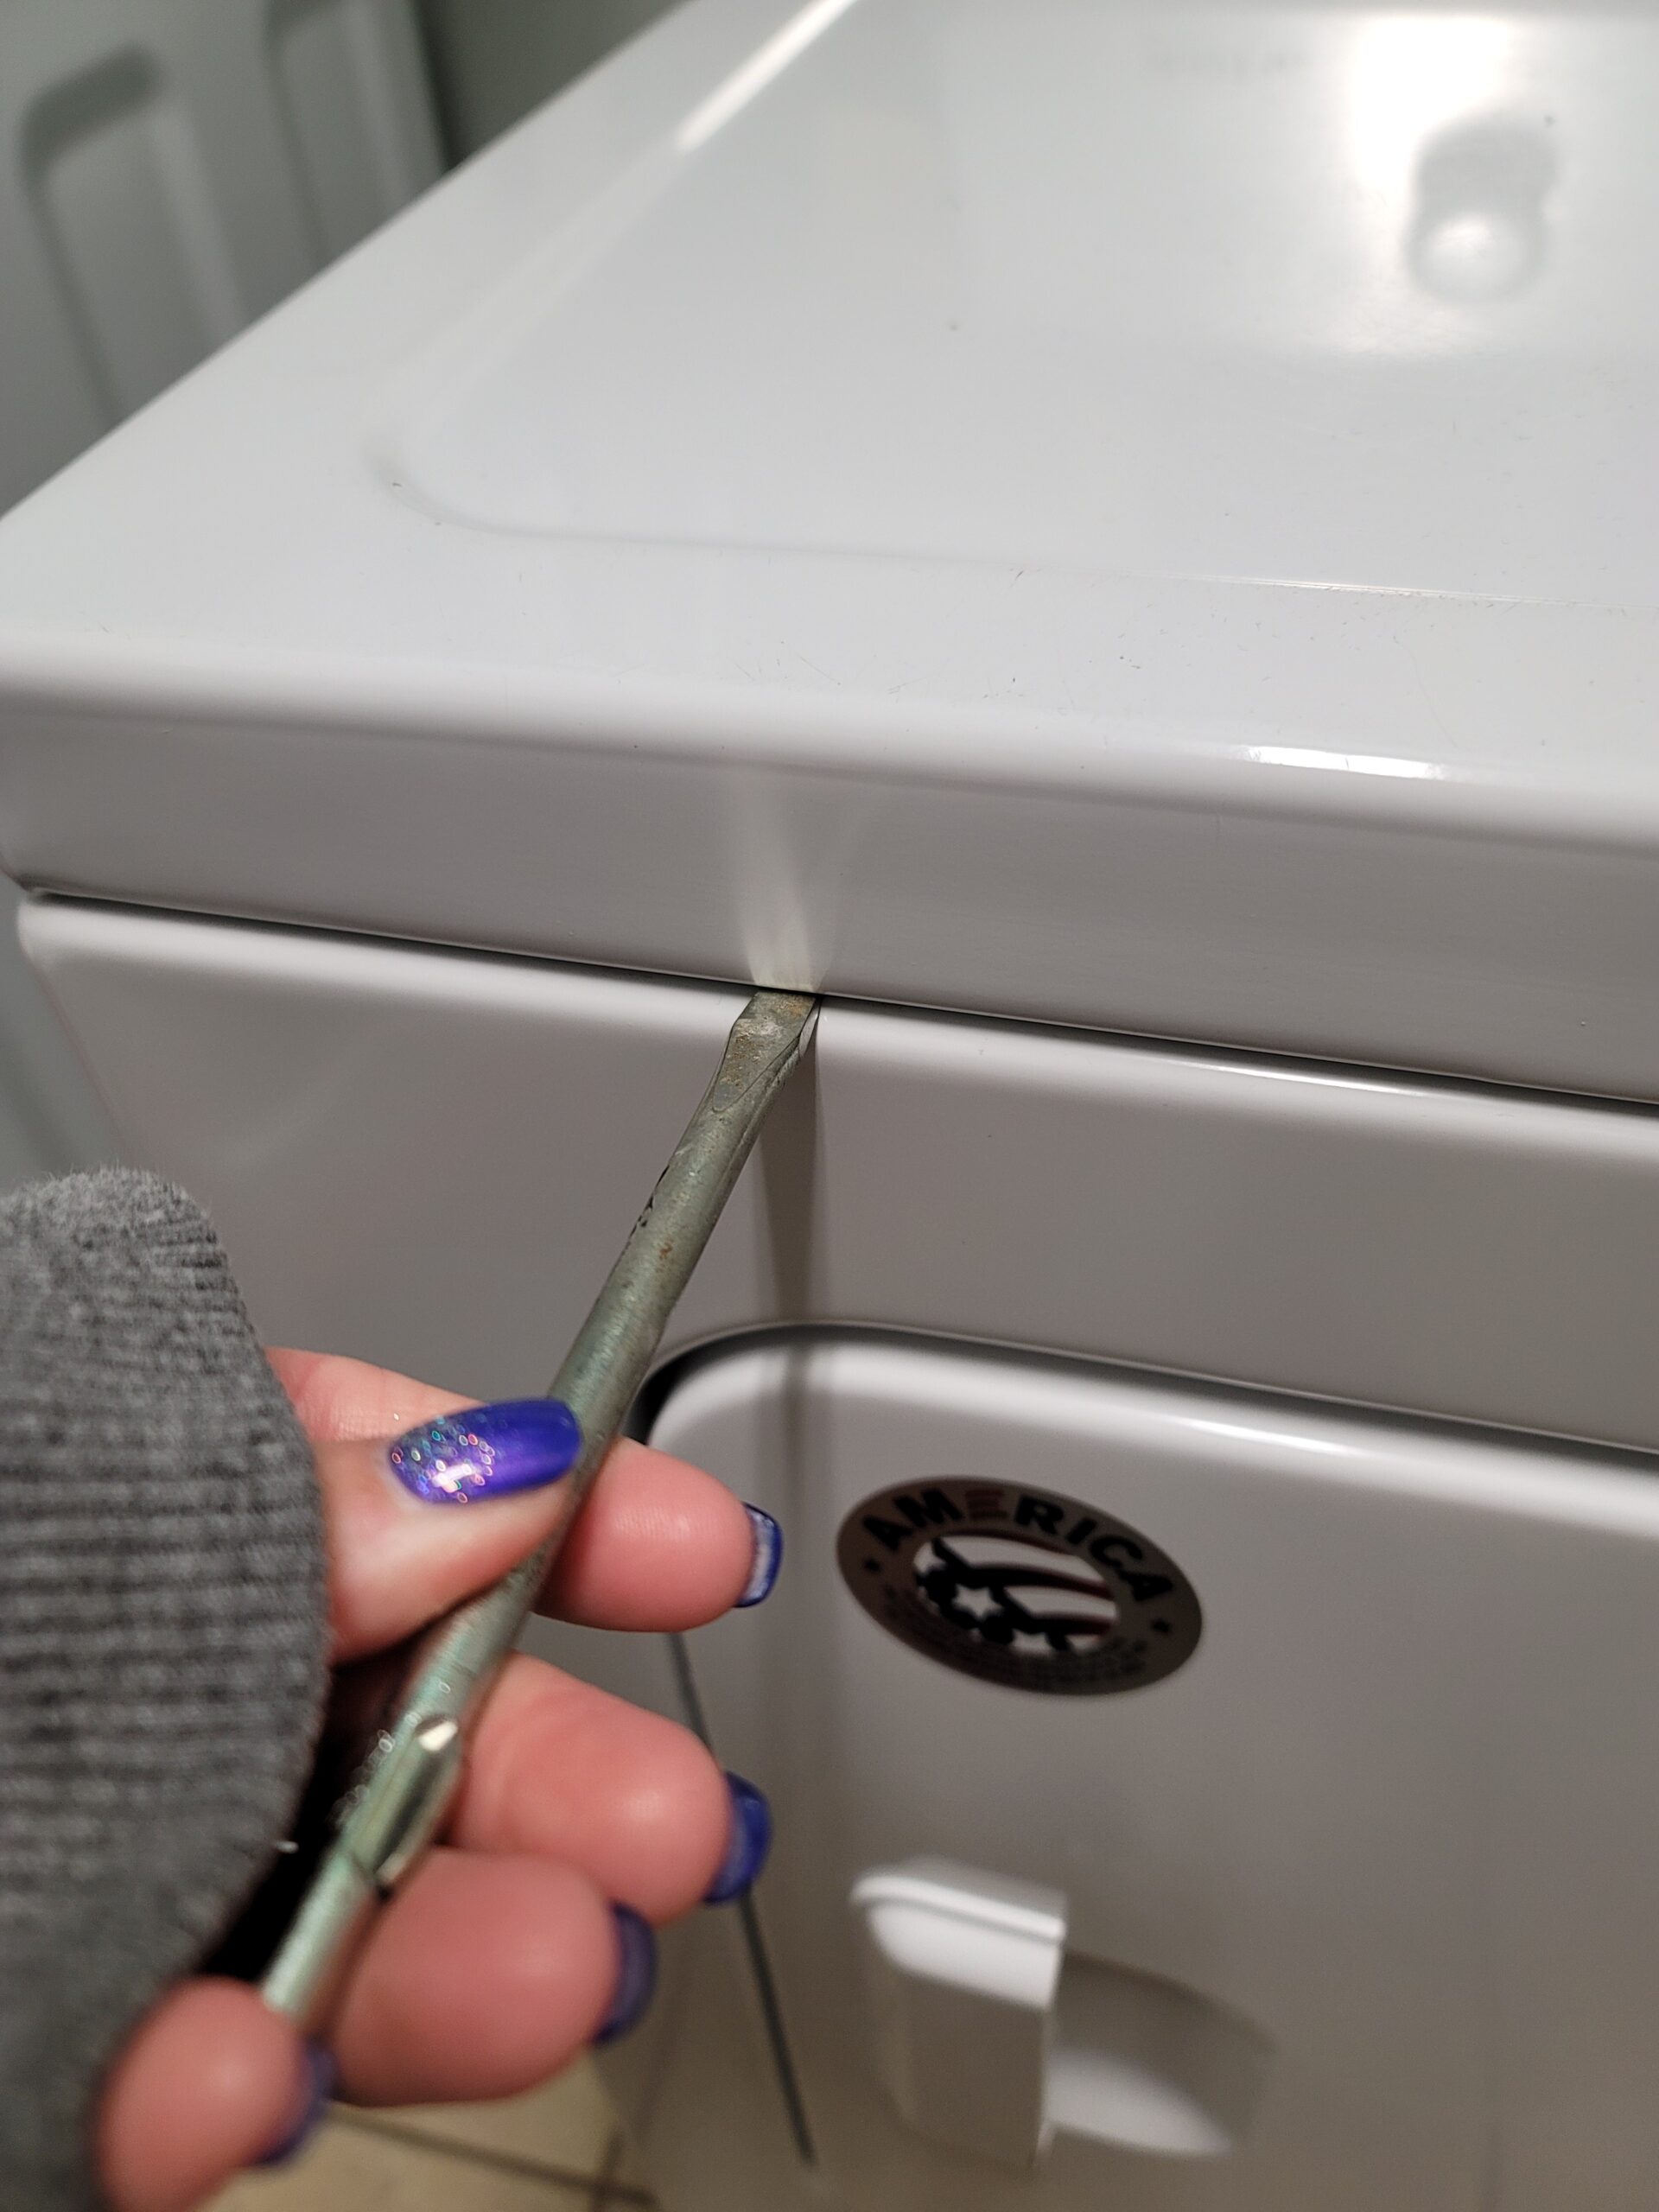
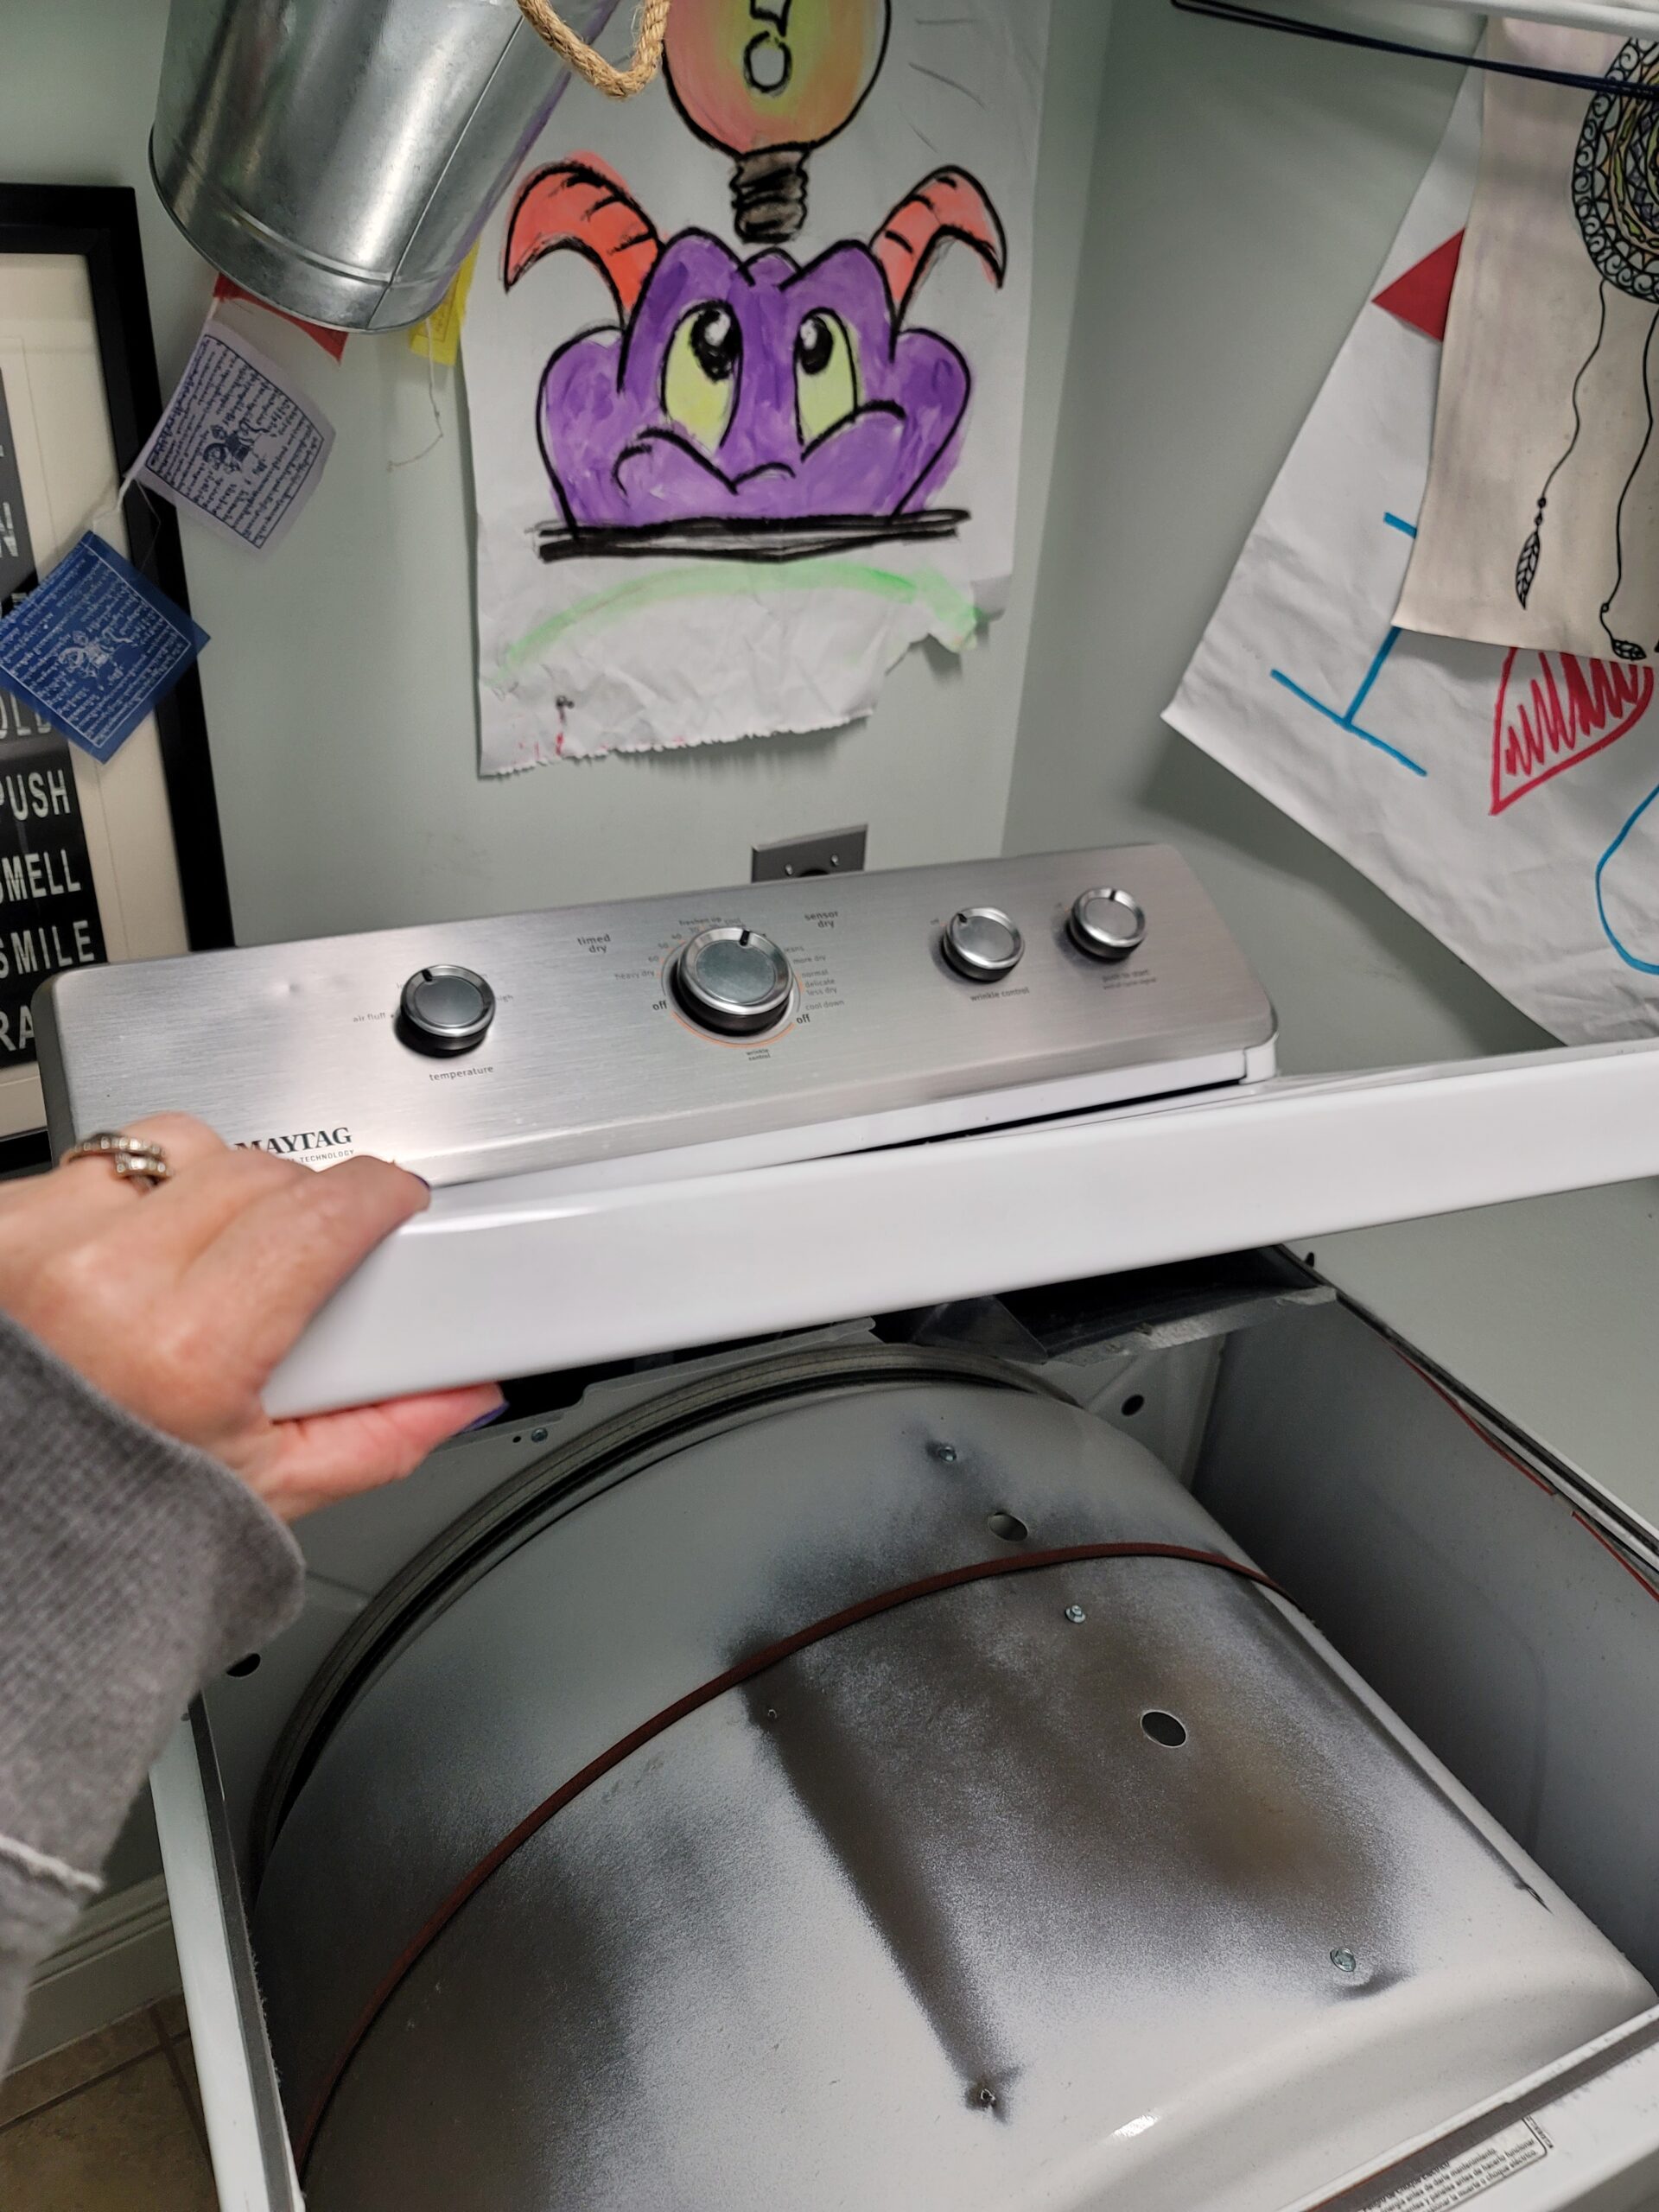
OPENING THE BACK
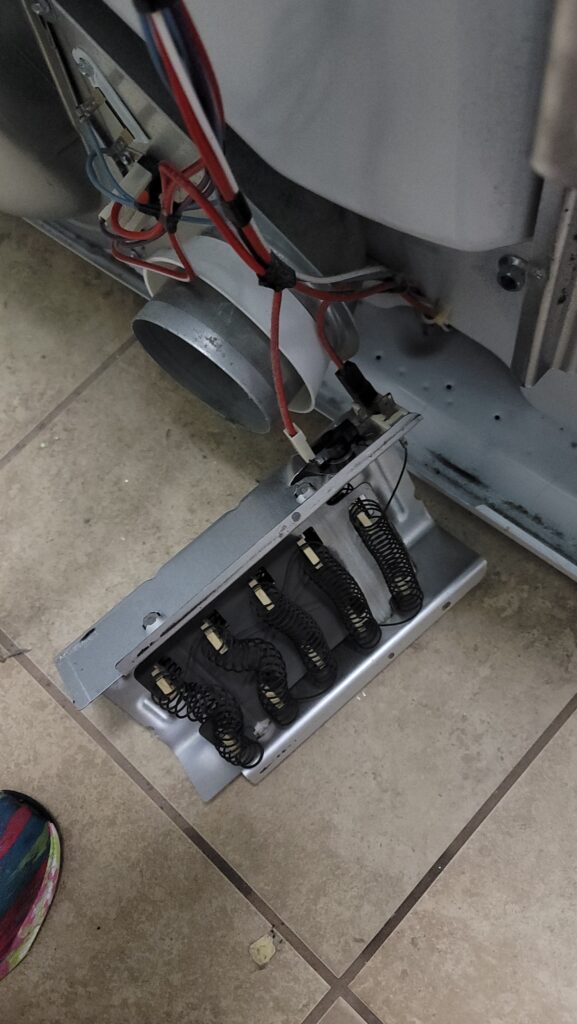
The heating element is on the right and it is towards the bottom. You will need to disconnect the wires at the bottom and unscrew the heating element. Now as you can see from the video I took off the wires at the top and did not need to. Hoping to save you some time with this tip.
UNPLUG THE ELECTRICITY FIRST
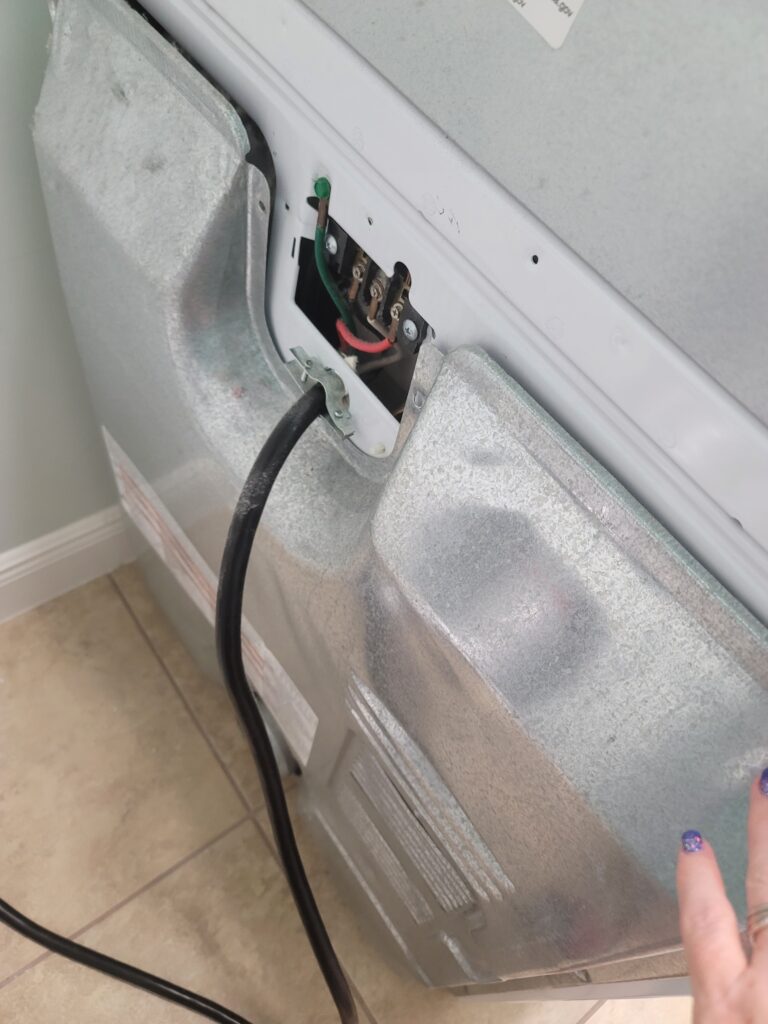
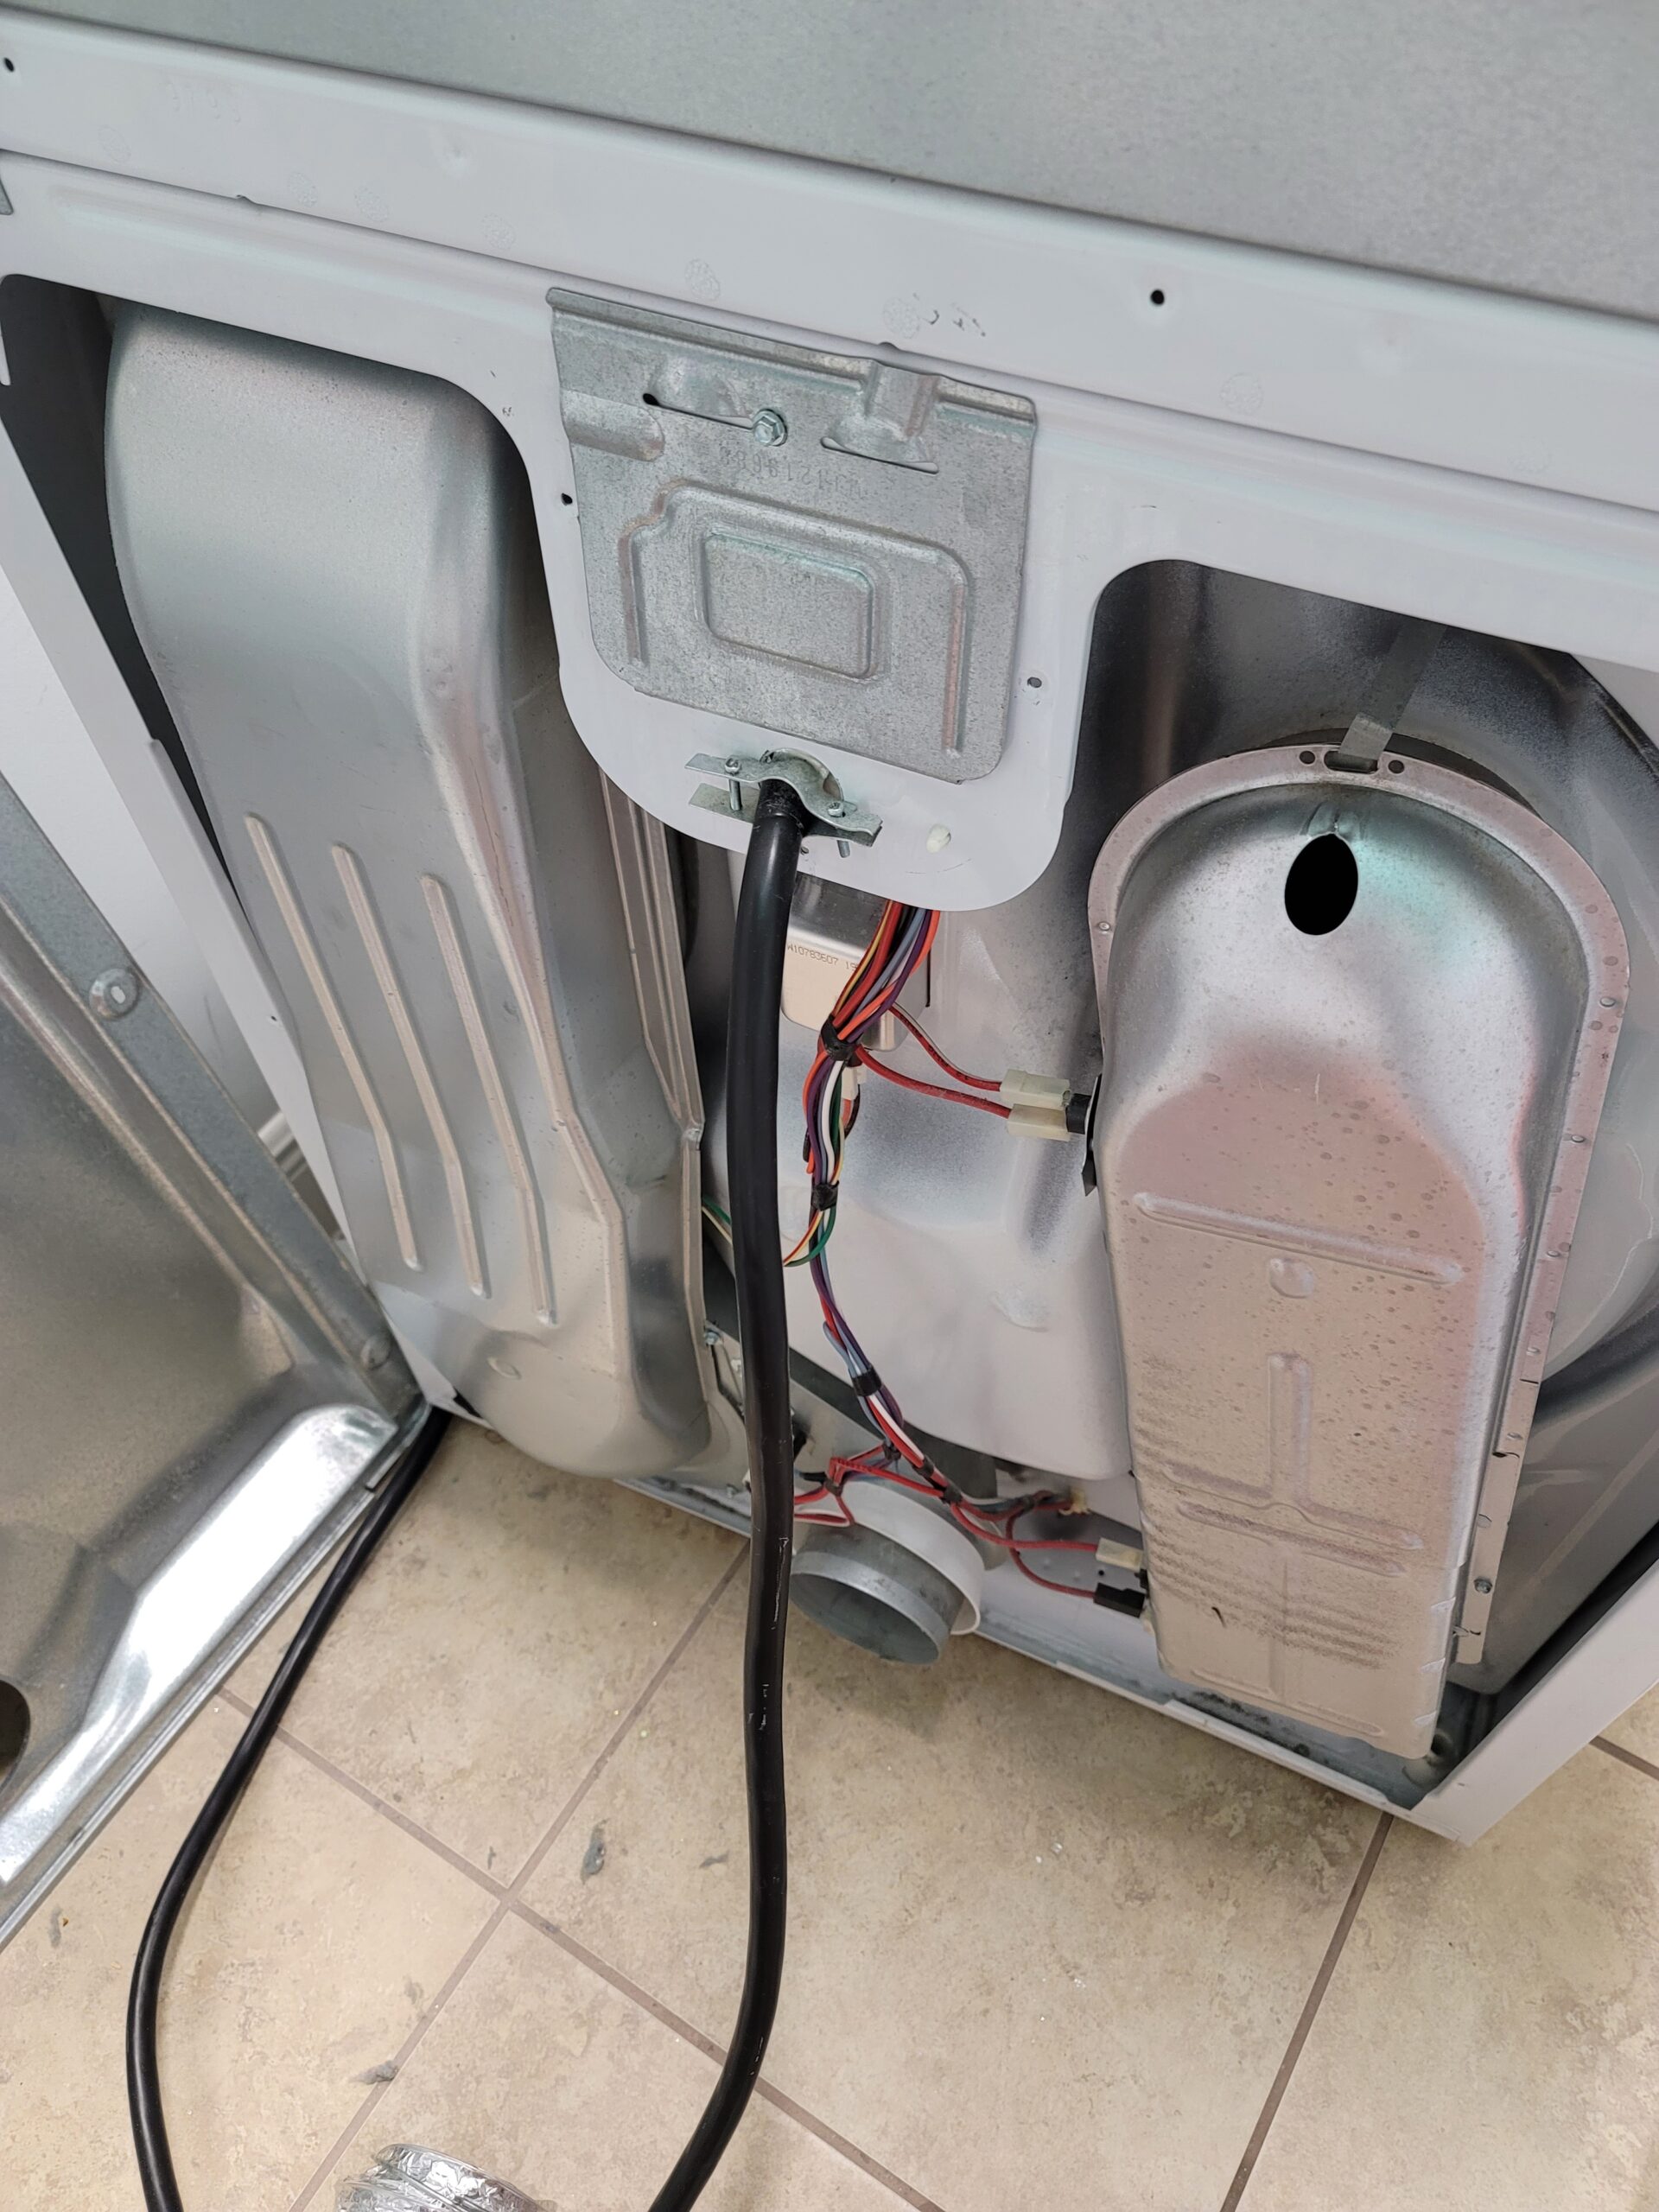
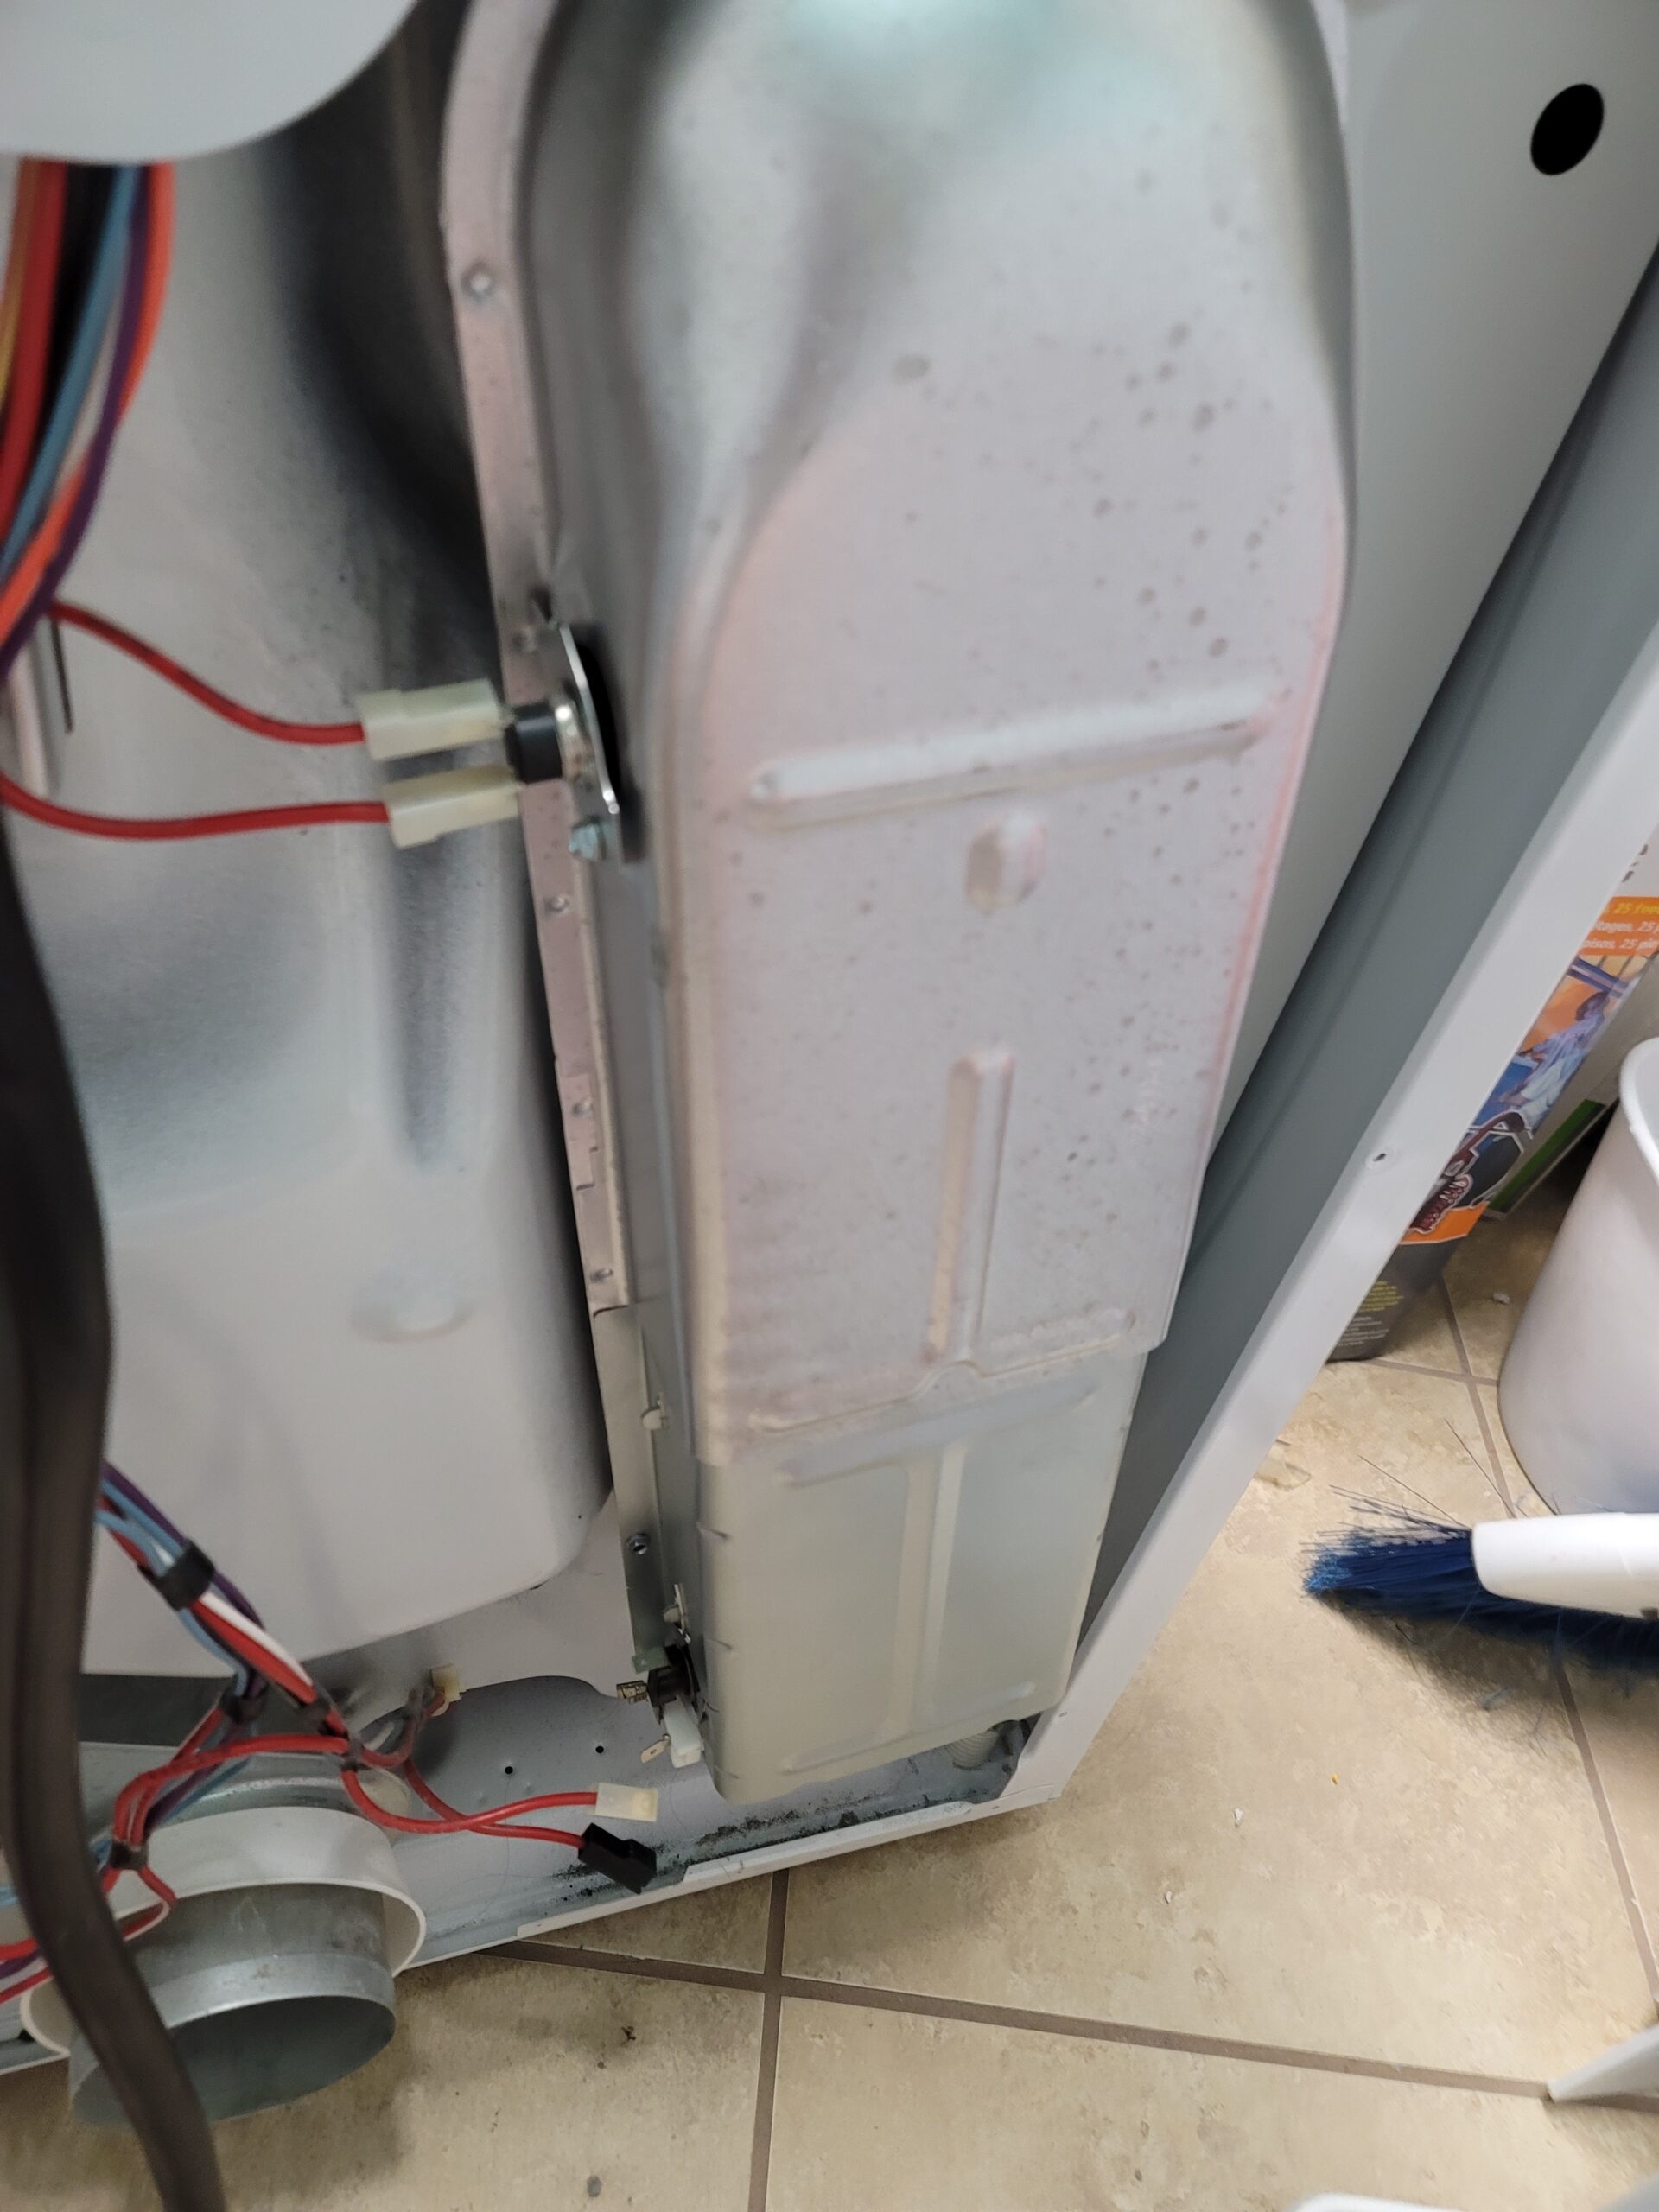
WIRES AT THE TOP – leave alone
So I unscrewed this – but realized the heating element was just on the bottom half and this could just stay attached.
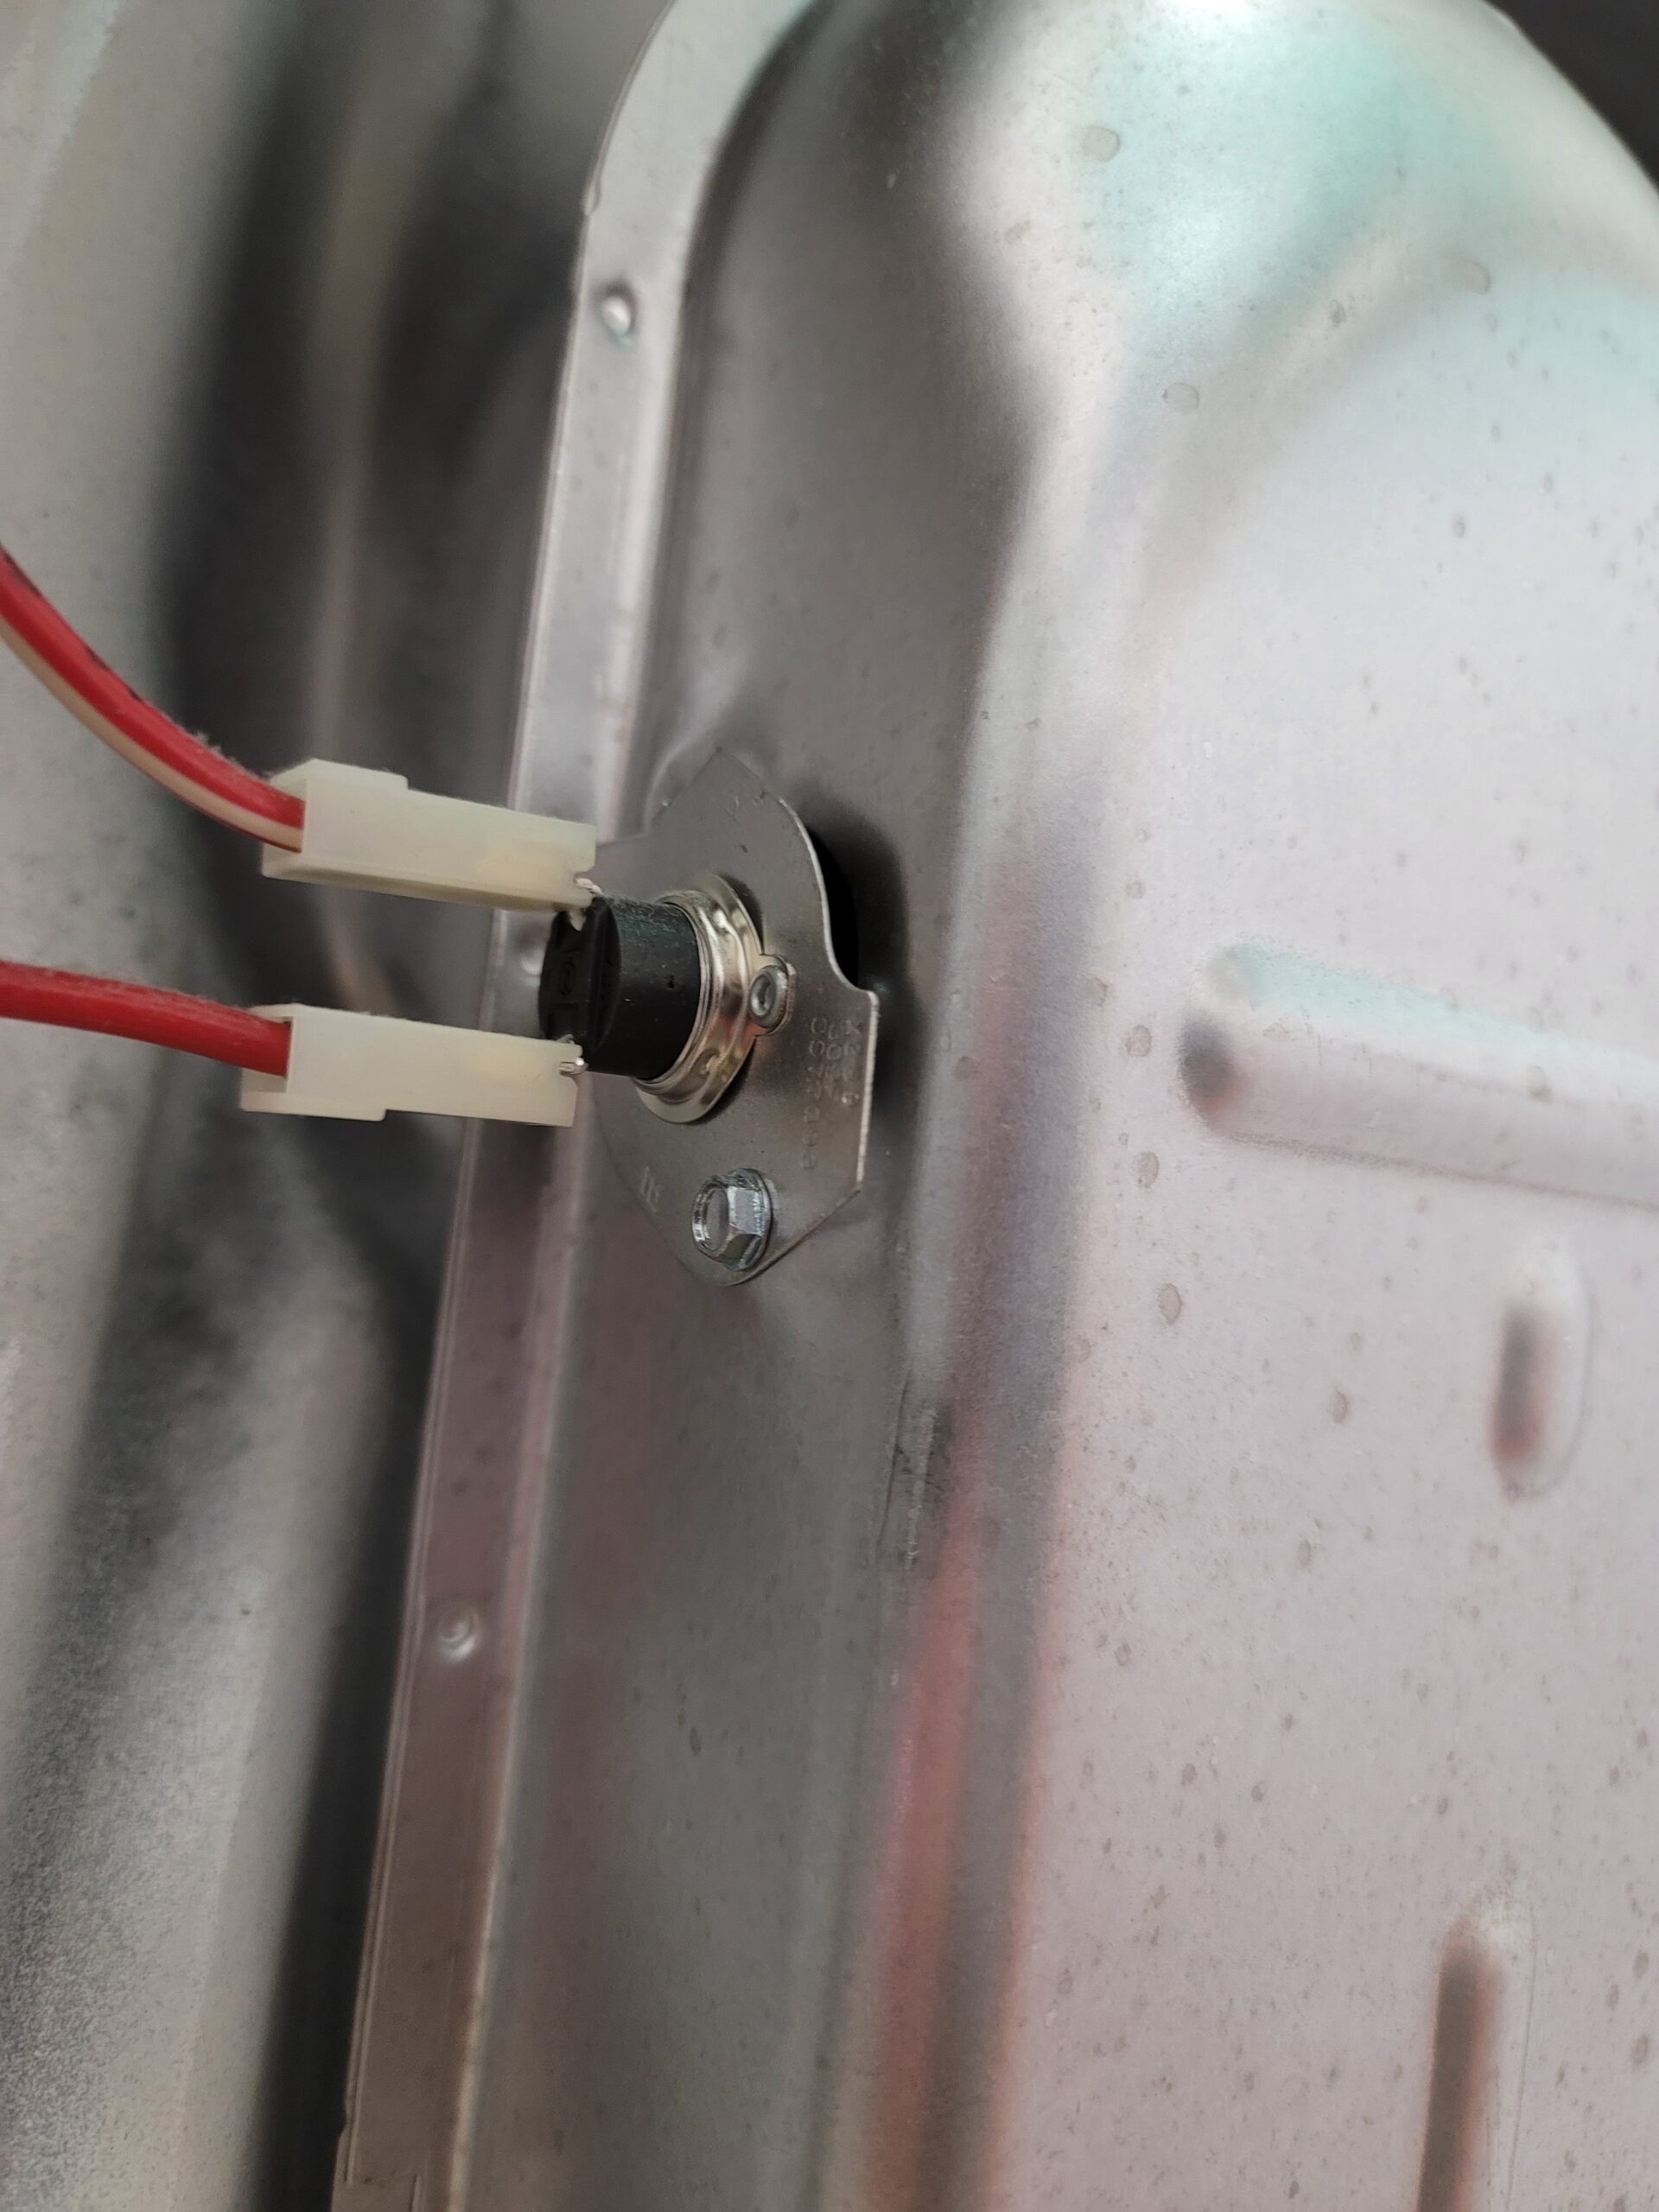
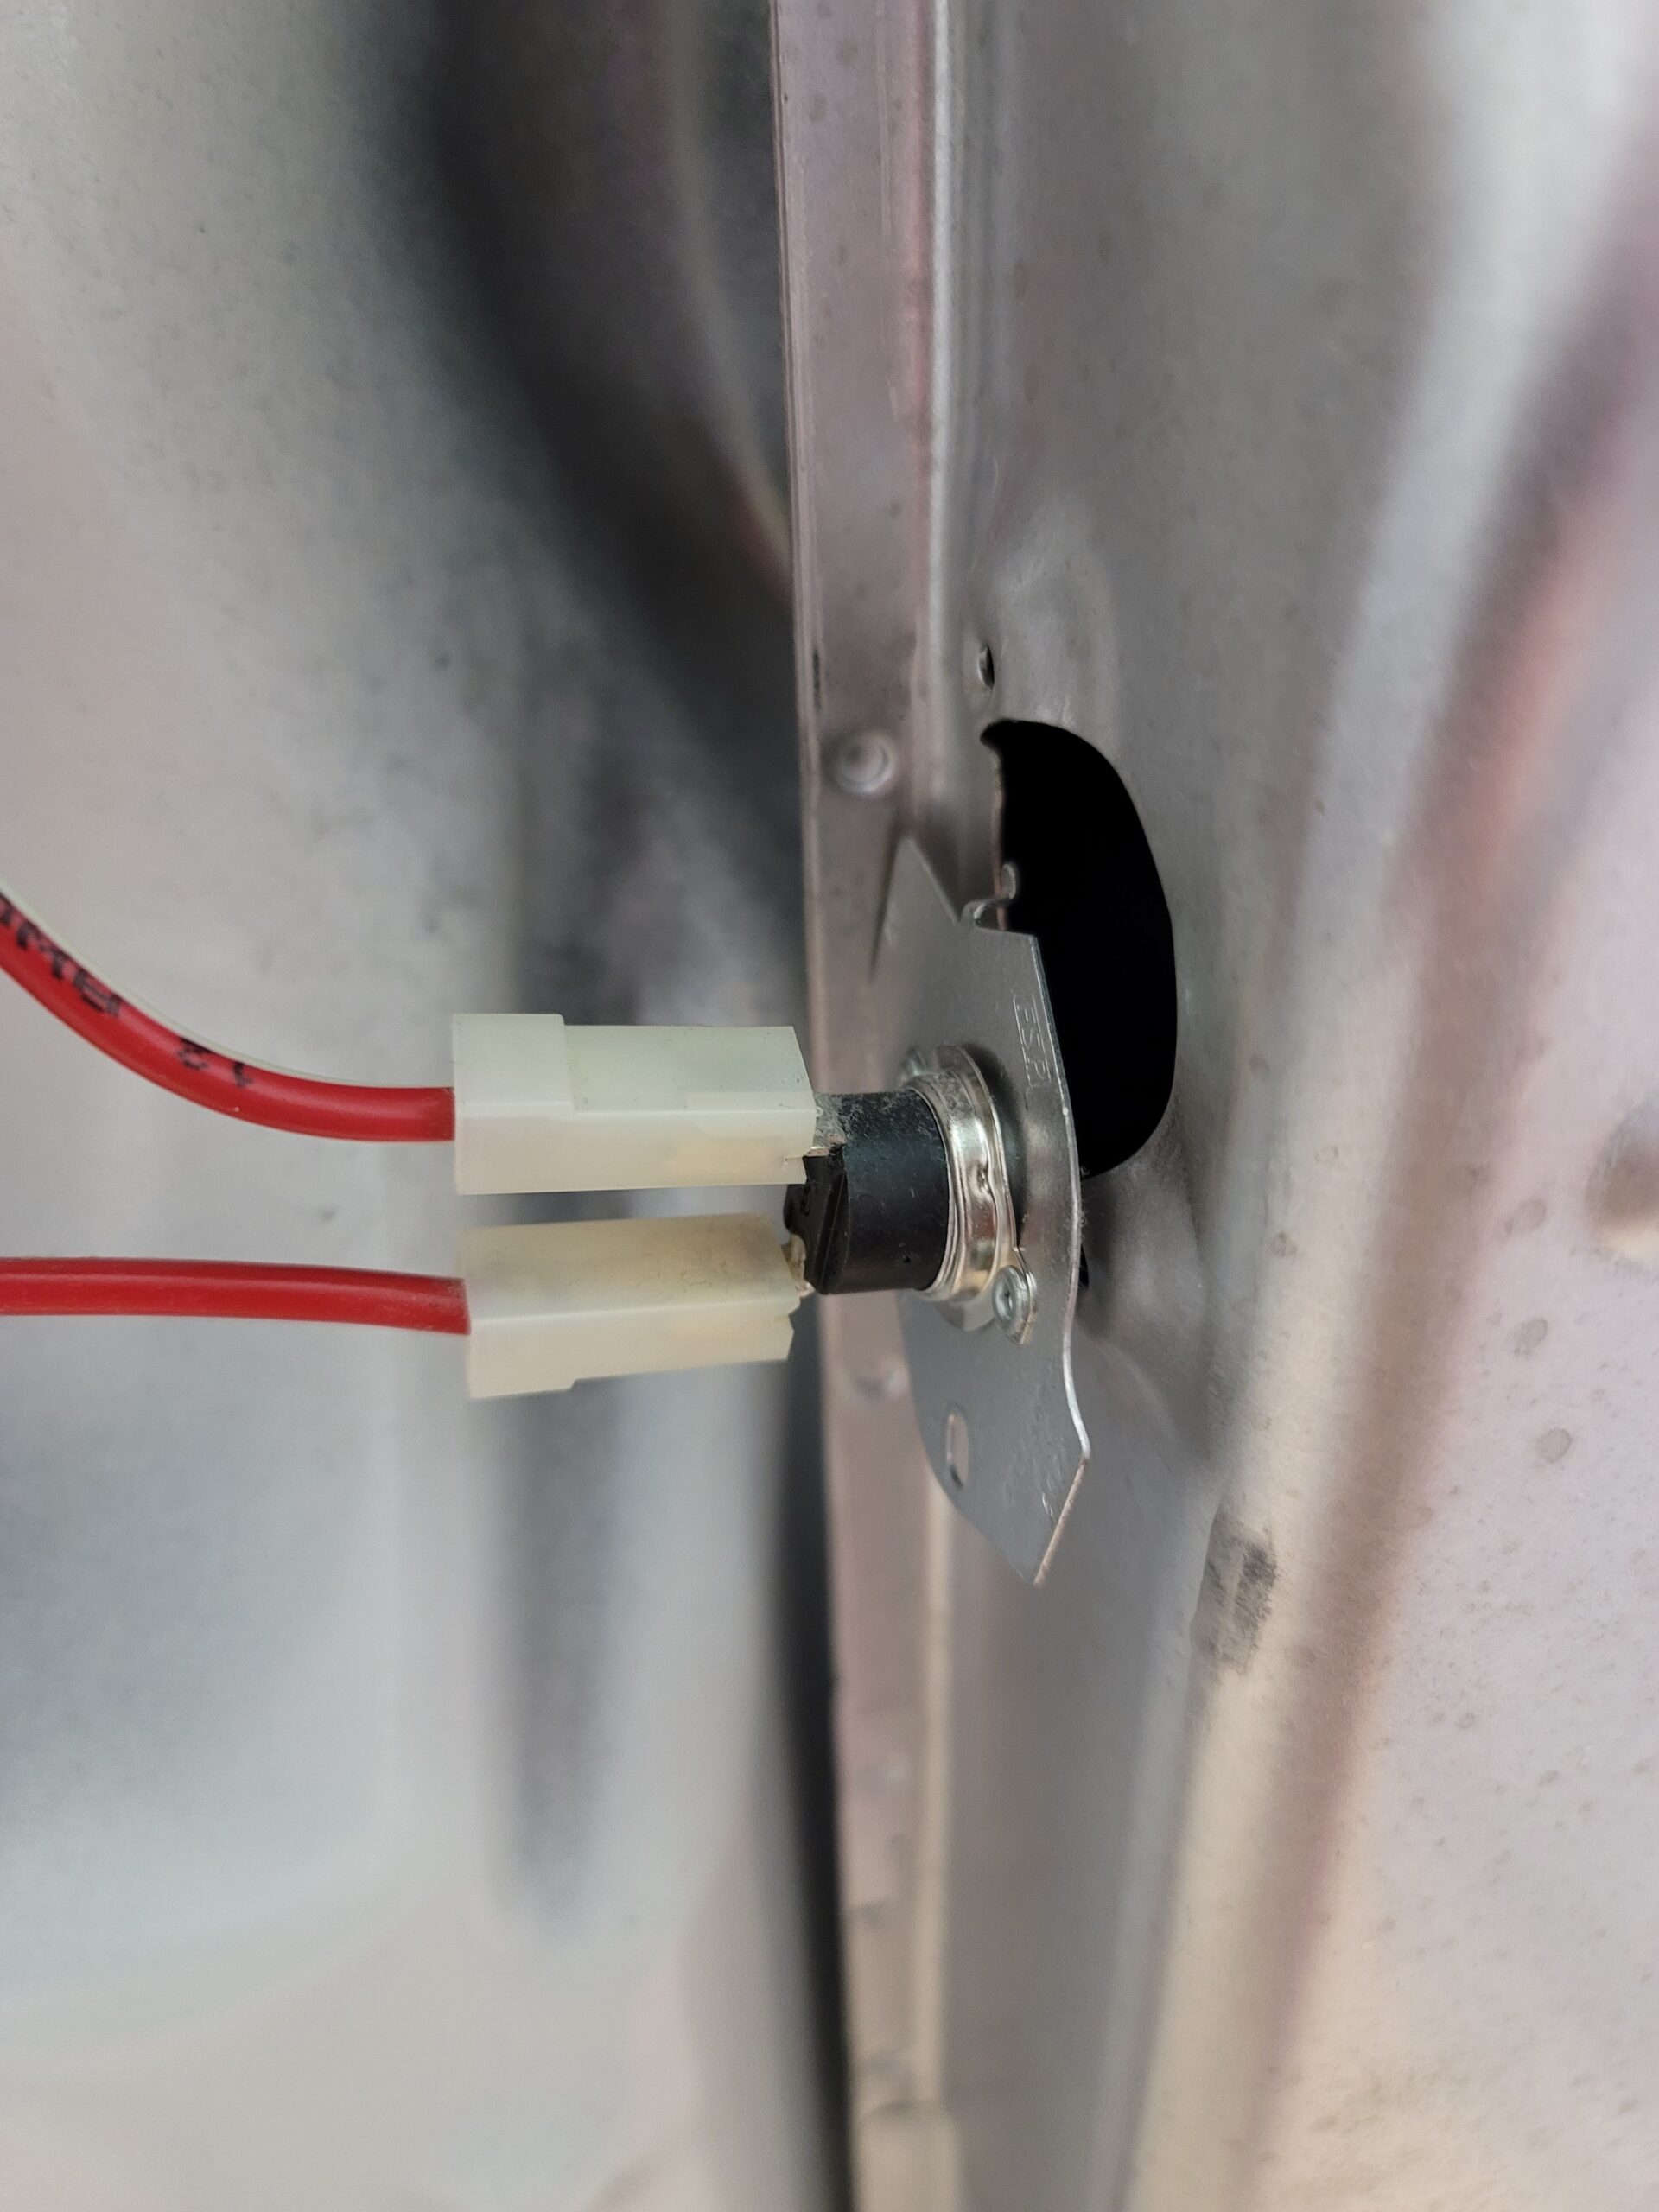
WIRES AT THE BOTTOM
I HIGHLY suggest that you take pictures of your cords BEFORE you take them off so you know how to put them back properly. The cords were easy to come off but this little part was a bitch, mostly because I was scared to bend it. As you can see in the video, it went well.

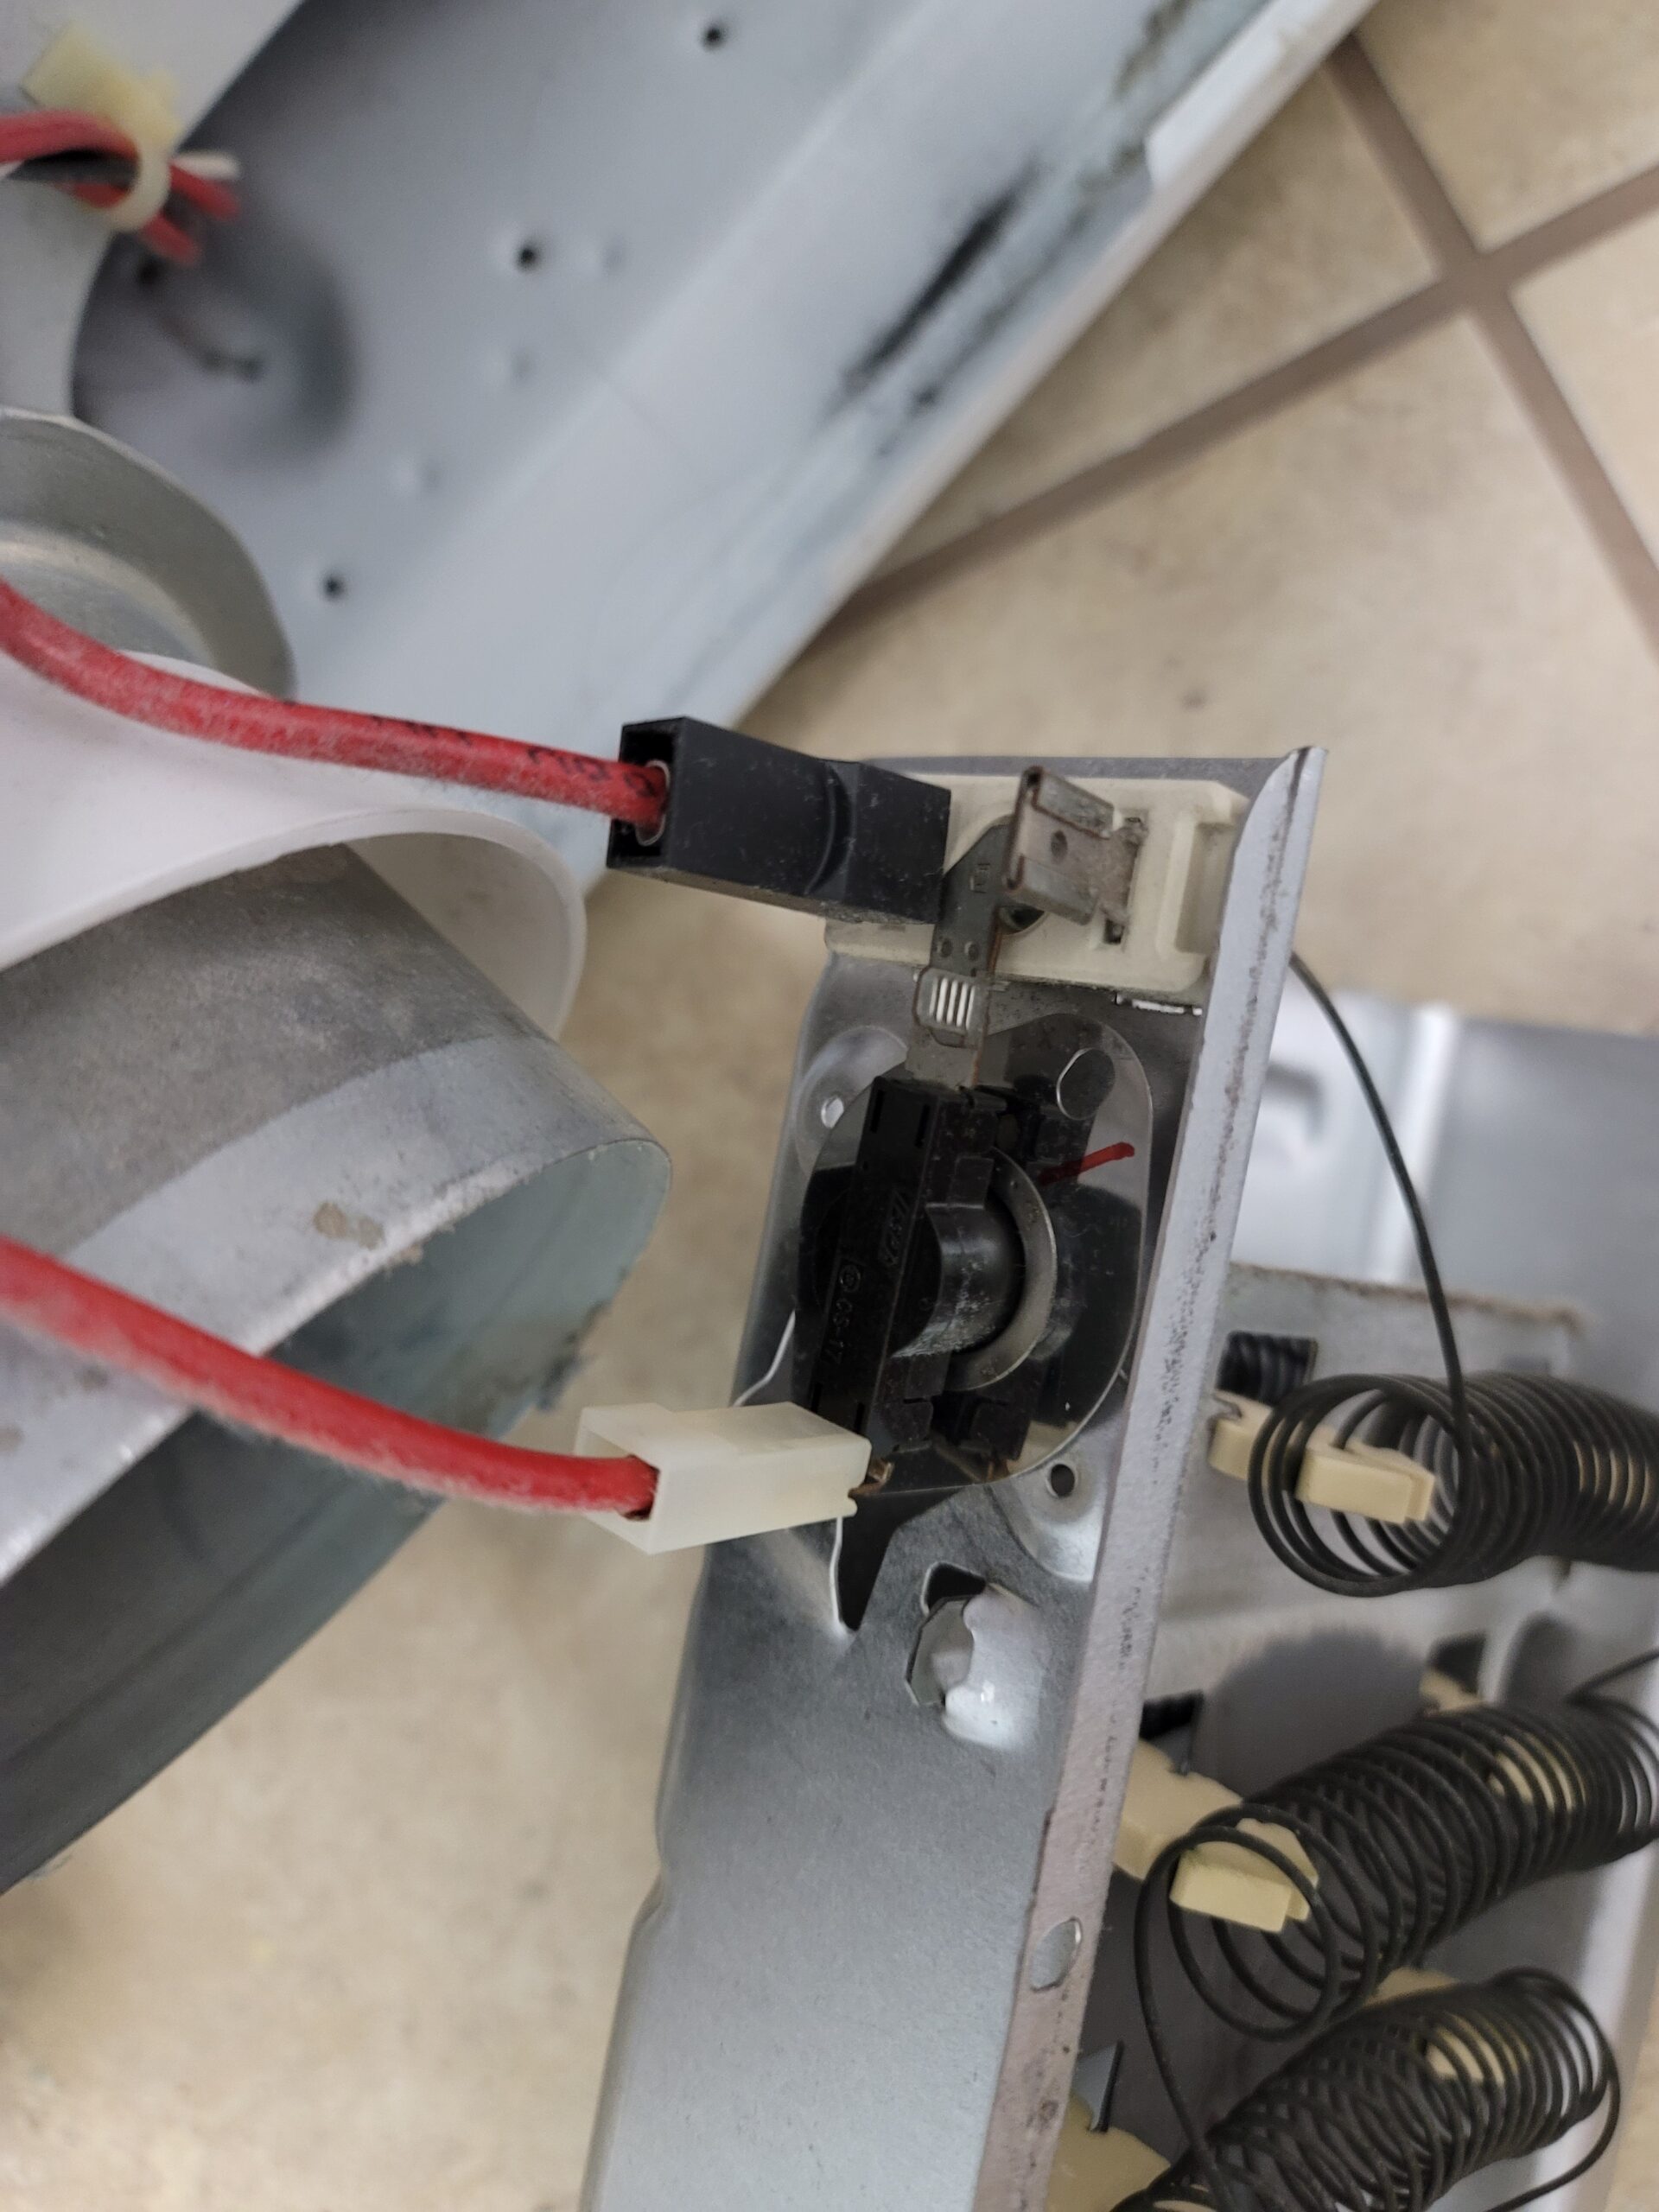
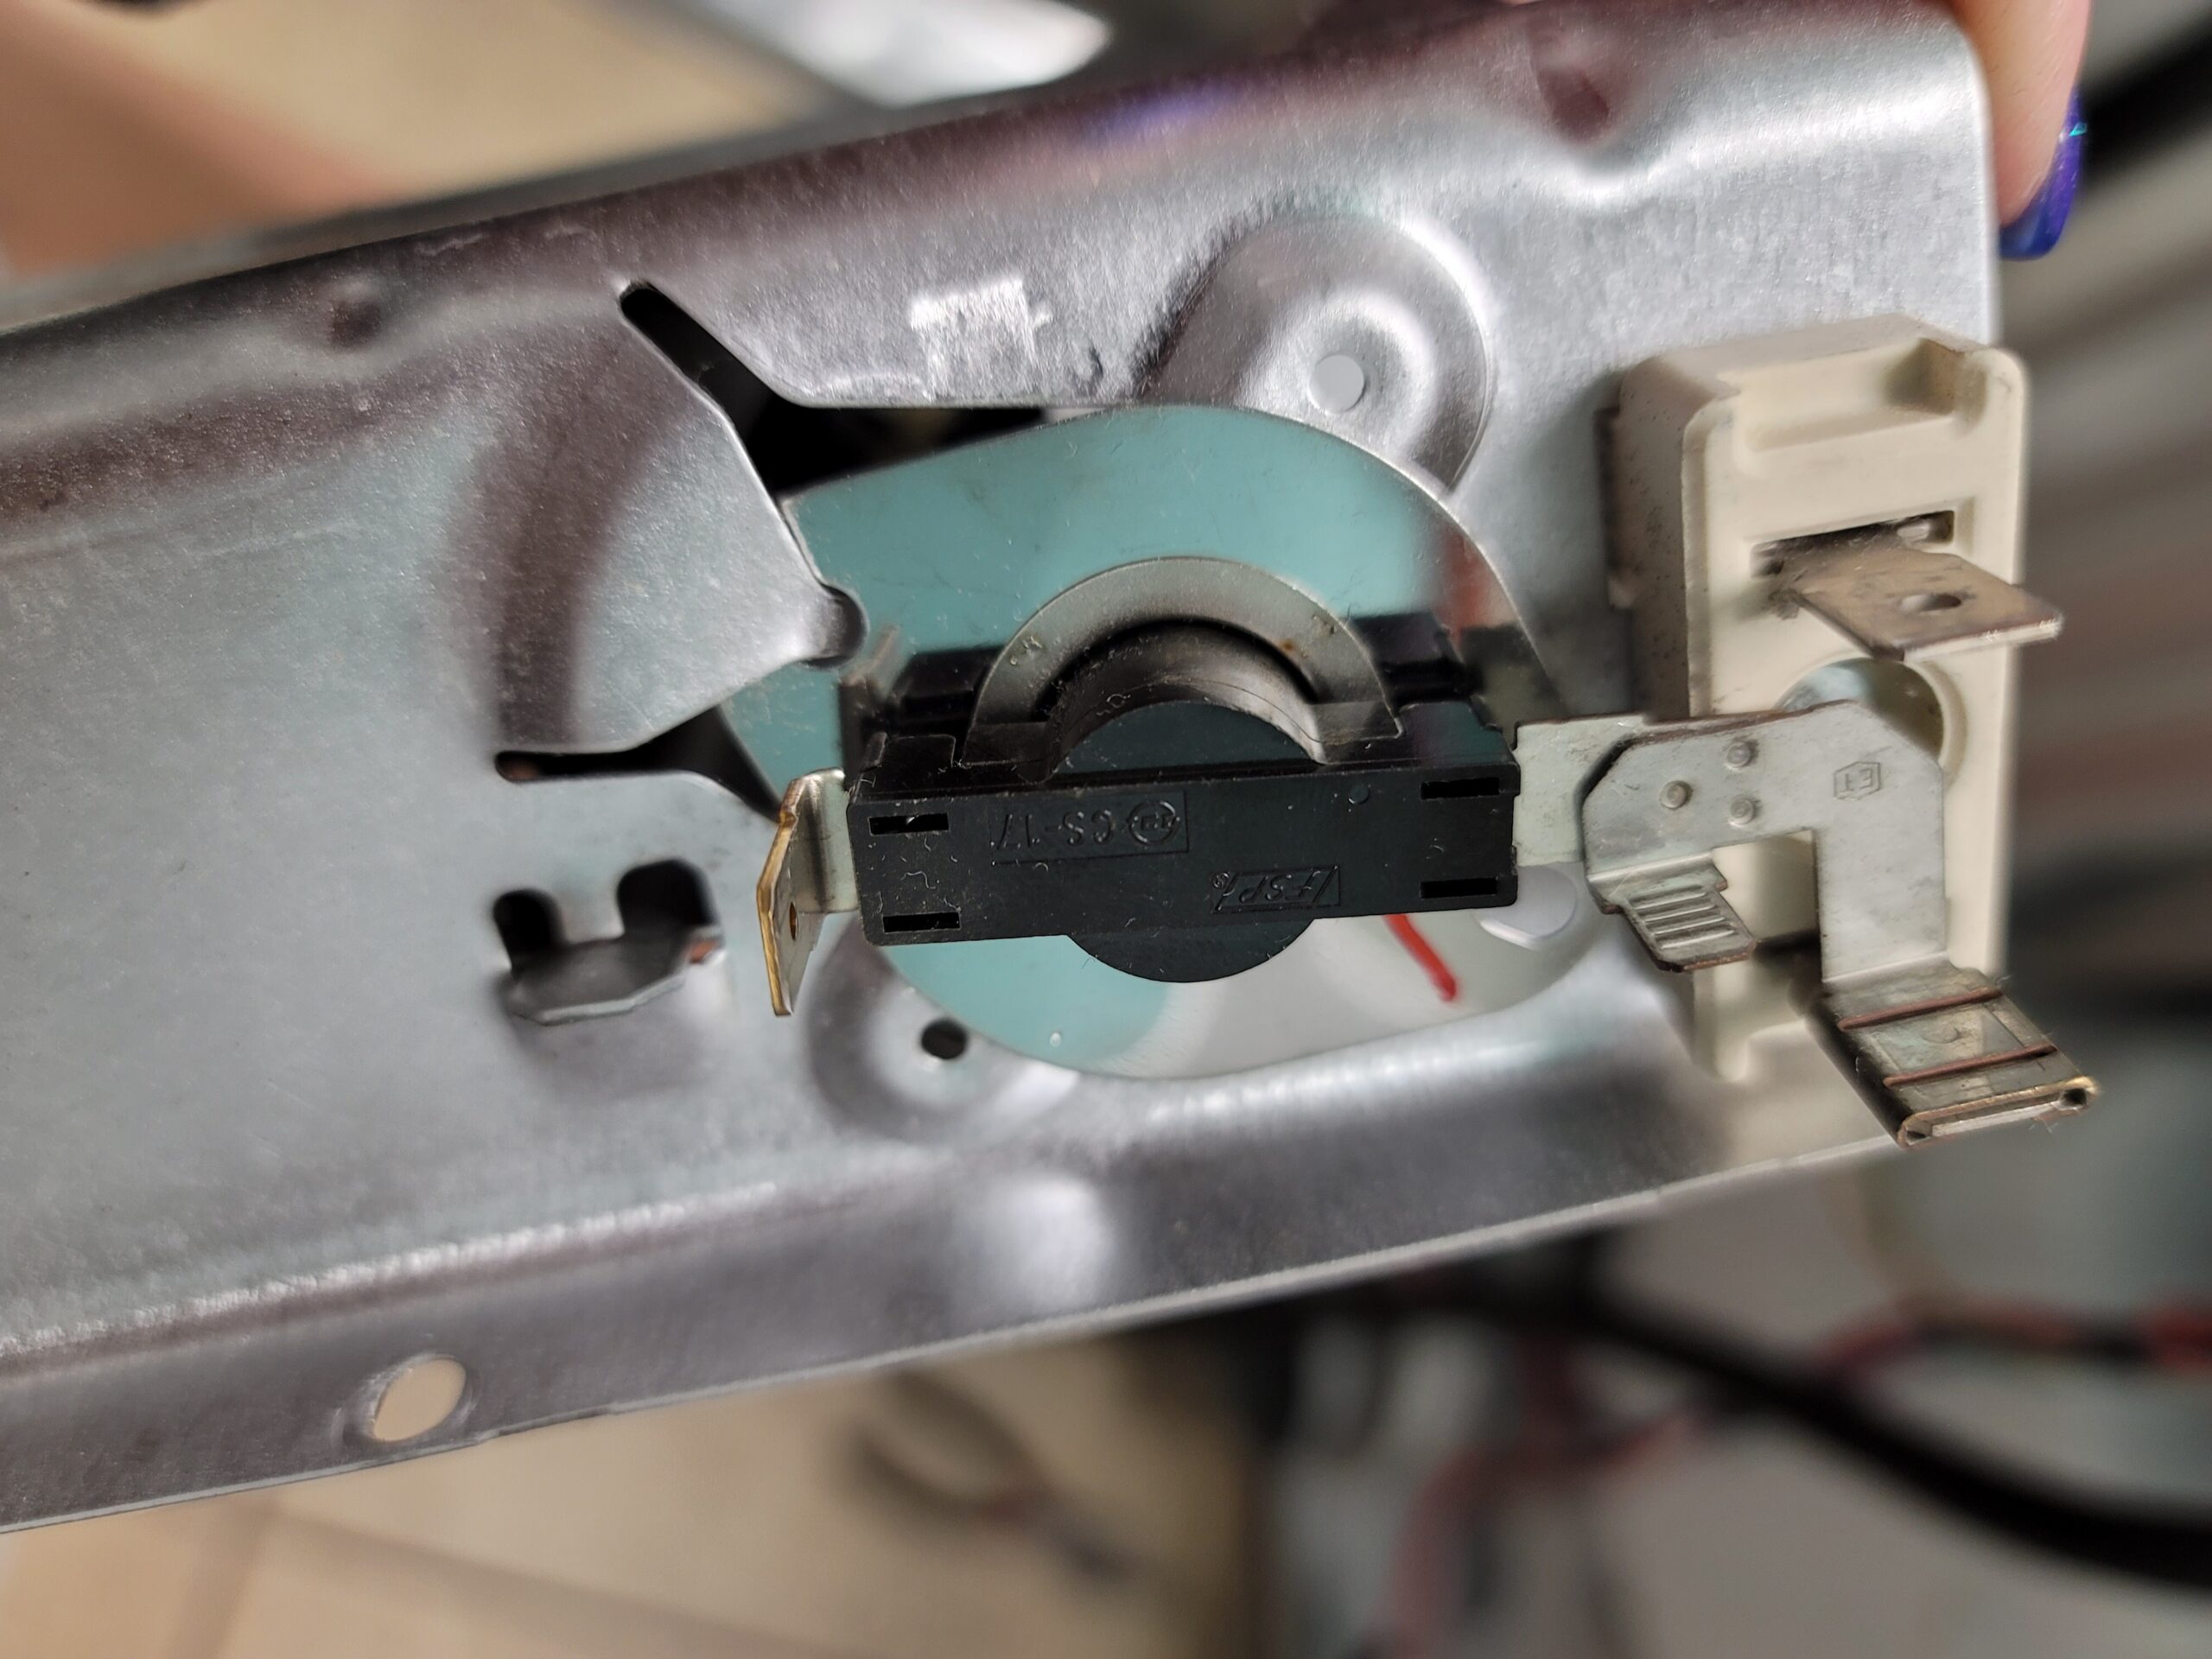
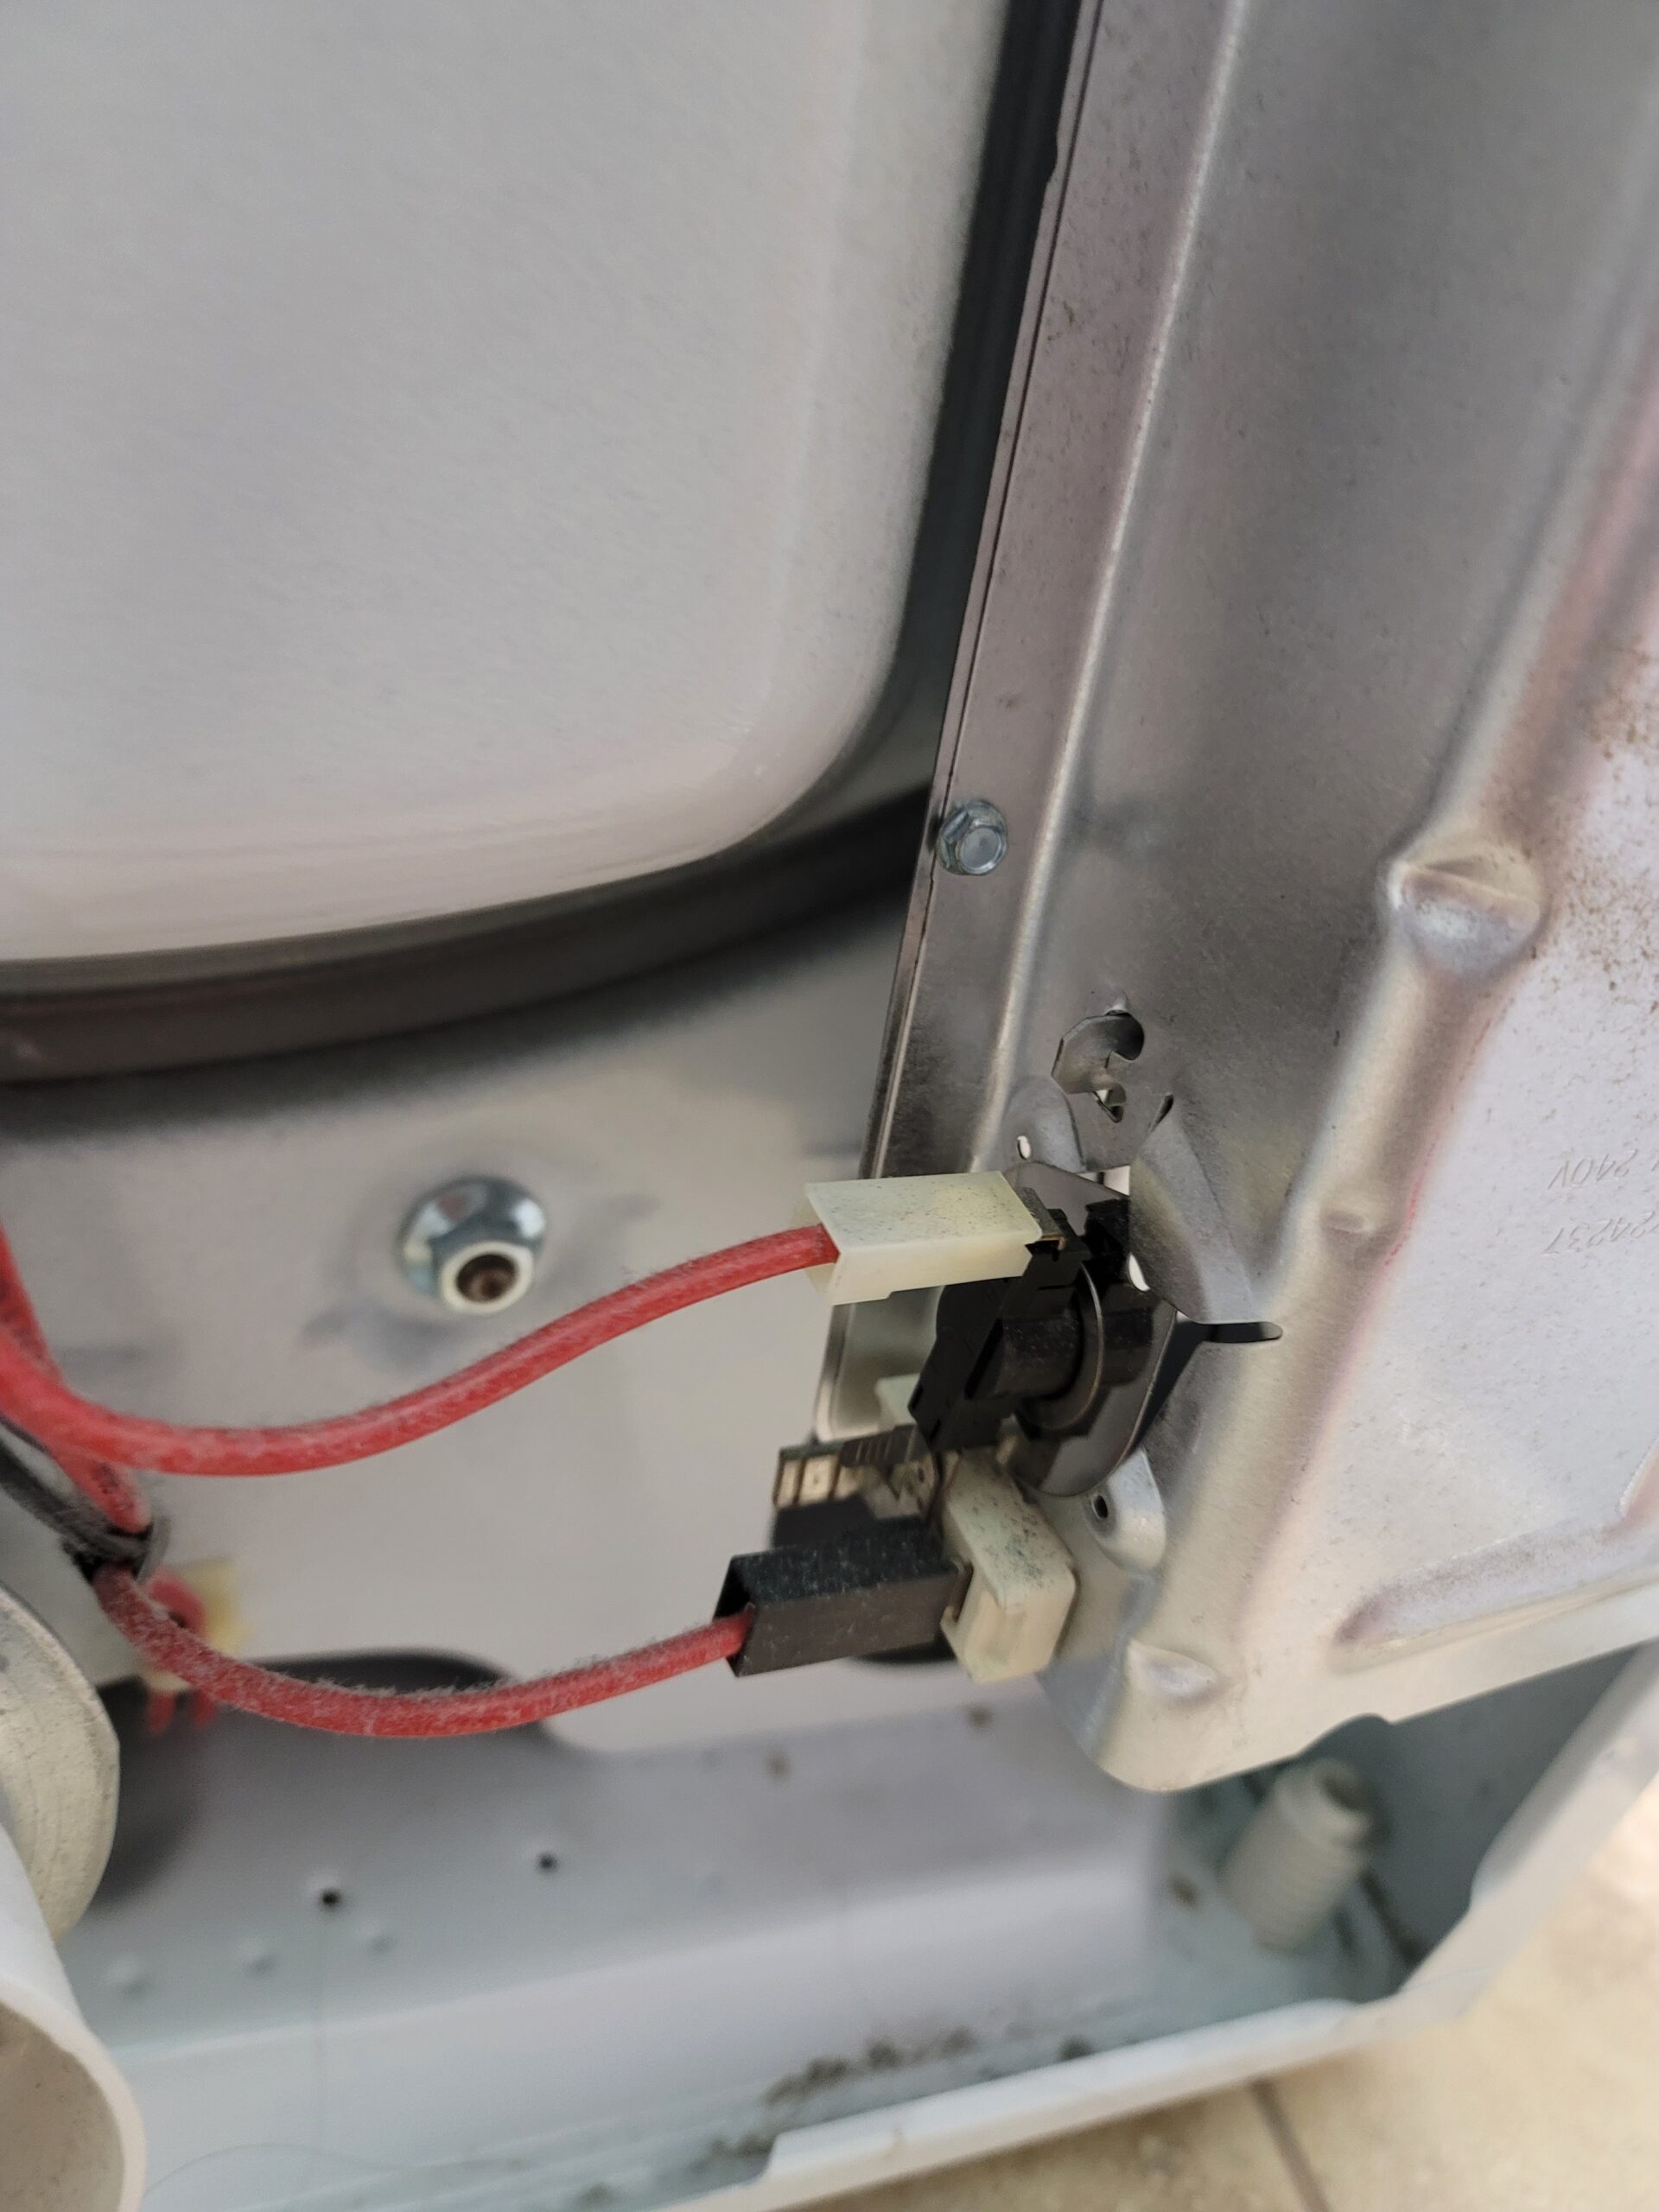
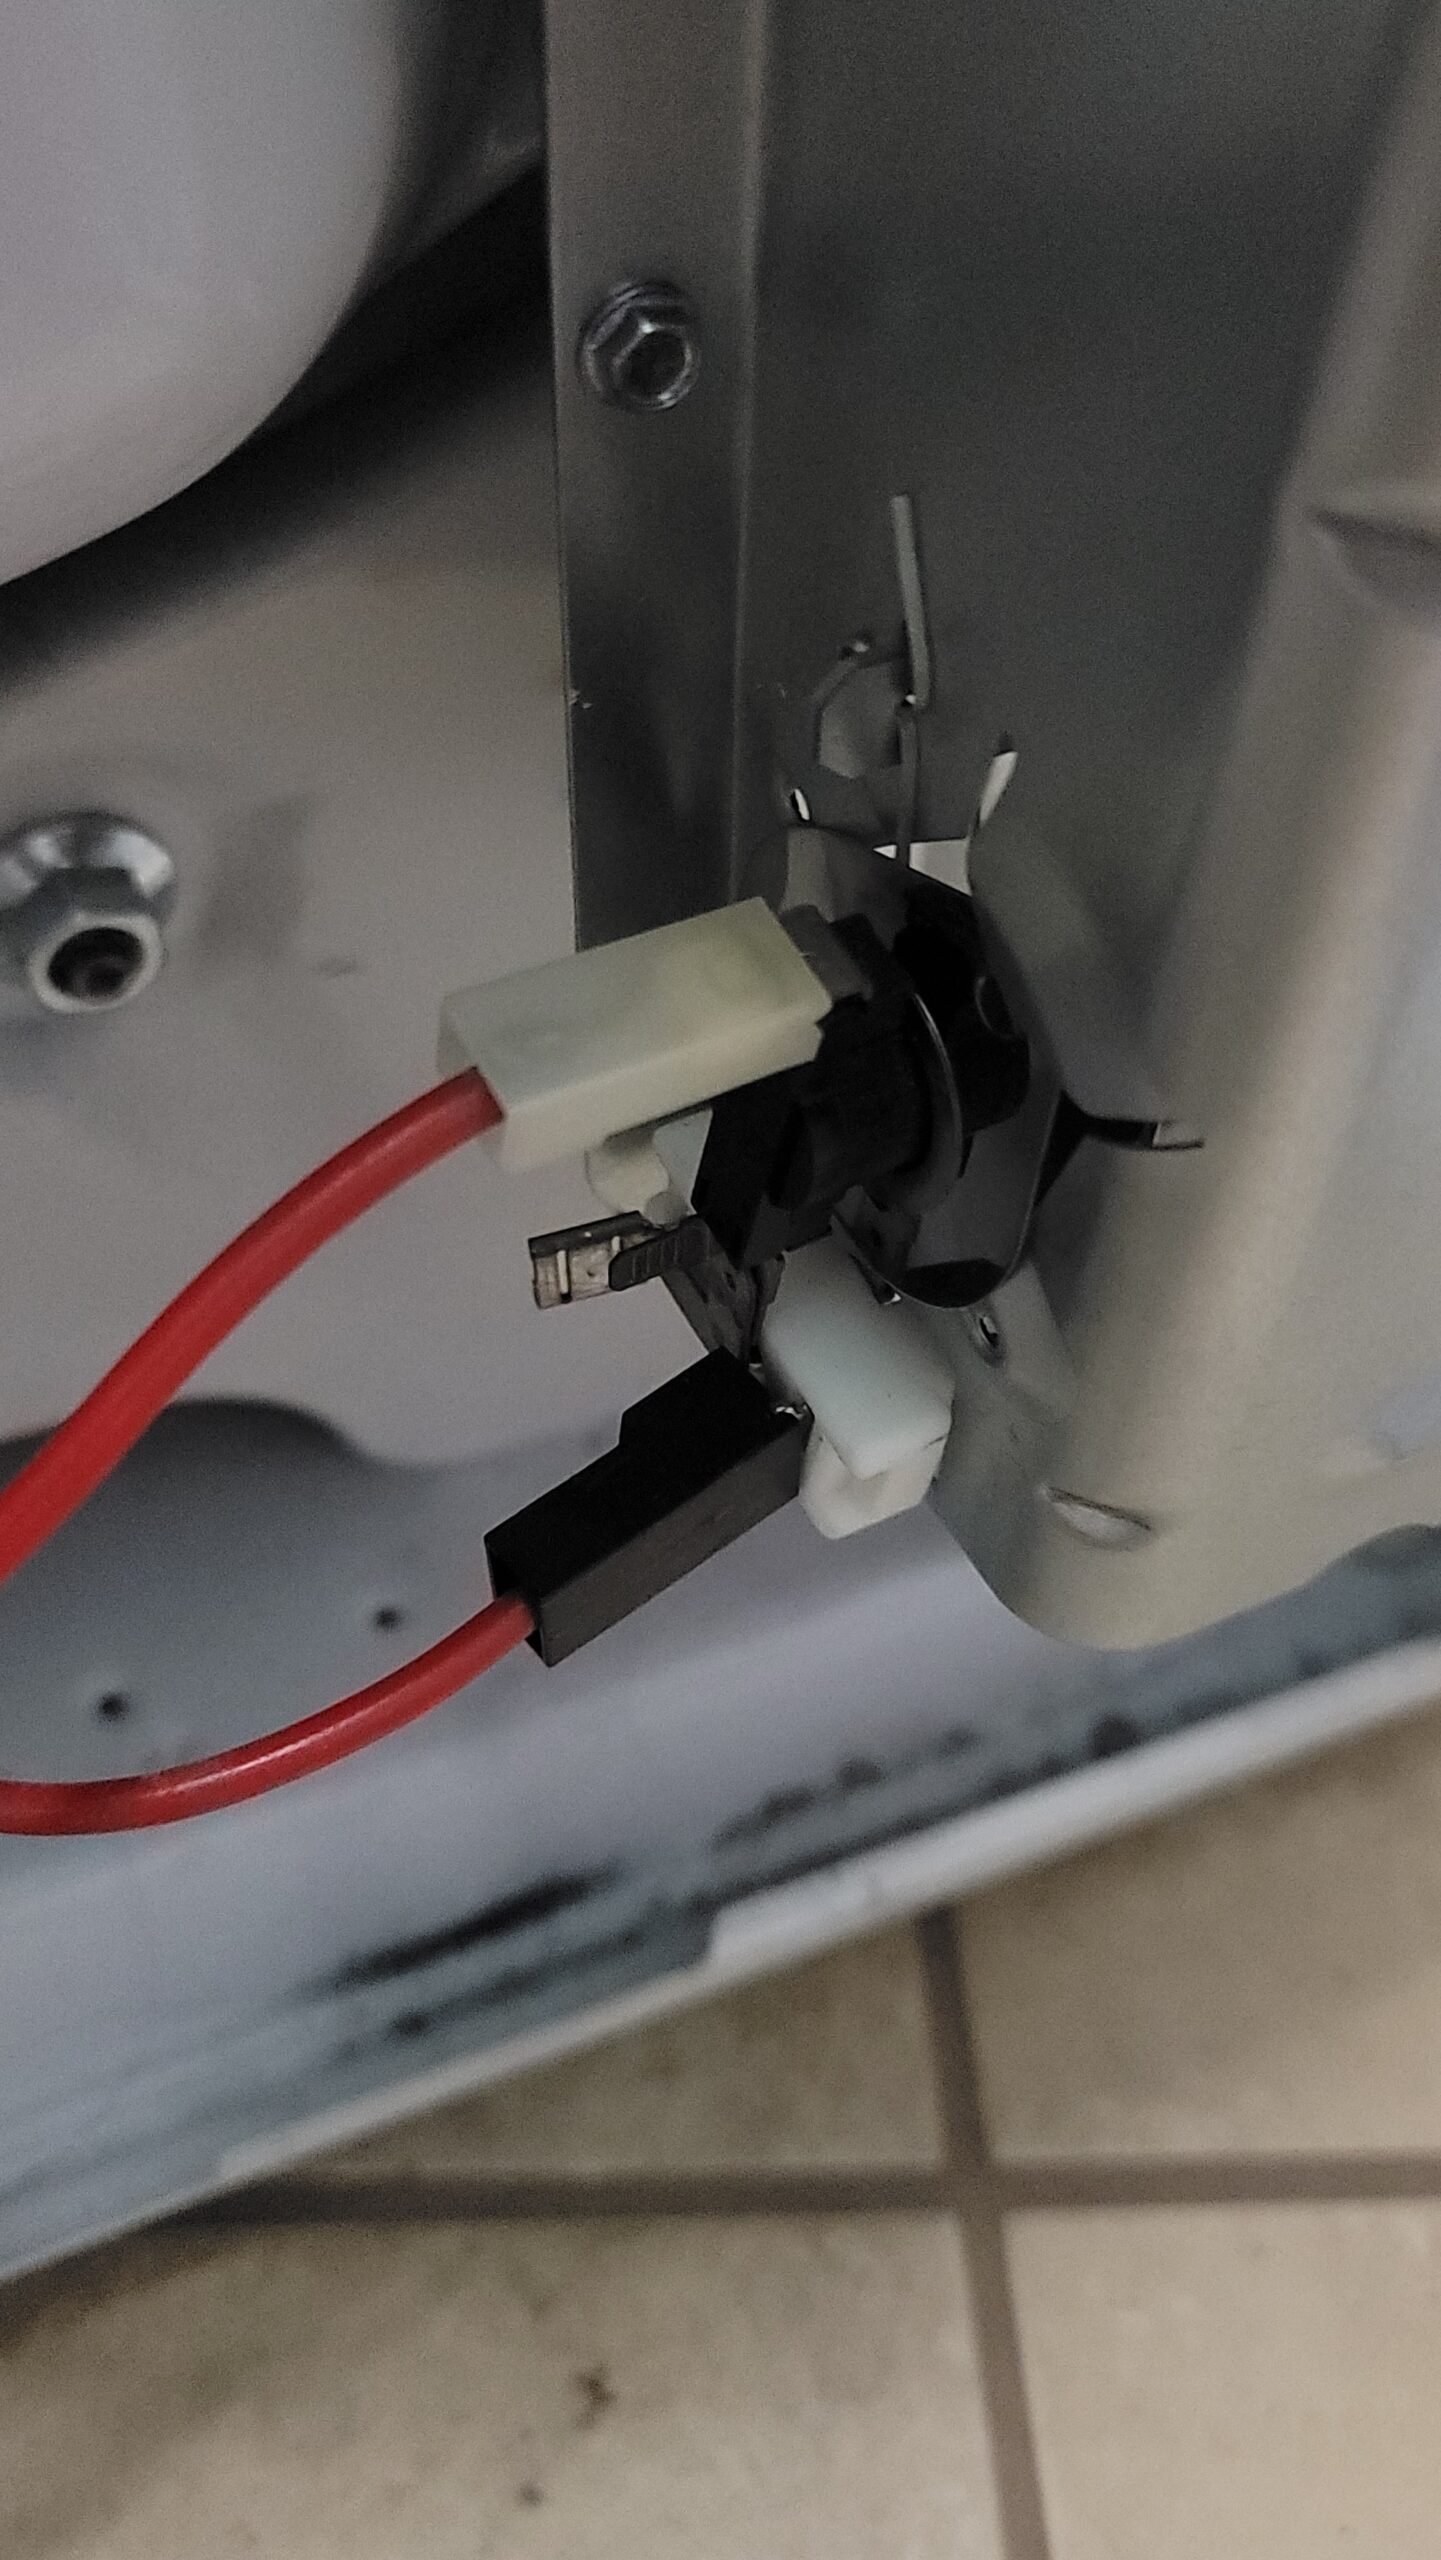
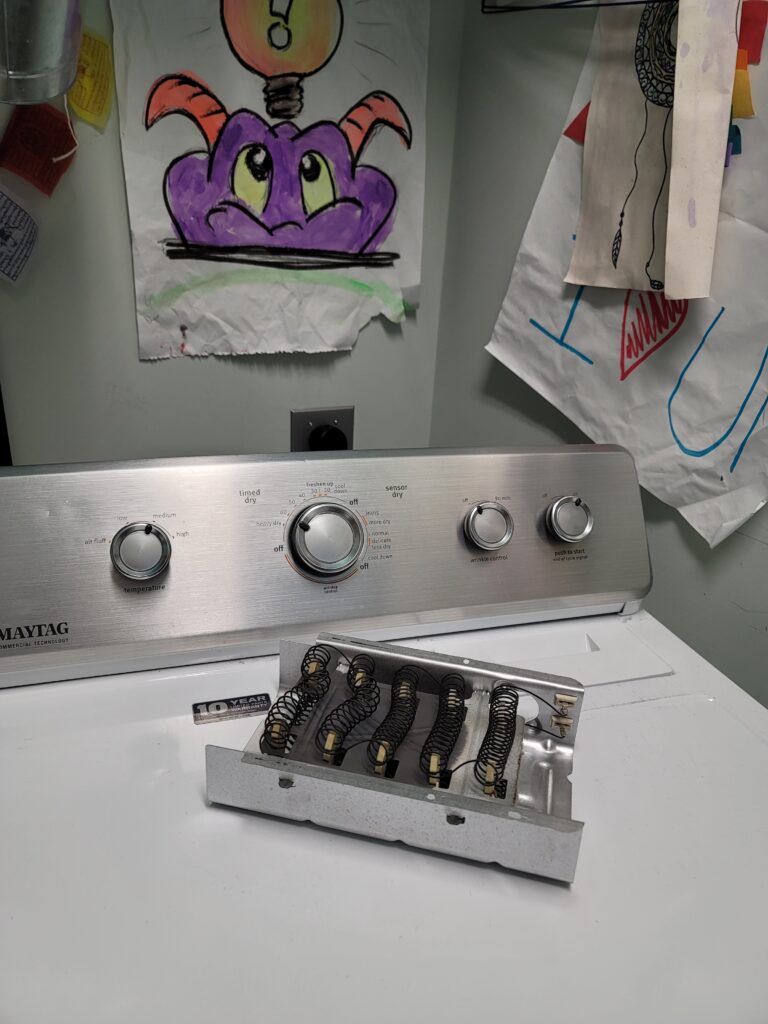
This has to be the issue – look at the heating element, clearly FRIED!!!
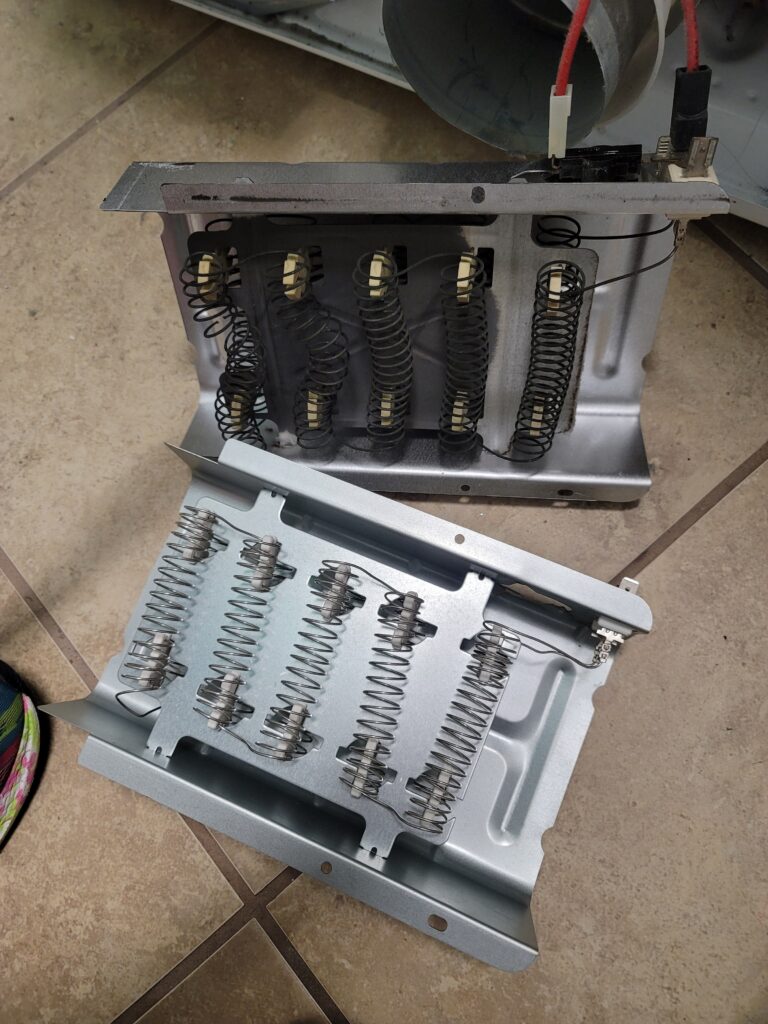
Here is the new one and the old one side by side.
Remember to PIN these images as well as share – thanx
CHECK OUT SOME RECENT POSTS
- Oviedo Mall Links
- oviedo mall – malarkey style
- malarkey notebooks
- malarkey soap collection
- january national days
Check out these other Irish favorite’s


RECENT POSTS
– always like – share and pin –
THANX FOR STOPPING BY…
Subscribe to the blog for daily…. Inspiration, motivation, sarcasm, recipes, malarkey tips, shop with me posts, cleaning tips, national days and many more shenanigans. Have a Ridiculously AMAZING Day!!! Collect moments… celebrate the little things. Don’t forget to SUBSCRIBE TO THE THE YOUTUBE CHANNEL!
HAVE YOU TRIED THESE RECIPES…


ZERO F***S. This would be my number one parenting advice. Listen and gather the advice of others but you need to do what works for your family… you do you. Stay strong and figure it the f*** out! Subscribe to the blog – today!
Follow us as we celebrate life…
My name is Tabitha and this blog is about my family and our life. We are always looking for inspiration and nonsense to keep us going… one day at a time… one celebration at a time. I am just another mama with no sick days and no days off trying to juggle family, life, wellness, getting dinner to the table while raising good humans and staying mentally sound.
Stop by the blog in the morning for cup of inspiration.
amazon affiliates may receive some pennies if you order through the links… but you my dear are charged no additional fees… so order away!





[…] I also had to replace the heating element in the dryer – come check out how I did it and watch the video. here […]